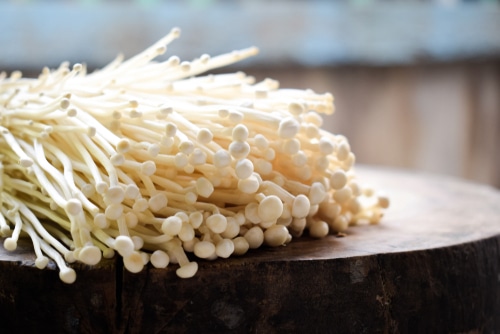
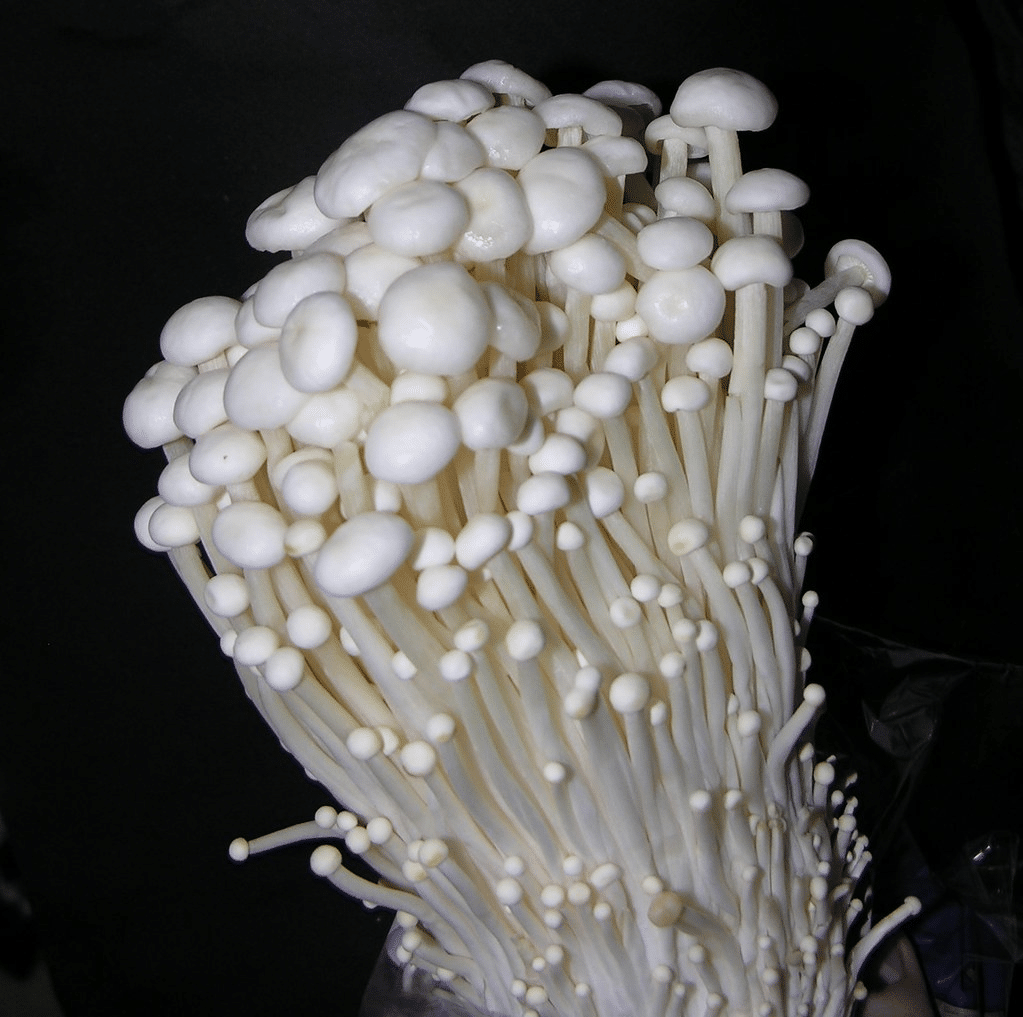
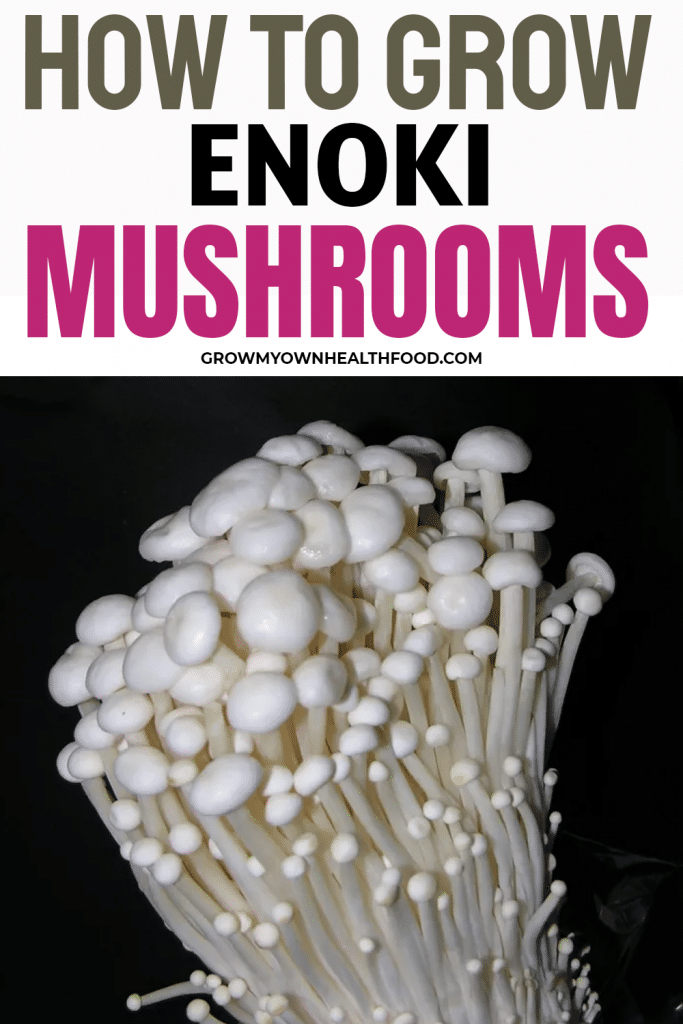
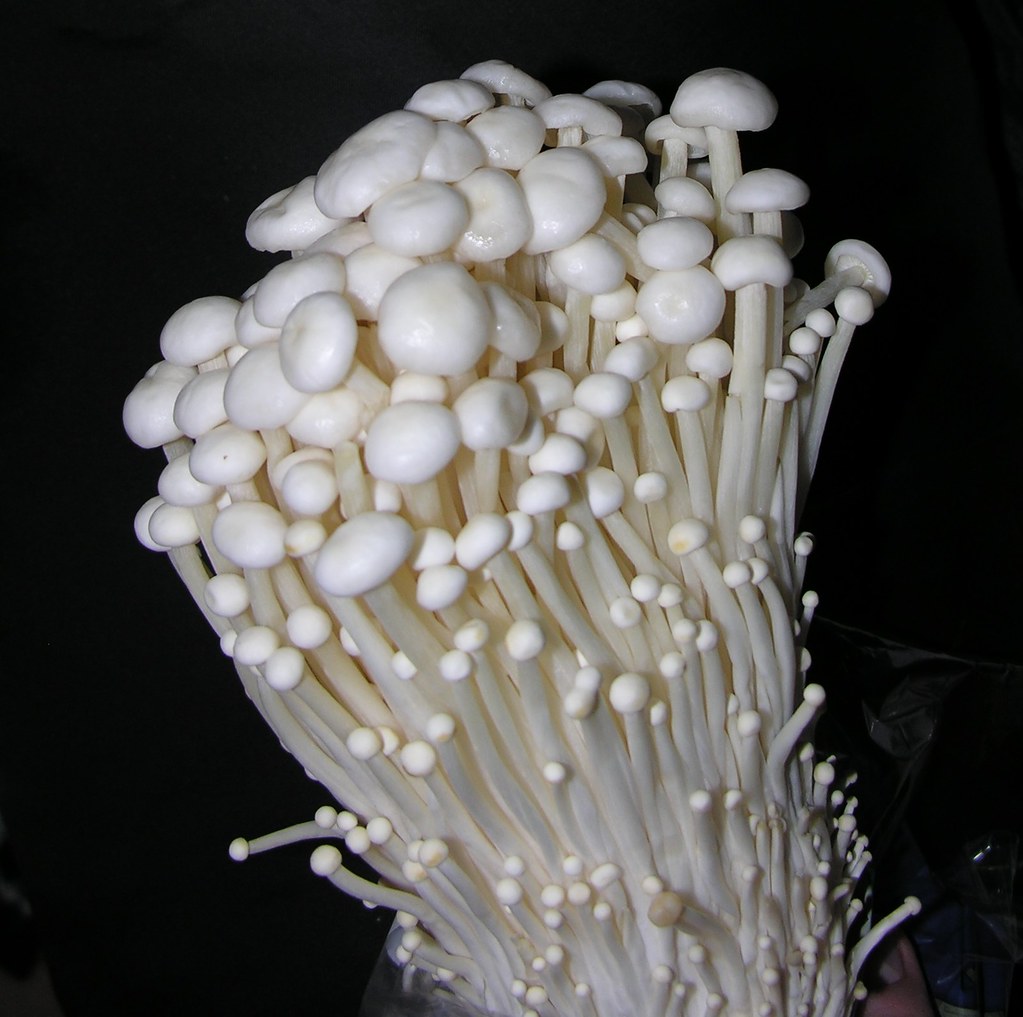
Enoki mushrooms, also known as velvet stem, velvet foot, winter mushroom, and enokitake, are a delicate variety, quite different from other mushroom varieties. They sprout long, thin stems with a small traditional mushroom cap on top. These exotic varieties are hard to find, but given the delicate and distinctive taste of enoki mushrooms, it’s worth making an effort to grow them at home.
Here’s a complete guide on how to grow enoki mushrooms at home. Whether you’re a beginner or a seasoned mushroom grower, the tips you’ll find here will increase your chances of growing loads of beautiful enoki mushrooms to add to pizza, pasta, sandwiches, and more.
How To Grow Enoki Mushrooms Indoors
Growing enoki mushrooms at home involves providing the optimal conditions for growth during the entire growth cycle. Enoki mushrooms are very particular about their environment’s temperature and humidity levels and the requirements change with different stages of growth. Follow the instructions below before you can get started with growing enoki mushrooms at home.
Step 1: Gather Your Supplies
You need some essential supplies to start growing enoki mushrooms. There are two ways to go about this. You can either purchase an enoki mushroom grow kit or collect all the supplies separately. Enoki Mushroom Grow kits are easier to work with for beginners since the package will carry all the things you need to get started on the project. Typically, it will include a substrate, enoki spawn, growing container, and instructions.
If you’re not using a kit, here’s a list of supplies you’ll need to source:
- Hardwood-based substrate, such as oak pellets, sawdust or professional mushroom growth medium
- Enoki mushroom spawn (Preferred Etsy Seller)
- Glass jar or plastic bottle with tight-fitting lid, at least 8 inches tall
Step 2: Sterilization
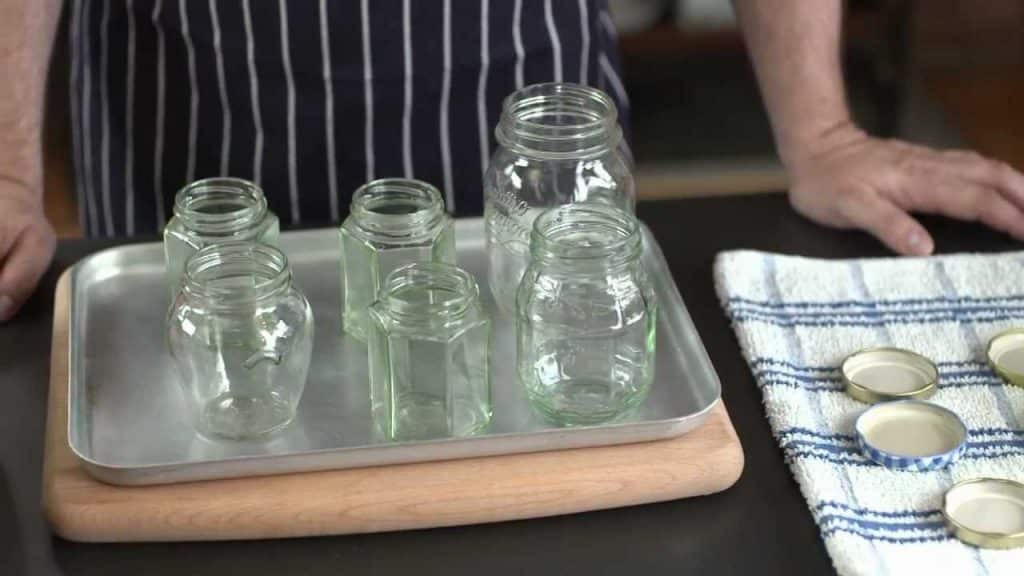
Once you have all the material, you’re ready to get started. Before you go to the next steps, the first thing you’ll need to do is to sterilize the growing container. Sterilize glass jars by first washing them with antibacterial soap, rinsing, and then submerging them in hot (not boiling) water for 10 minutes. If you have plastic bottles, washing them with antibacterial soap and rinsing them with water is sufficient. Make sure no soap residues remain once you’re done cleaning.
Step 3: Prepare The Growing Medium
Next, you’ll need to prepare the growing medium before it’s ready to go in the container. Take out the growing medium into a large boil and moisten it with boiled tap water. Don’t add too much water – just enough to moisten the medium. Next, mix in the enoki mushroom spawn into the moistened medium.
Step 4: Incubation
Now add the prepared mixture into jars or plastic bottles and place it in a warm, humid environment for incubation. The temperature should ideally be between 72 and 77°F and the humidity should be around 90%. Growth isn’t affected by light exposure at this stage and the mushroom spawns will grow as long as you provide the ideal temperature and humidity to the surroundings.
Step 5: Wait Until Mycelium Covers the Medium
Once you’ve placed the containers in a warm and humid environment, you just have to wait for the mycelium to develop and cover the growing medium completely. Check the bottles after 2 weeks. You should see thin white strands of mycelium spreading through the growing medium. Maintain warmth and humidity in the surroundings and allow more time for the mycelium to spread completely through the growing medium. You may have to wait up to a month before the developing enoki mushrooms are ready for the next stage.
Step 6: Induce Fruiting
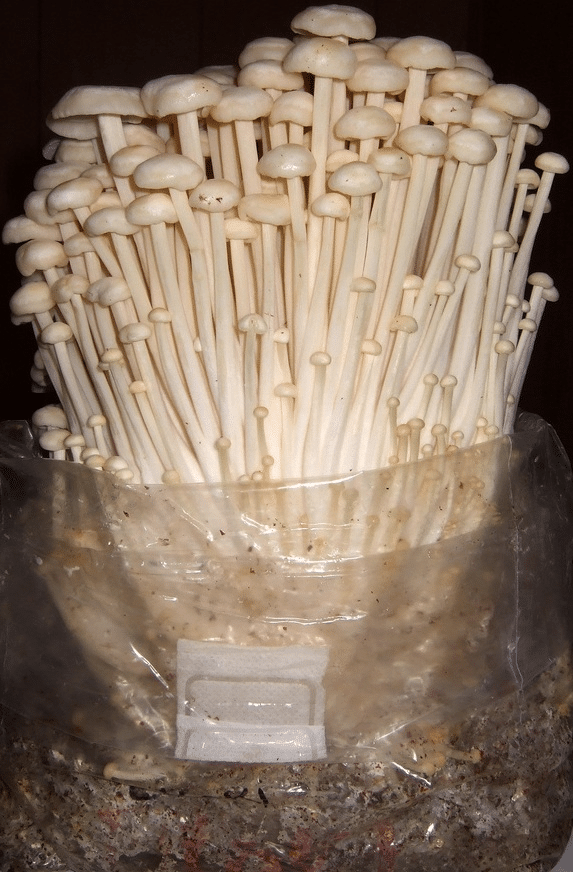
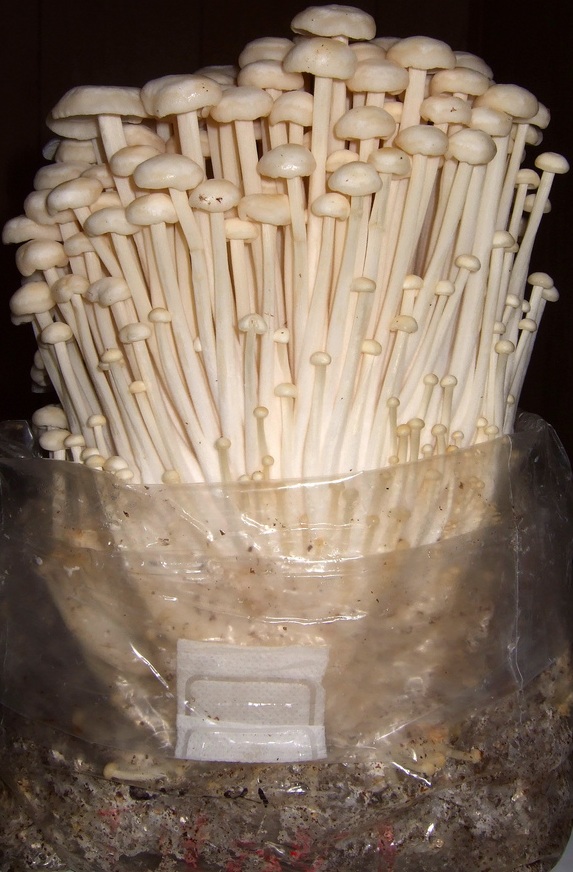
Once the mycelium strands have completely taken over the growing medium, it’s ready to start fruiting. Move the containers to a cooler place where temperatures are between 50 to 65°F and humidity is low. Remove the lid from the containers. The sudden change in surroundings triggers the mycelium to start developing its fruiting bodies. Sun exposure at this stage will turn the mushroom caps golden brown, while they’ll stay white in the dark. Either way, they are perfectly healthy and delicious to eat.
Step 7: Harvest
Once the mushroom bodies start developing, it can take about a month for the enoki mushrooms to be ready for harvest. You can harvest your enoki mushrooms as soon as they’re the right size. Harvest the mushrooms by cutting off the stems from the bottom. Don’t throw away the growing medium once you’re harvested the mushrooms! A single bottle can yield multiple harvests before the growing medium is completely spent and can be discarded.
How To Use Enoki Mushrooms
Once you’re successfully through with growing your enoki mushrooms and have fresh harvests to use in the kitchen, the next thing you’ll want to know is what to do with it? There are tons of different recipes you can try out with your home-grown enoki mushrooms.
They are a part of many traditional Asian dishes, including Enoki mushroom soup, steamed enoki mushrooms with garlic sauce and garlic scallion soy enoki mushrooms. Owing to their small size and delicate texture, enoki mushrooms are best added near the end of the cooking process to ensure best flavors.
Can You Regrow Enoki Mushrooms?
One of the best parts about growing enoki mushrooms is that you can regrow them from a small portion of your harvests. Remove the mushroom cap and plant the stem in a moistened growth medium. Place the container in a warm, humid environment. You’ll find new growth in just a few weeks.
How To Grow Enoki Mushrooms – Conclusion
Now that you know how to grow enoki mushrooms, start your own mushroom garden and keep it going with some scraps you save from the harvest. With some luck, your kitchen will be loaded with fresh, exotic mushrooms to amplify the presentation of your regular meals.


