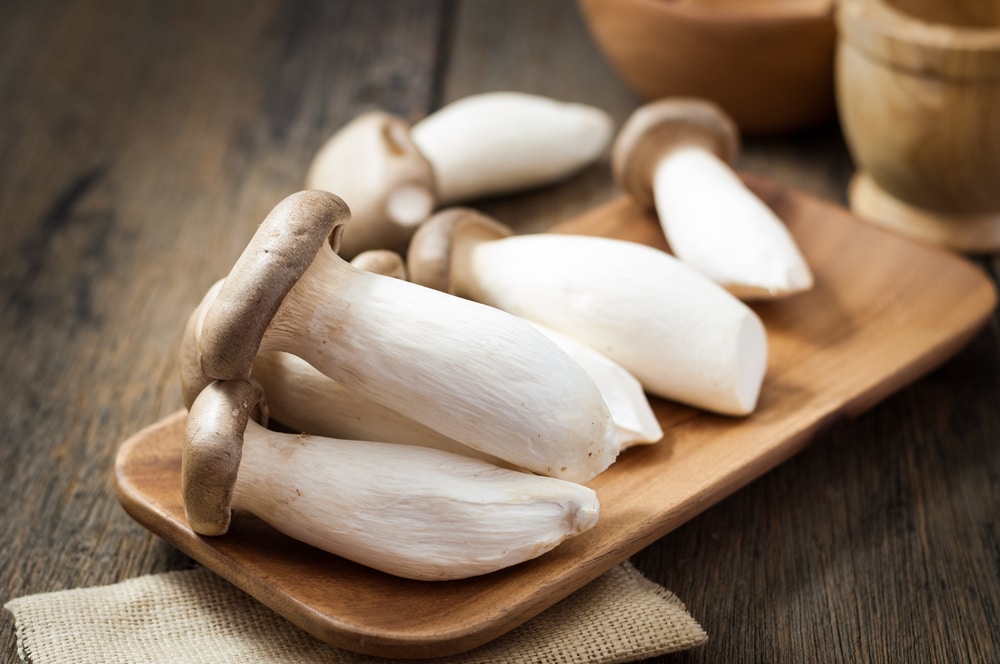
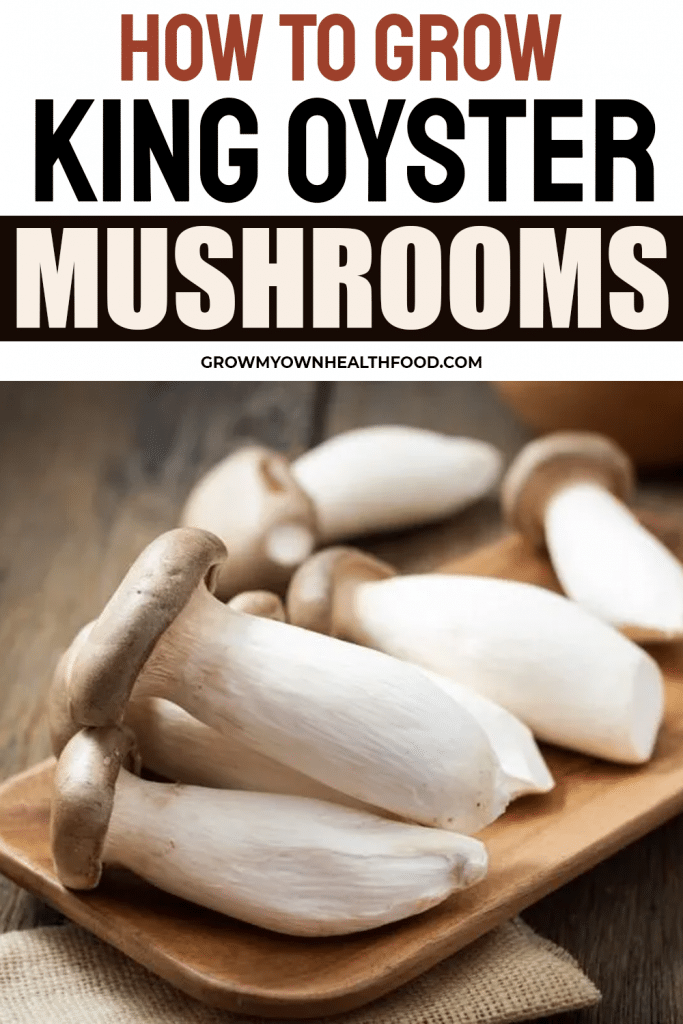
King oyster mushrooms are the largest mushrooms among the oyster mushroom genus, pleurotus. Other names include royal trumpet and Abalone mushroom. The thick, meaty texture and superior flavor of king oyster is treasured around the world. The entire mushroom, together with the stem and the cap is edible and holds its texture well even after prolonged cooking. Besides all its benefits, it’s as easy to grow at home as any other mushroom. Continue reading and you’ll learn how to grow king oyster mushrooms at home.
How To Grow King Oyster Mushrooms At Home
Once you’ve decided that you want to grow king oyster mushrooms at home, you’ll need to source some material and get started. Follow the steps mentioned below to grow a colony of king oyster mushrooms.
Step 1: Source King Oyster Mushroom Spawn
The first thing you need to do is gather your supplies. And since you’re growing king oyster mushrooms, you’ll need to order king oyster mushroom spawn. Order at least a 100g pack, but 500g or 1kg is even better.

- Grow your own delicious and nutritious gourmet and medicinal mushrooms at home;
- Turn your logs and stumps into natural source of food. Save on costs compared to grocery store or farmers market;
- Engage your children and other family members in a project that will fascinate and entertain;
Prices pulled from the Amazon Product Advertising API on:
Product prices and availability are accurate as of the date/time indicated and are subject to change. Any price and availability information displayed on [relevant Amazon Site(s), as applicable] at the time of purchase will apply to the purchase of this product.
A better option is to order a king oyster grow kit online, especially if you’re growing mushrooms for the first time. It also saves you the trouble of sourcing everything separately. The kit will include everything you need to get you started. Just follow the instructions on the grow kit and start growing your king oysters.

- Grow your own mushrooms indoors in about 10 Days! Everything is included, just add water.
- Made in Dallas, TX USA with the best soil mushrooms could ask for.
- Gourmet and delicious mushrooms with a great recipe on packaging. Great side dish or serve with pasta, rice, eggs, burgers, meat and stir fries.
Prices pulled from the Amazon Product Advertising API on:
Product prices and availability are accurate as of the date/time indicated and are subject to change. Any price and availability information displayed on [relevant Amazon Site(s), as applicable] at the time of purchase will apply to the purchase of this product.
Step 1: Source A Good Substrate And Grow Bag
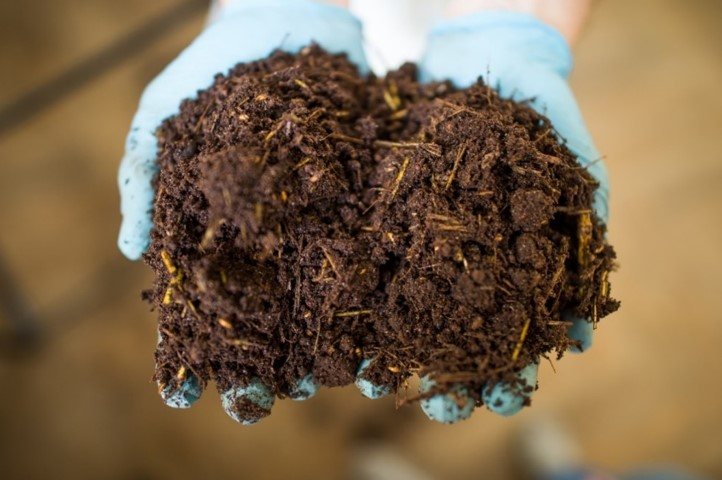
The substrate is the source of food for the developing mycelium. In the wild, king oysters typically grow on dead, decaying hardwood. The biggest and most flavorful king oysters will grow on hardwood or substrate mix that has been supplemented with hardwood.
However, if that’s not available, you can also use a straw, sawdust cardboard, sugar cane mulch, and coffee grounds to grow king mushrooms on. Choose something that’s easily available and order it to get started.
Other than the king oyster mushroom spawn and substrate, you’ll also need a mushroom grow bag or a container to get started. Of course, if you order a grow kit, everything will already be included in it.

- ALL-PURPOSE MUSHROOM GROWING BAGS – Designed to help you grow fresh, healthy morels, oyster, enoki, portabella, and other mushroom types.
- HEAVY-DUTY POLYPROPYLENE PLASTIC – Made from 3-mil polypropylene that supports a 5-10 lbs. spawn block and provides a stronger, more reliable growing.
- BREATHABLE BAG WITH FILTER PATCH – A smarter design our mushroom substrate bags also features a 0.2’ filter patch.
Prices pulled from the Amazon Product Advertising API on:
Product prices and availability are accurate as of the date/time indicated and are subject to change. Any price and availability information displayed on [relevant Amazon Site(s), as applicable] at the time of purchase will apply to the purchase of this product.
Step 3: Prepare the Setup
The next step is to moisten the substrate to just the right level, mix it with mushroom spawn and add it to the growing container or bag. The substrate should be too dry or too wet. When you squeeze it into your palm, just a couple of water drops should come out.
Mix in the mushroom spawn into the hydrated substrate in a mixing bowl. Close the top of the growing vessel with paper clips after putting in the mixture. If it’s not a filter patch bag that you’re using, puncture several tiny holes around the bag for air exchange.
Step 4: Incubation
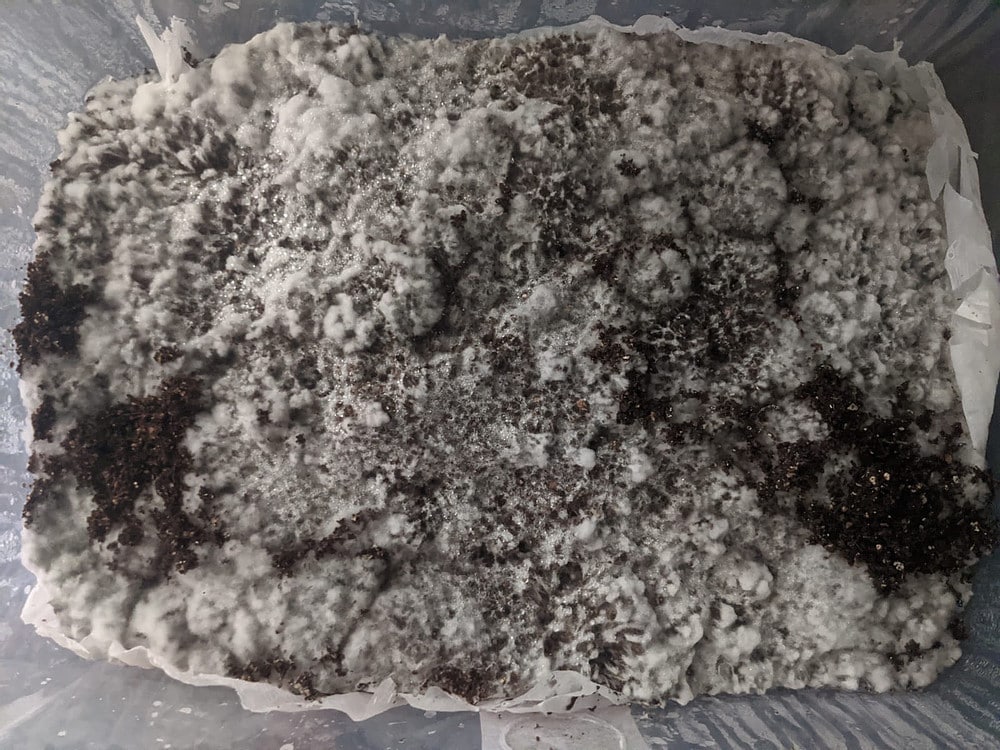
Keep the grow bag in a dark, warm room in your home, with a temperature between 68°F to 75°F. With the moisture, food, and warm surroundings it receives, the spawns will start growing, and eventually, the mycelium will spread through the bag. Once the contents of the bag are completely white, the fruiting phase has started. Despite their vigorous growth, king oyster mushrooms can take between 1 to 2 weeks to start fruiting after colonization.
Step 5: Casing Layer
King oyster mushrooms are typically grown with a casing layer on top. It’s applied to a fully colonized surface of king oyster mushrooms to increase humidity levels for better growth. It’s simply a mixture of 50% coco coir, 50% vermiculite, and 1% hydrated lime. Apply the mixture to the fully colonized surface of the substrate.
Step 6: Care During Fruiting Phase
Once the bag is fully colonized with white mycelium, all you need to do is to create optimal conditions for the mushrooms to start fruiting and prepare for harvest. Here are the growing conditions optimal for the fruiting phase of king oysters:
- Mushrooms don’t need any direct sunlight to grow, but some indirect or filtered light will help the fruiting bodies develop ideally.
- Humidity speeds up the development of mycelium. Spray the substrate with water twice a day to maintain a humid environment for the mushrooms to develop optimally.
- Make sure the room temperature is consistently warm enough for the mushrooms to develop at a good speed.
Within a week, mushroom pins (tiny caps) will start forming on the surface. Keep spraying with water everyday to maintain humidity. Within the next week, mushrooms will grow bigger each day and will soon be ready to be harvested.
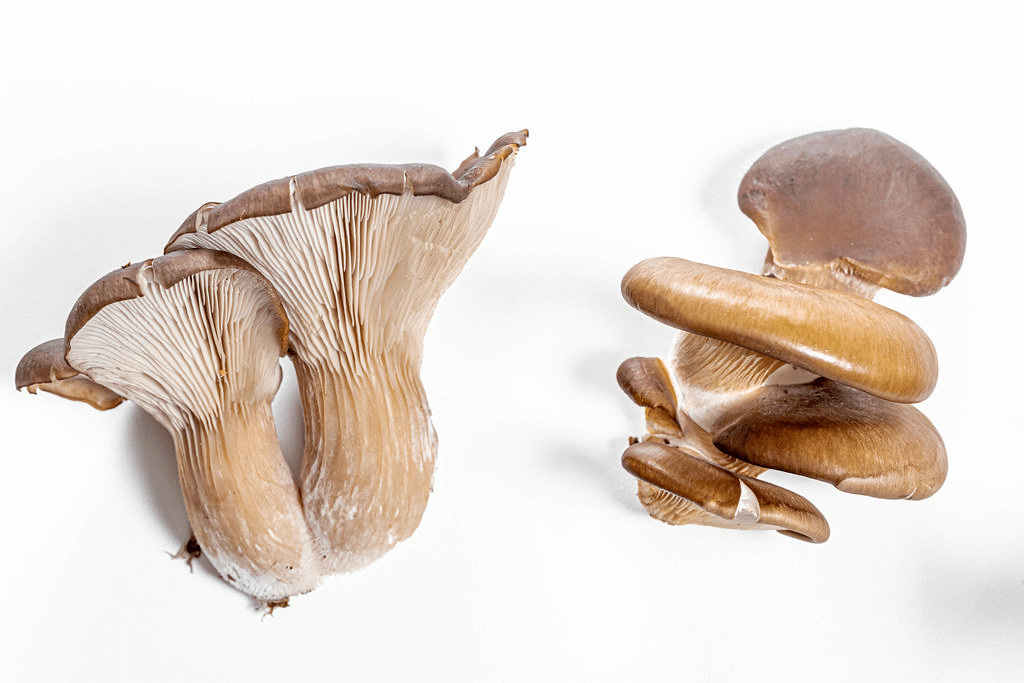
Step 7: Harvest
Once the caps flatten out or start curling upwards, it’s time to harvest. Harvest by carefully removing the mushroom from the base of the stem.
How To Grow King Oyster Mushroom Indoors
Growing king oyster mushroom indoors allows you to create just the perfect conditions to develop. Growing it in a room with temperature maintained at just the optimal levels, between 68°F to 75°F, and spraying water to create a humid environment helps it develop optimally. A humidifier and a USB fan can also be used to provide consistent humidity and aeration to the developing king oysters in indoor conditions.
Grow King Oyster Mushrooms – Conclusion
So you now know how to grow king oyster mushrooms at home and impress your family with some gourmet meals! Homegrown king oysters are delicious, healthier, and far cheaper than what you’ll find from the store. Not to mention, king oysters aren’t easy to find in grocery stores.
Check out our other mushroom growing related articles: Growing Lion’s Mane Mushrooms.


