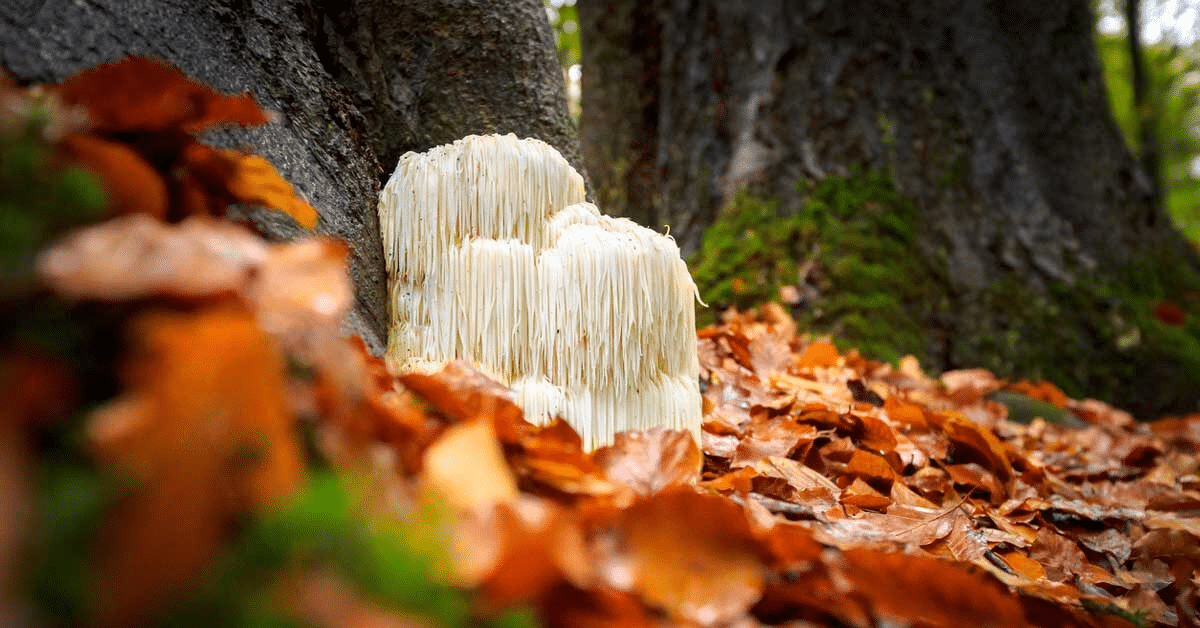
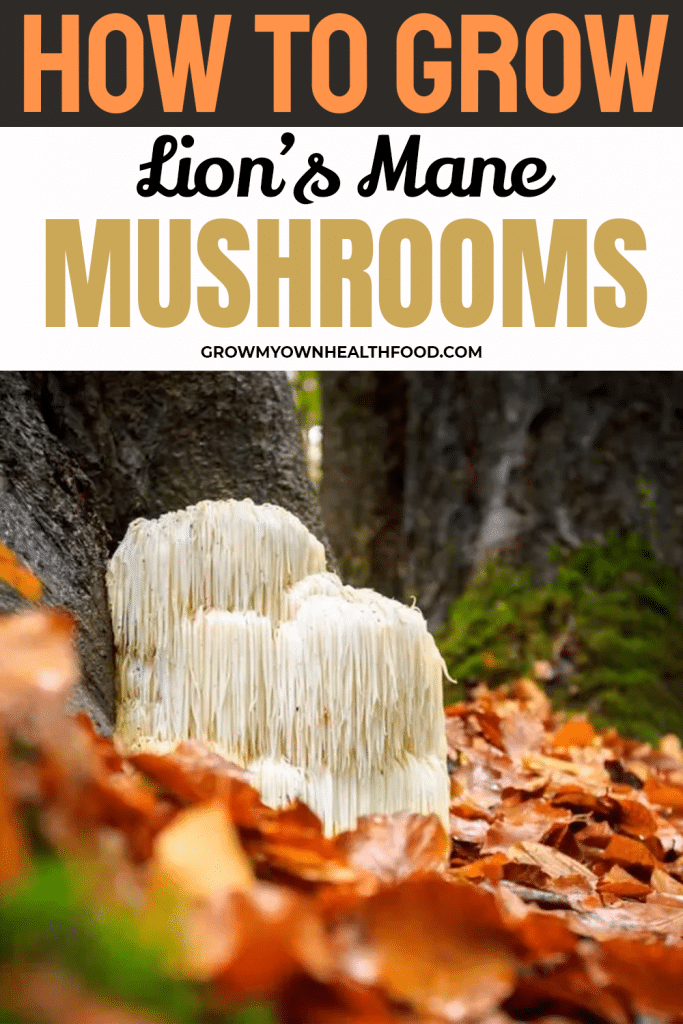
Lion’s mane mushrooms (hericium erinaceus) are a unique delicacy, full of flavor and health benefits. It has several other common names, including monkey head mushroom, bearded tooth mushroom, pom pom mushroom, and satyr’s beard. All these names come from the unique shape with dangling milky-white spines coming out of a single clump. Other than the unusual appearance, its sweet, meaty flavor makes it quite popular, especially in Europe, North America, and Asia.
Are you thinking about growing lion’s mane mushrooms? You’ll be glad to know that they’re easier to grow than most mushrooms, and you can grow lions mane both, indoors and outdoors. Continue reading and you’ll learn all about how to grow lion’s mane mushrooms.
How To Grow Lion’s Mane Mushrooms Outdoors
Growing lion’s mane mushrooms outdoors involves growing them on logs. Since they are hardwood-loving mushrooms, logs can provide ample nutrients to them to keep you loaded with fresh lion’s mane harvests for years.
Step 1: Gather All The Material
The main things you’ll need are a log and spawn plugs. Freshly cut logs, 3 to 10 inches wide, preferably from beech, elm, maple, or birch are best for growing lion’s mane. Don’t wait too long to inoculate with mushroom spawns after cutting the log since the more you wait, the more it becomes prone to contamination by harmful fungi and other pathogens.
Next, you’ll need to source the lion’s mane spawn plugs. You’ll need about 30 spawn plugs to populate a 3-feet long log. Other than the log and spawn plugs, you’ll also need some additional equipment to inoculate the logs:
- Drill with 5/16” drill bits
- Hammer
- Wax
- Small paintbrush

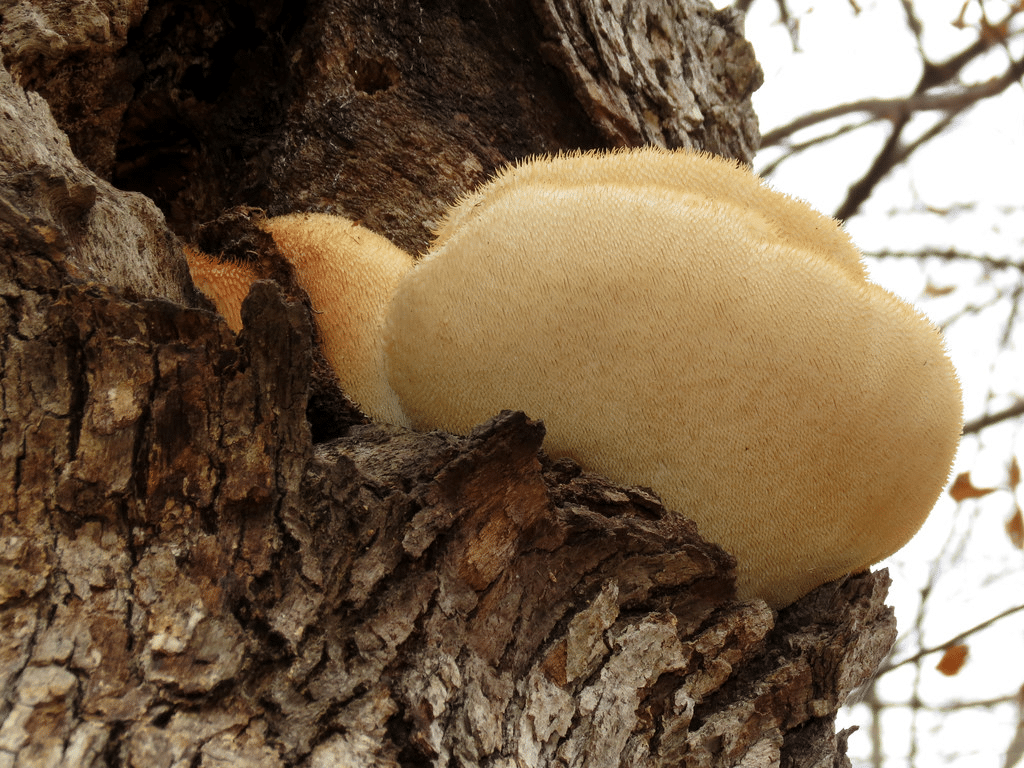
- Hericium erinaceus - aka Lions Mane, Bearded Tooth, bearded hedgehog, pom pom mushroom
- Vast Health benefits - antioxidant, anticancer, ect
- Grows on healthy, dormant oak logs, large prolific fruits in 16 - 24 months, and then throughout the years to come
Prices pulled from the Amazon Product Advertising API on:
Product prices and availability are accurate as of the date/time indicated and are subject to change. Any price and availability information displayed on [relevant Amazon Site(s), as applicable] at the time of purchase will apply to the purchase of this product.
Step 2: Inoculating The Logs
Now that you have all the equipment, the next step is to introduce mushroom culture to the log. This is done by inoculating the logs. Drill holes that are 1 inch deep and 6 inches apart along the length of the log.
Once all the holes are drilled, push the spawn plugs into the holes and hammer them gently to secure them properly in the space. Melt wax in a double boiler and use a small brush to spread it over the holes, sealing the spawn plugs in place and blocking all entrances from where harmful pathogens might enter.
Step 3: Care During Incubation
Once the mushroom spawns are plugged into the log, place it at a shady spot. Stack them in a way that the mushrooms can get ample air circulation and humidity. Water them once or twice a week for a good 10 minutes, ensuring the log is sufficiently moist at all times. If it dries out, the mycelium will die.
Step 4: Harvest!
Though you’ll find the first small flush of mushrooms in about 6 months, you’ll need to wait at least 2 years for it to bear a substantial harvest. A mature colony can continue fruiting for 6 years! So the long incubation period is worth the wait.
If there’s no sign of fruiting even after 12 months of incubating the logs, you can initiate fruiting by soaking the entire log in cold water for 12 hours before returning it to the shady spot. Once the logs start fruiting, your lion’s mane mushrooms will be ready for picking in about 2 weeks.
Harvest them once they stop growing bigger. If you wait too long to harvest, the spines will grow pink or brown and the flavor starts diminishing. Just cut the ball off the base using a sharp knife, taking care not to damage it.
How To Grow Lion’s Mane Mushrooms Indoors
You don’t need a log or outdoor space to grow lions mane mushrooms. They’ll even grow perfectly in grow bags inside your house. Here’s how to grow a lion’s mane indoors:
Step 1: Gather Lion’s Mane Growing Supplies
Here’s what you’ll need to get started:
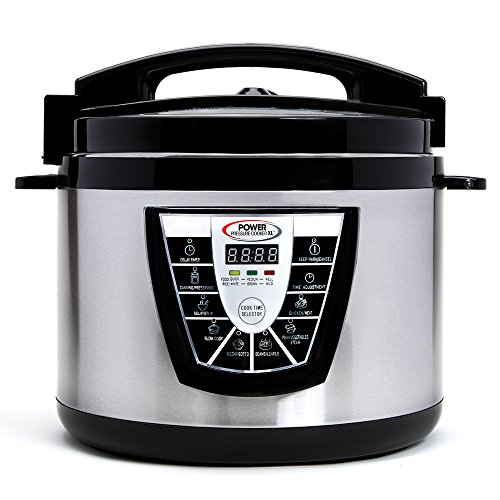
- Includes Measuring Cup Ladle Condensation Collector Steamer Tray Canning Rack Power Chopper
- 7 digital pre-sets let you cook with just one touch – 1700-Watt Power Pressure Cooker XL does the rest with very little clean-up afterward
- 10X faster slow cooking; save money by using cheaper cuts of meat – the Power Pressure Cooker XL tenderizes ribs, steaks, pot roast and more to juicy perfection
Prices pulled from the Amazon Product Advertising API on:
Product prices and availability are accurate as of the date/time indicated and are subject to change. Any price and availability information displayed on [relevant Amazon Site(s), as applicable] at the time of purchase will apply to the purchase of this product.

- Set Include: 55 Large Mushroom Growing Bags Size 6 X 5 X 20 0.2 Micron Filter Breathable Sealable, autoclavable and durable.
- Using these bags for running spawn, and the mycelial fermentation cycle can be shortened.
- Suitable for many kinds of bacterial Mushrooms and bamboo fungus Ganoderma mushroom, Apply to Wood chips
Prices pulled from the Amazon Product Advertising API on:
Product prices and availability are accurate as of the date/time indicated and are subject to change. Any price and availability information displayed on [relevant Amazon Site(s), as applicable] at the time of purchase will apply to the purchase of this product.
- Soy hulls, 450 g
- Hardwood fuel pellets, 450 g
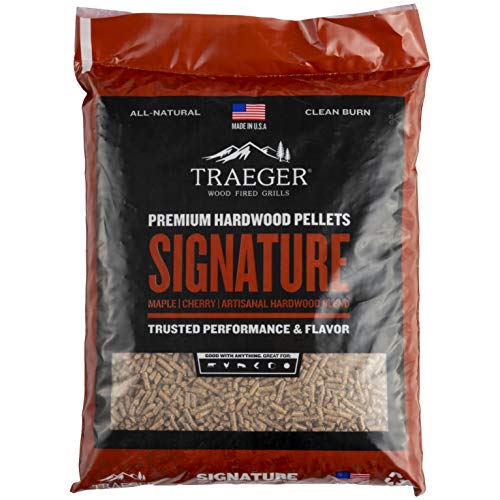
- SIGNATURE BLEND WOOD FIRED FLAVOR: The flavors of hickory, maple, and cherry hardwoods combine for in our Traeger Signature Blend Hardwood Pellets for flavor that can take on just about anything you cook.
- PAIRS WELL WITH EVERYTHING: Pairs especially well with Beef, Poultry, Pork, Lamb, Seafood, Baked Goods, Vegetables
- FEATURES: Made in USA, Premium Quality, All-Natural, Clean Burn, No Binders, Low Ash, 20lb
Prices pulled from the Amazon Product Advertising API on:
Product prices and availability are accurate as of the date/time indicated and are subject to change. Any price and availability information displayed on [relevant Amazon Site(s), as applicable] at the time of purchase will apply to the purchase of this product.
- Water
- Lion’s Mane Spawn, grain form

- Grow your own delicious and nutritious gourmet and medicinal mushrooms at home;
- Save on costs compared to grocery store or farmers market;
- Engage your children and other family members in a project that will fascinate and entertain;
Prices pulled from the Amazon Product Advertising API on:
Product prices and availability are accurate as of the date/time indicated and are subject to change. Any price and availability information displayed on [relevant Amazon Site(s), as applicable] at the time of purchase will apply to the purchase of this product.
Step 2: Prepare Substrate
- Add hardwood fuel pellets and soy hulls to a filter patch grow bag.
- If a filter patch grow bag isn’t available, you can puncture several tiny holes in any grow bag to serve the purpose.
- Add 1.4 L of water to the contents of the grow bag.
- Fold the grow bags tightly to expel any additional air inside the bag and compact the
- contents as much as possible.
- Next, place the folded bags in a pressure cooker to sterilize them for 90 minutes at a pressure of 15 PSI.
Step 3: Inoculate The Substrate
Once the substrate has cooled down after sterilization, it’s ready to be inoculated with the lion’s mane spawn. Measure and add 200 g of mushroom spawn to each bag. Seal the grow bag immediately after inoculation to prevent any harm or competing pathogens like yeast or mold from getting in. You can seal it with clips or zip ties.
Step 4: Incubation
Place the sealed grow bag in a dark, warm room with a temperature between 68 to 75°F. Leave it in the room for 14 to 21 days or until the entire grow bag is fully colonized by mycelium.
Step 5: Fruiting

Once the bags are fully colonized, you need to introduce them to conditions that will initiate fruiting. Cut several holes in the bag to expose mycelium to fresh air and place it in a humid, shady spot. Mist the bags with water after every few hours to keep them sufficiently moist. Once you see the mushroom heads forming on the surface of the bags, they’ll grow bigger and will be ready to be harvested in 2 weeks. Harvest the balls while they’re still young for a firmer and superior texture.
Grow Lion’s Mane Mushrooms – Conclusion
So that’s how to grow lion’s mane mushrooms at home. Whether you grow them outdoors or indoors, it’s an interesting and rewarding experience. Once you’re through with the initial tricky stages and your substrate or logs start fruiting, you can continue enjoying fresh mushrooms for years! Mushrooms also have tremendous medicinal properties. So you should learn all you can.


