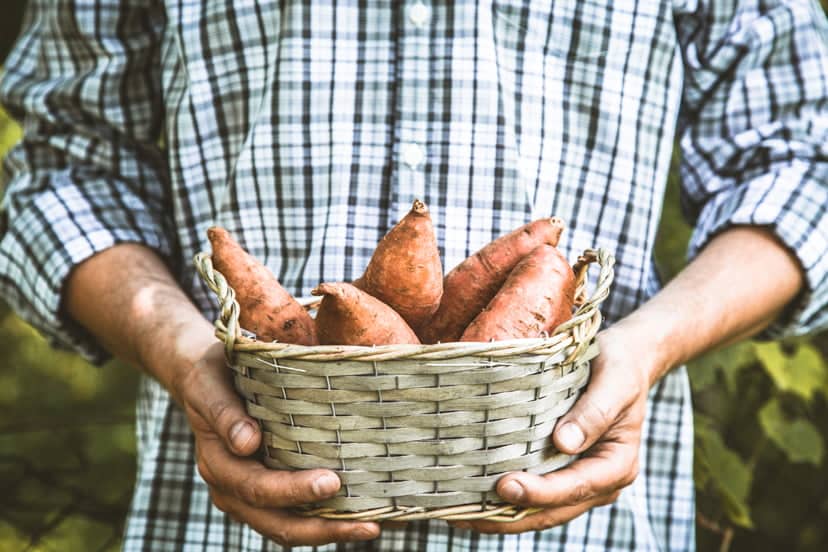
Potatoes are very versatile and you can create a variety of meals with them, from baked potatoes to french fries. Sweet potatoes are even more versatile. You can grow all year round and they taste just as good in any season. Whatever your reasons for growing sweet potatoes indoors, we’ve created the ultimate guide to help you get the best results. We’ll cover all the basics of growing potatoes inside so you can try it out yourself.
What You Need to Grow Sweet Potatoes Indoors
- Organic sweet potato
- Jar
- Toothpicks
- Scissors
- Bowl
- Pot
- Potting mix
Use a Sweet Potato to Get Started
Unlike many other plants, you don’t need seeds to get started growing potatoes. Instead, you can start with an already grown and healthy sweet potato.
There are two varieties of sweet potatoes. The first is the vegetable variety. They’re grown for their edible roots. The other variety is grown for their ornamental foliage. As the name implies, the ornamental sweet potato is mostly for looks. You can eat it but your taste buds will like the vegetable variety so much more. Make sure you use the right sweet potato varieties to grow potatoes indoors.
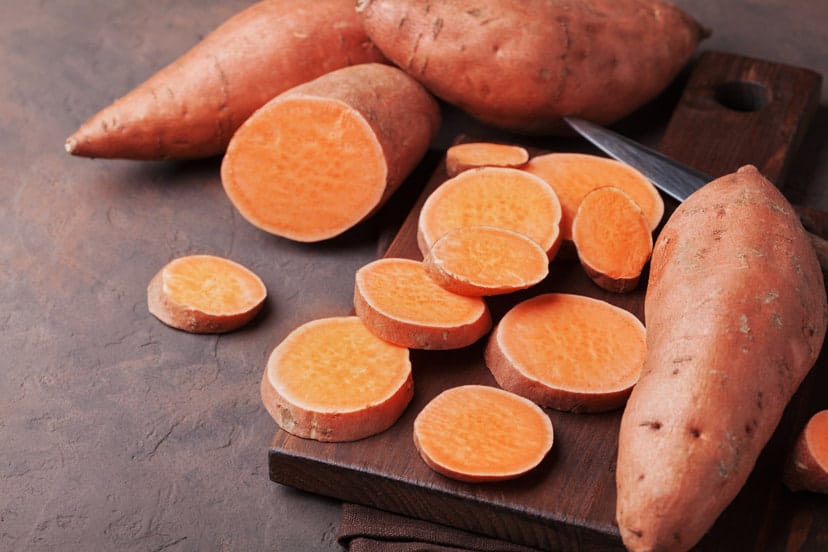
Source: canva.com
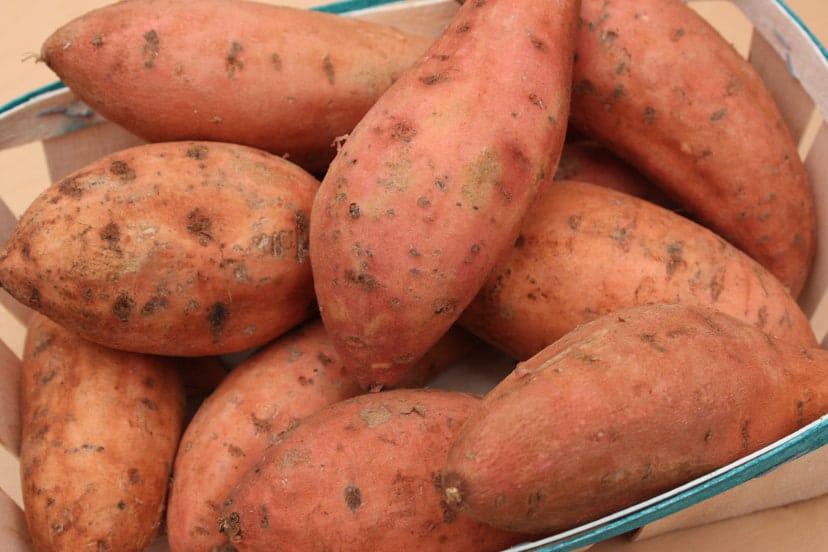
When you buy a potato to start with, organic is best since they’re untreated with chemicals. If your starter potato has been treated with chemicals, you won’t be able to cultivate slips from it.
Sweet potato slips are the sprouts that grow off the potato when it’s underwater for a long amount of time. These sprouts allow you to start growing sweet potatoes.
To check that the sweet potato you’re using hasn’t been in contact with chemicals, check out the root nodes. When they seem to be swelling, it means they’re almost ready to sprout.
Get Your Sweet Potato Jar Ready
If you want your sweet potato to grow, it needs constant water. To do that, you have to place it in a jar of water.
The right jar should allow the bottom ⅓ of your potato to soak in the water. This jar should be at least four inches deep. You don’t want the potato touching the bottom because it needs room for the roots to grow.
The top part of your potato should sit above the jar. It will be thicker so it doesn’t fall inside the jar.
You can buy a special rooting jar but a jam jar works as well. If you can’t find a jar that holds the upper portion of the sweet potato above the water, toothpicks will come in handy. Place the toothpicks around the upper circumference of the potato. Each toothpick should go in about 1/2 to an inch deep. Space them evenly around the circumference.
Place the Sweet Potato Jar in Sunlight
Source: canva.com
Now, place your sweet potato in direct light. You can use grow lights but the best sweet potatoes are grown using the sun so, if possible, stick to natural sunlight. It helps to place the jar by a window or on a ledge that sits in the sunlight during the day.
You also need to maintain a specific temperature range for optimal growth. Try to keep it at least 50 degrees Fahrenheit but 75 degrees is best.
Change the water every few days. The potato needs proper hydration the entire time and it’s important to make sure that hydration is fresh and not dirty.
You might want to consider using distilled water. Certain areas have tap water full of different chemicals that stop your potato from sprouting.
Move the Sweet Potato to a Bowl of Water
Growing sweet potatoes indoors is a long process. After about three to four weeks, slips start growing from the potato. A few weeks after that, the slips start to grow vertically. And they’ll be leafy. You can cut them off once they’re about five inches tall.
You have to cut them off the bottom while still leaving an inch of roots. You can twist them but if they don’t want to come off, you need a pair of scissors.
You’ll also need to remove the lower leaves. Make sure you don’t cut any part of the stem.
Place the sweet potato slips in a shallow bowl of water for three to four days. The stem should be underwater but any remaining leaves should be hanging outside of the bowl.
Soaking the slips for a few days allows the roots to expand and develop. They need to be at least an inch long before you head to the next step.
Transfer the Slips into a Pot
Source: canva.com
You’ve developed sweet potato roots so you’ve finished the hardest part of the growing process.
Now, transfer the roots to a good-sized pot. It should be wide and deep enough so the roots can spread out. This creates bigger sweet potatoes.
The bottom of the pot needs at least one hole so extra water can drain through instead of soaking the soil.
Since you’re growing inside, potting soil mix is a great choice. It should be an inch or so below the rim of the pot and loose, not compact.
The sweet potato needs extra nutrients to thrive. Add fertilizer, mixing it into the potting soil. You want some of it to make it to the bottom so it’s spread throughout.
Create a hole in the center of your potting mix deep enough that the soil will cover the roots of the slip. Avoid air pockets in the soil. Plant the roots.
Your slip needs sunlight and warm temperatures. The soil should always be moist so check it daily.
It takes about three to four months for your sweet potatoes to finish growing.
The Bottom Line on Growing Sweet Potatoes Indoors
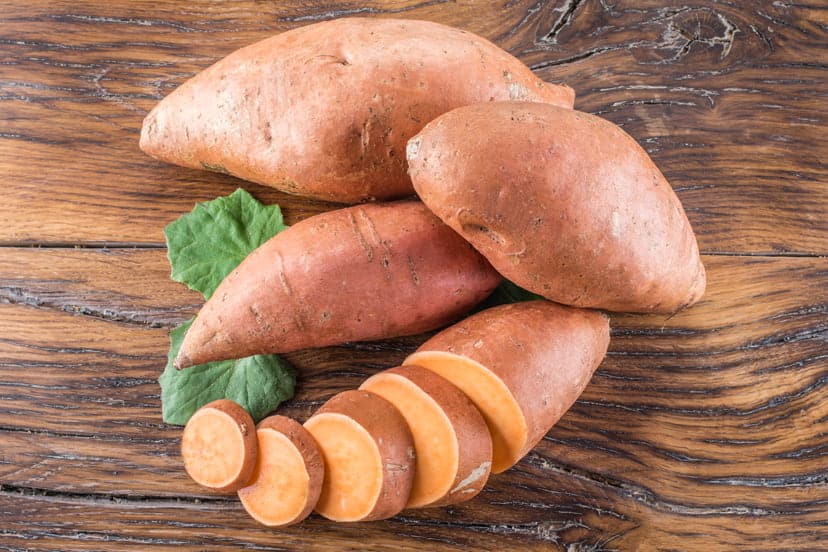
It takes a while to get sweet potatoes but it’s worth it in the end. There are so many options to try out in the kitchen when it comes to these yummy potatoes.
To learn more, sign up for our newsletter here.
Source of Featured Image: canva.com