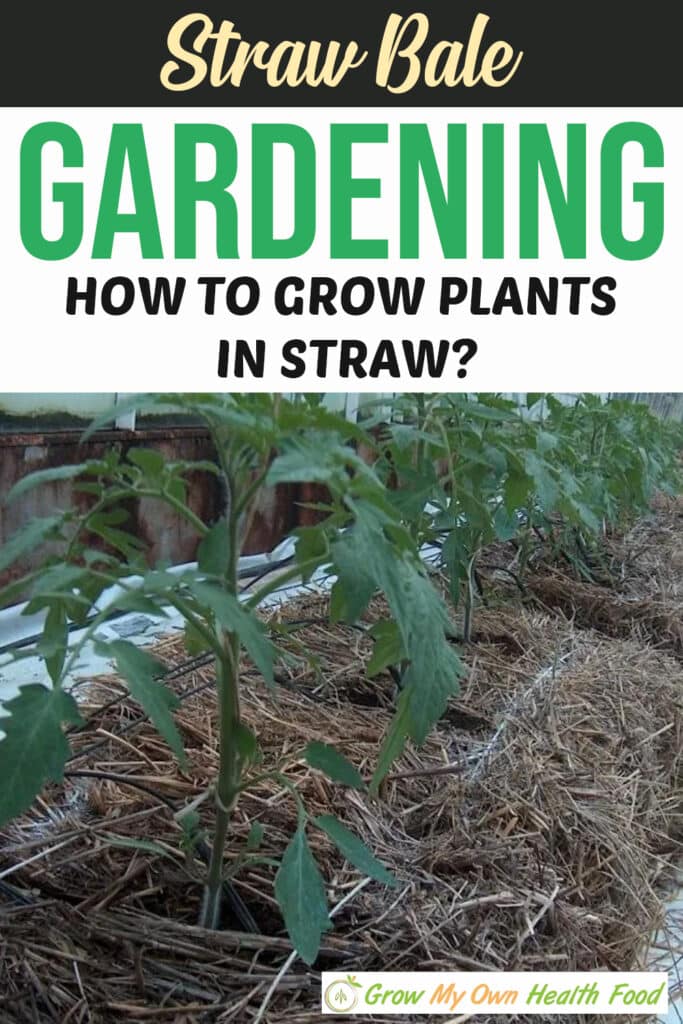
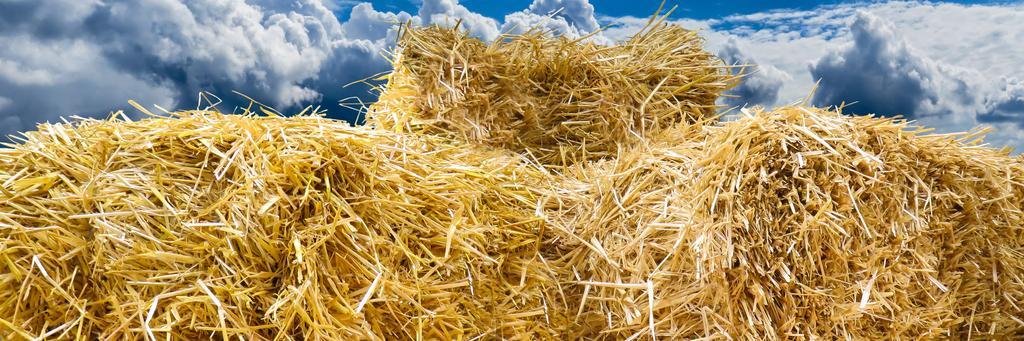
Straw bales don’t just make livestock fodder and bedding. These inexpensive by-products of cereal harvests can also host a thriving garden! Think of it as a raised bed, with walls made of straw bales. Conditioned with only a little soil and fertilizer, straw bale gardening makes the perfect home for your plants, disintegrating over time to provide a consistent supply of nutrients to the plants growing in it.
What are the benefits of straw bale gardening, what’s the technique and what plants grow best in straw bales? Read on, and you’ll find out everything to get you started on your own straw bale garden in your backyard.
Straw Bale or Hay Bale Gardening?
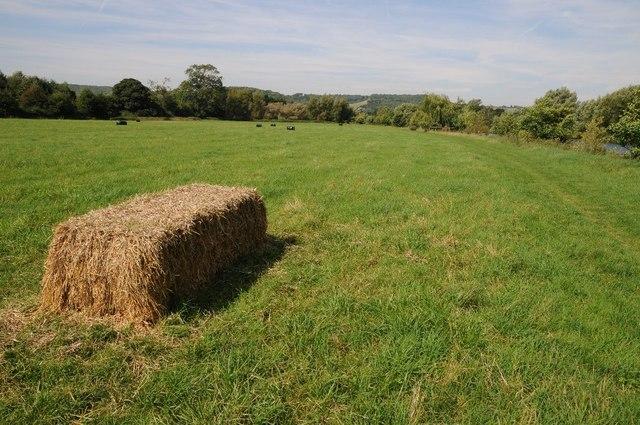
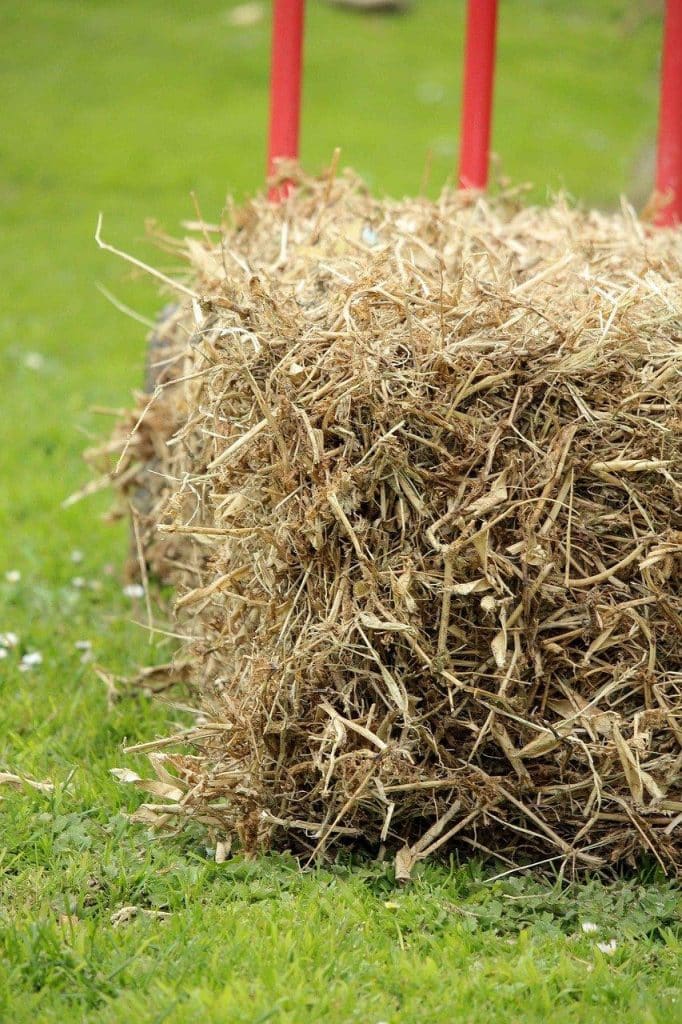
One thing you need to remember is to use straw bales and not hay bales. As a beginner, it’s easy to confuse the two, but they are very different. Hay is dried grass or alfalfa and may have weed seeds in them that will find their way into your garden.
In contrast, straw bales are the thin stalks left behind after grains like wheat and barley are harvested. Since the seeds are already harvested, what’s left behind is weed-free stalks, perfect for straw bale gardening!
Benefits of Straw Bale Gardening
Looking for some motivation before building your own straw bale garden. Here are some of the significant benefits:
- Just like raised beds, straw bale gardening offers a way around heavy, clayey or diseased soil. While it takes plenty of time and labor to amend heavy soil, straw bale gardening offers a faster approach to growing vegetable crops and more.
- Straw bale gardening saves much of the labor involved in in-ground gardening. You won’t find yourself digging and weeding when growing crops in straw bales.
- Straw bale gardening is much cheaper than raised beds. With raised beds, you’ll need to purchase the material together with a large quantity of packaged soil before you can plant anything. Straw bales, which is much cheaper, serve as the garden bed as well as the growing medium. You’ll only need to add a small amount of soil and fertilizer to get started.
- With straw bale gardening, you’re not restricted by your garden space. Whether you have a yard or a small porch, you can set up your straw bale garden wherever there’s ample sunlight.
- The used up straw bales can go into your compost pile at the end of the growing season.
What To Plant in Straw Bales (and not)

There isn’t much that you can’t grow in straw bales. Most vegetables (Tomato Plants), herbs, flowers and ornamental plants grow happily in a straw bale garden. However, some plants are easier to grow in straw bales than others.
- Tomatoes, zucchinis, gourds, beans, lettuce, strawberries, and cucumbers grow well in straw bales. You can plant the seeds directly in the straw bale or start with seedlings.
- Root crops, like potatoes, sweet potatoes, turnips, carrots and radishes, don’t grow well in straw bales.
- Corn should be avoided too since it grows too tall and heavy for a straw bale.
Starting A Straw Bale Garden: Step-By-Step Guide
When building a straw bale garden for the very first time, try to start small. Maybe only 10 bales to start with, planted with the easiest crops, like eggplants and peppers, and then you can expand once you see how it turns out. Set the garden in place at least two weeks before you plan on planting since straw bales need some time to condition.
Follow these steps to create your straw bale garden:
Where To Place a Straw Bale Garden
Choose a good spot to put your straw bales. Once the garden is in place, and the bales are watered, they’ll be too heavy to move so place them somewhere they can stay for the rest of the season. The ideal location is the one that receives full sun. Most vegetables need at least 8 hours of direct sunlight to thrive, although some can also grow in partial shade.
You can place them in your yard, or even a porch or driveway, as long as it’s sunny there. Avoid placing them over wooden decks, since wood can easily damage with the constant wetness. Make sure there’s a water source nearby.
- Arrange The Bales
You can arrange the bales any way you prefer. Most gardeners put them in parallel rows, or arrange them in an L or U. Make sure the garden is accessible from all sides to tend the plants.
If you’re placing them over your garden soil, lay newspaper, landscaping fabric or mulch before putting the straw bales over them to prevent weeds in your garden. Place the straw bales over them such that the narrow side that has the cut edges of the straw is facing upwards. Don’t remove the string since it keeps the garden in shape.
Conditioning a Straw Bale Garden
Once the bales are in place, the conditioning process starts. It will take days for the straw bales to be ready for planting. Sprinkle high-nitrogen fertilizer (apply at the rate recommended on the package) over the top of the bales and water over it. Water enough to saturate the bales, or until moisture comes out through the bottom of the bales. Fertilize and water every other day. On the days that you don’t fertilize, just soak the bales with water.
After about a week, continue fertilizing every other day but use the fertilizer at half the recommended amount. Continue watering every day for about ten days from the start of the conditioning process.
Straw bales will begin to warm and decompose in about 10 days or so. When it feels warm to touch, it’s ready. If it’s hot, you’ll need to water it for another day or two, without any fertilization.
- Layer It With Soil
If you’re planting seeds, apply a 2 to 3-inch layer of potting soil mixed with compost over the straw bales. However, you don’t need any additional growing medium when transplanting seedlings – you can skip this step.
How To Plant in a Straw Bale
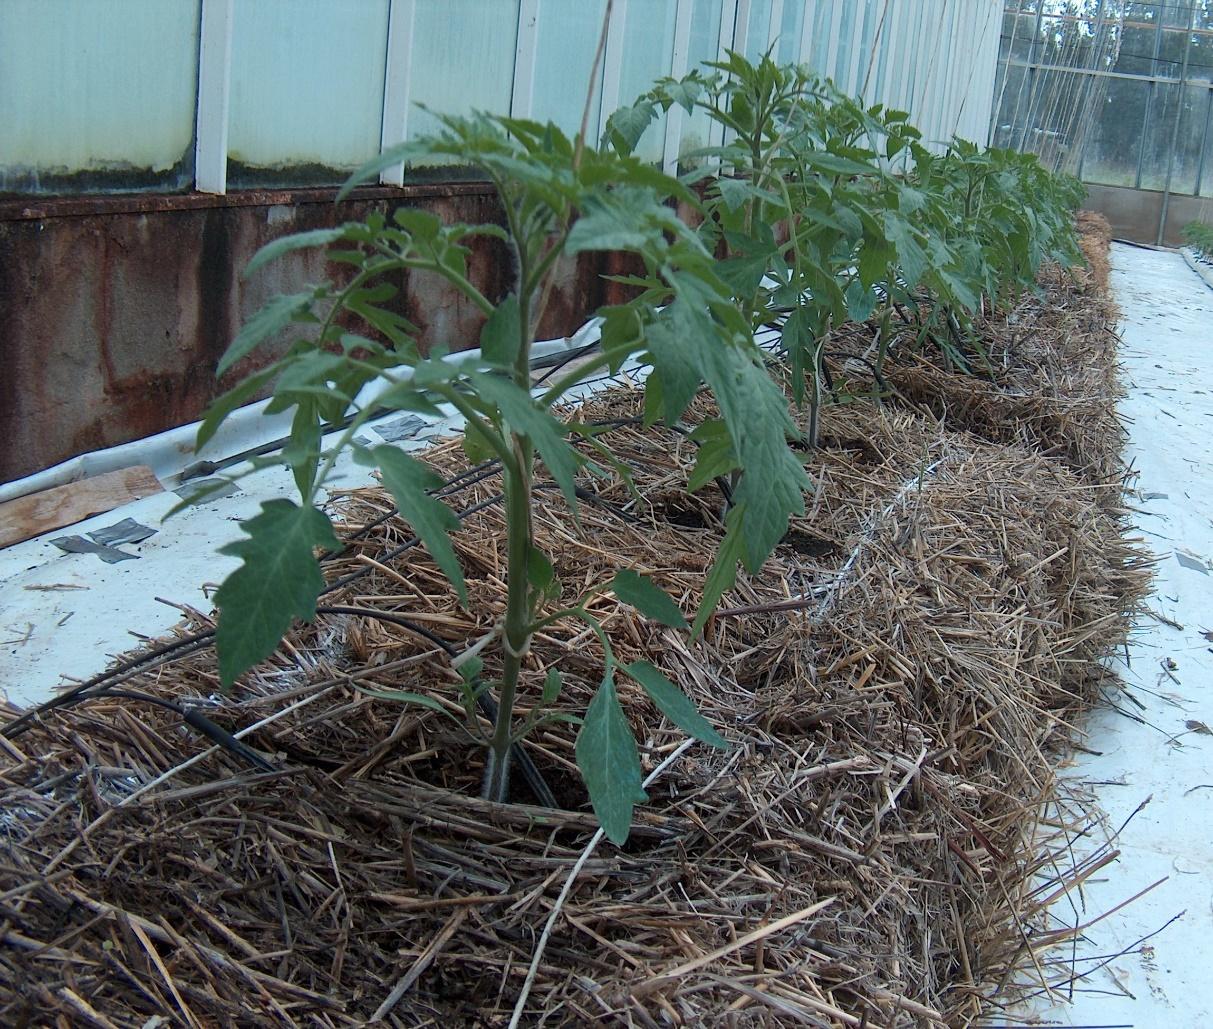
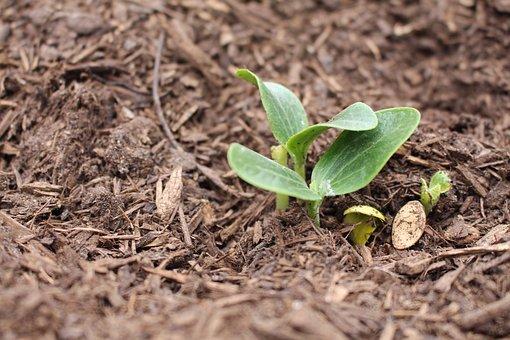
For transplants, make a gap, about the size of the root ball, on the top side of the bale. Slide the seedling out of its original container, and place it into the hole. Don’t remove the soil that’s attached to the roots. Once the plant is in, push the straw back in place to cover the roots and water well.
For planting seeds, push them about ½ inch deep in the soil-compost mix and water them. Keep the medium consistently moist until they sprout. Use your best judgement to determine the number of plants per bale. How big the plant will be is important.
- Staking The Plants
For the plants that need support, like tomatoes or cucumbers, install the stakes at the time of planting. Make sure they’re long enough to grow through the base of the bales and into the garden soil.
Care And Maintenance Tips For A Straw Bale Garden
Once you’ve set up a straw bale garden, it’s imperative to give it some attention to make sure your plants thrive, just like any other garden. Here are some tips to keep in mind:
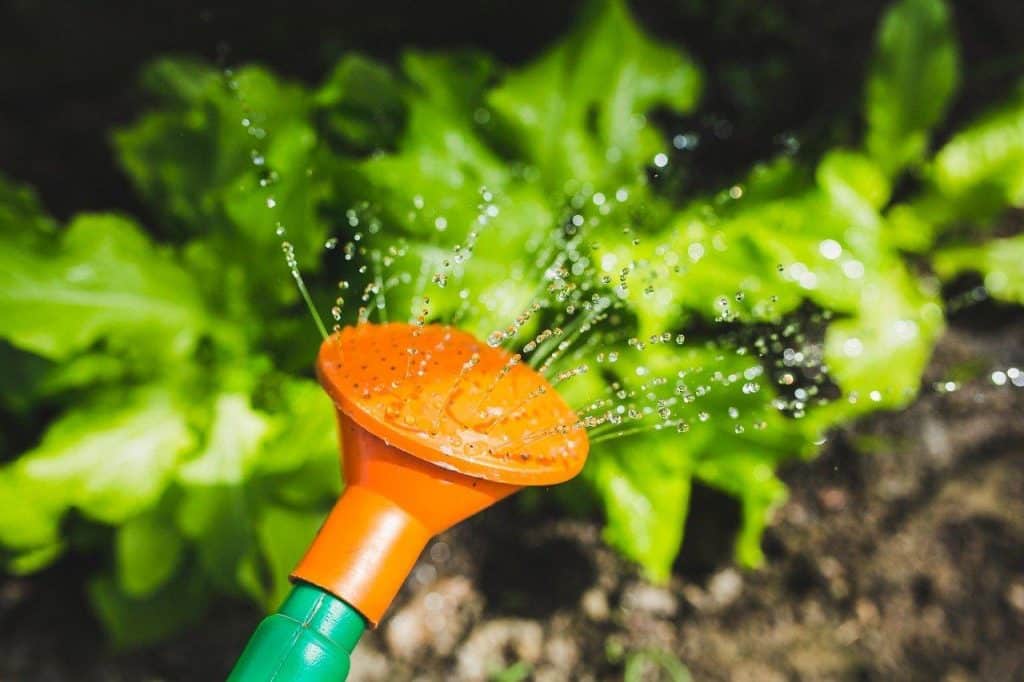
- Straw bales dry out quicker than the ground, so you’ll need to water frequently. On hot summer days, you may need to water them every day. Always water the bales, making sure you don’t soak the leaves in the process. Since excess water will move out the bottom of the bales, waterlogging is unlikely.
- Plants do get nutrients from the internal decomposition of the bales, but supplemental fertilization every once in a while is beneficial for the plants. Apply a balanced liquid fertilizer once a month to keep the plants growing at their full potential.
- Since straw bales are a good height above the ground, most pests and soil-borne diseases won’t bother your plants. However, squash bugs, cucumber beetles, and slugs may still find their way in. Applying insecticidal soap or sprinkling diatomaceous earth around the plants can help deter the pests.
- MAXIMUM STRENGTH READY TO USE SPRAY - No mixing required. Trifecta Crop Control Ready To Use is diluted at maximum strength 2oz per gallon ratio. Simply point and spray and thoroughly wet the plants until foliage is dripping including the underside of the leaves and the surface of the growing medium.
- EASY SOLUTION TO HELP BEAT MILDEW, MITES, AND MOLD - Crop Control is the natural growers choice to help protect and cure Powdery Mildew, Spider Mites, Russet Mites, Broad Mites, Botrytis, Grey Mold, Aphids, fungal and parasitic species on plants.
- SAFE FOR USE ON MOST PLANTS - Use for most crops including fruits, vegetables, herbs, spices, roses, flowers, trees, shrubs, houseplants, succulents, ornamentals and more. Save time and money with this quick and easy solution to mildew, mold, and fungus. *Test spray a few leaves full application*
- FARMER RECOMMENDED - Unique blend of food-grade PREMIUM essential oils including garlic, thyme, clove and peppermint oils broken down to NANO-SIZE particles for MAXIMUM COVERAGE. Crop Control is made with natural food-grade ingredients so you can feel good about what you are putting on your plants and the planet.
- GUARANTEED TO WORK FOR YOU - We are totally confident that Trifecta Crop Control will work for you, as it has for thousands of other growers. With your Trifecta Crop Control purchase, you are protected by Amazons money-back guarantee (all terms apply) so you can order now with CONFIDENCE.
Prices pulled from the Amazon Product Advertising API on:
Product prices and availability are accurate as of the date/time indicated and are subject to change. Any price and availability information displayed on [relevant Amazon Site(s), as applicable] at the time of purchase will apply to the purchase of this product.
Don’t Throw Out the Straw Bales At The End Of The Season!
Though the straw bale garden only lasts for a single growing season, the spent straw bales can be used for other purposes. You can either dump them into the compost pile or use the rich mass of organic matter to amend the garden.
You can also add them to containers and grow new plants! Used straw bales also make nutrient-rich mulch for the next growing season.
Some gardeners also use them to plant garlic in the fall, if the bales still hold up well, once the summer vegetables are harvested.
In short, they’re plenty of ways to recycle your straw bale garden!
Straw Bale Gardening Conclusion
Now that you know everything about straw bale gardening, are you ready to start growing in straw? Try out the unique technique this season and harvest some fresh, homegrown vegetables in just a few months!