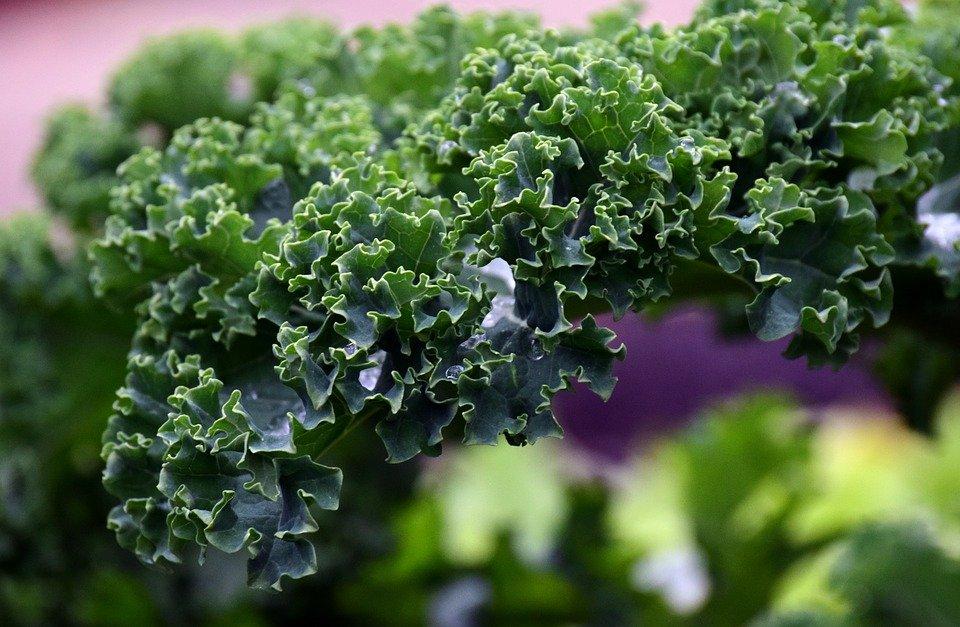
There are many people who do not like kale and refuse to eat it. What these people do not know is that kale is one microgreen that is extremely dense with nutrients. The kale microgreen doesn’t seem to have the “tough to chew” properties that regular kale has. So go ahead, grow kale microgreens in your kitchen and become a kale fan finally.
Kale Microgreen Benefits
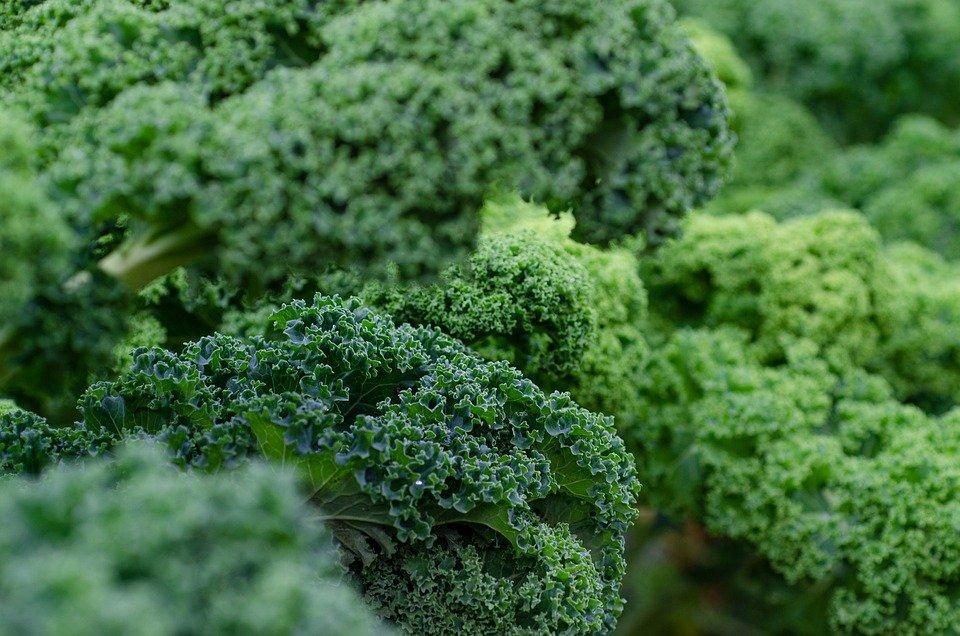
Kale has many medicinal properties which make it one of the healthiest plant foods that exist. Individuals who are fond of kale speak highly of the plant as well. This microgreen is easily available in the market, but sometimes markets have old and leftover kale. It is best to consume fresh kale to attain its maximum health benefits. The best way to have easy access to fresh kale is to grow the plant yourself. There are many people who are apprehensive when it comes to growing their own microgreens but what they do not know is that kale is something you simply can’t mess up. It is a relatively easy microgreen to plant and grow.
Steps to Grow Kale Microgreens in the Best Way Possible
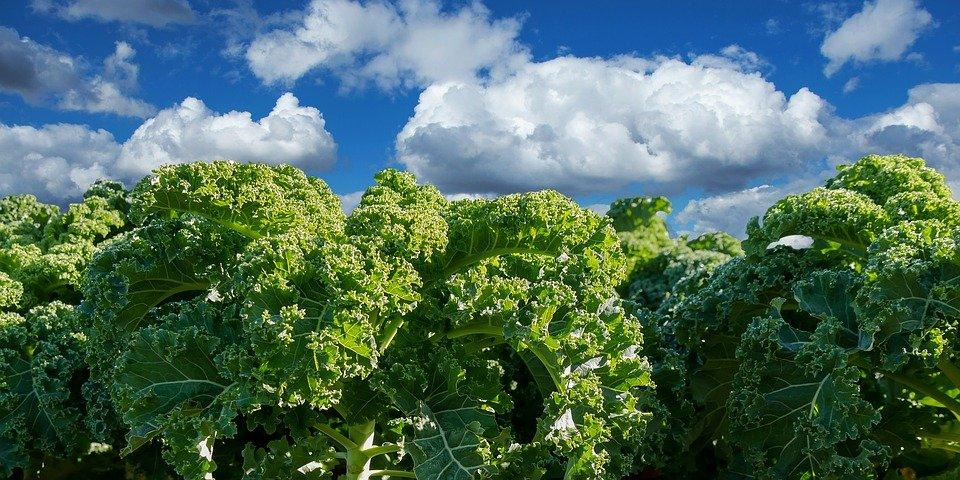
Before you dive into the whole planting world there are some essentials you need to be aware of. First of all, even though kale is a super easy plant to grow it still requires time and care. You cannot just expect it to grow without proper care. Hence, you need to take out some time to look after the plant. But worry not, kale does not require extensive care and pampering. If you think you have the time and patience to grow a plant then go for it. Another thing to think about is the space where you will grow the plant.
If you have your own home with a garden then it is rather simple, any space in the garden will be good enough to grow kale without a hassle. If you are living in an apartment complex or don’t have a home with a garden, then you can go for a rooftop garden or a terrace garden. It is strongly recommended that if you are a beginner in the world of plants then don’t go all out for the first time. Start small and see how it goes, simply follow the steps for growing kale microgreens mentioned in detail and you’re good to go.
Materials Needed for Growing Kale Microgreens
(Complete Shopping List Below)
The list of things needed to grow kale is not long, just some basics are required. If you are a regular gardener then you probably already have the majority of the material available. The most basic item on the list of materials needed would be the seeds. The seeds for kale are easily available online and in any seeds store. Moving on you will need some containers, you can use containers of any size depending on the amount of kale you wish to grow, usually, beginners use 10X20 growing trays.
Furthermore, you will need potting soil, the soil acts as the basic food for the plant and that is why the type of soil you use is extremely important. Many people use a mix of potting soil, for example, you can use a 50/50 ratio of organic potting soil and coconut coir. One important thing to note would be that if you are planning on growing kale indoors then you should also get a light. A basic 4’ T5 CFL grow light would do wonders for the kale if you are going for indoor planting. The last item on the list of essentials is a spray bottle, this will come to be super handy during the kale growing process.

The Planting Microgreens Phase
To begin the planting process, you simply need to take the container and you need to fill it with the potting soil to the brim. After the container is filled with the soil, gently pat the soil down but do not be harsh about it as that will give the roots a tough time digging in. Side by side you need to make sure to mist the soil a little. Make sure that the container has an even distribution of the seeds. After the seeds have been planted you have to mist the seeds again and then cover them with a cloth or something else so that all light is kept out.
The Growing Phase
Within the period of about 3 days, the seeds will start to germinate and during the course of the three days, you need to keep a check on the kale to check whether or not it is germinating. Side by side also make sure to lightly mist the kale micros with water. Now if after three days there are no signs of germination then something has gone wrong. It could be that you used a bad seed or maybe the temperature was bad for the growth. Finally, after 3-4 days the kale will be ready to welcome the sun. In the week that follows you need to make sure to regularly water the kale microgreens.
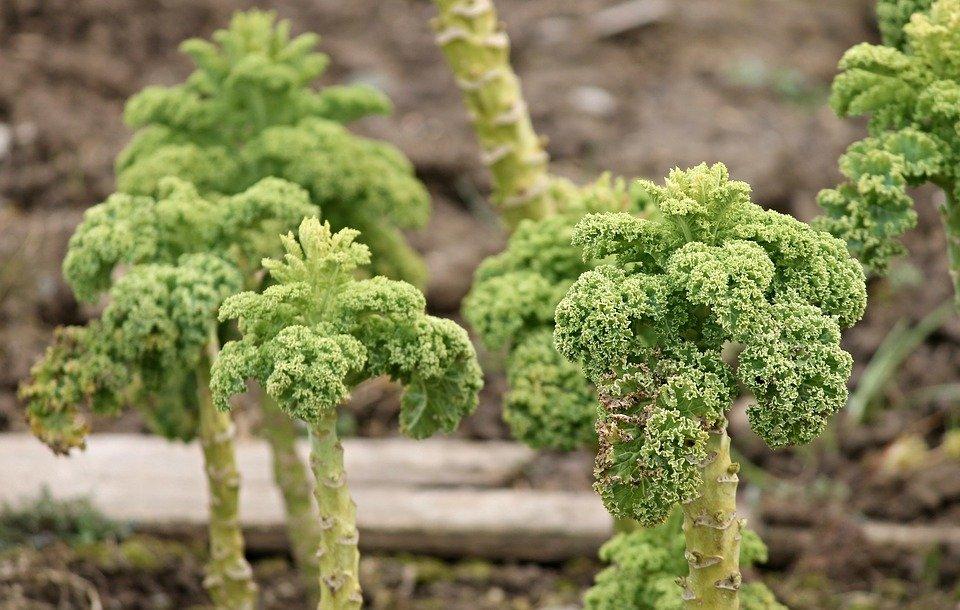
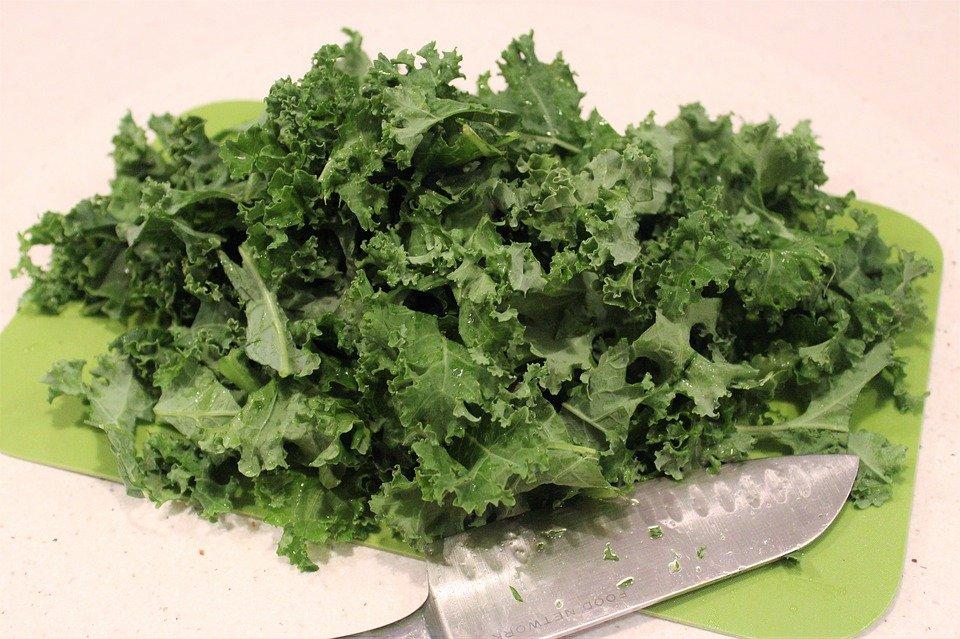
The Harvesting Microgreens Phase
Kale microgreens are ready to be harvested after 10 days of planting. Now the choice will fall onto you, do you want to let the plant grow bigger or keep the baby greens? An important tip for harvesting is that you avoid the need to wash the plant, washing usually leads to a decrease in the shelf life of the plant. Use a sharp knife to harvest the greens and store them in a dry place.
Equipment to Grow Kale Microgreens
Kale Microgreen Seeds

- THREE OF OUR FAVORITE Heirloom kale sprouting seed varieties. Perfect for sprouting & growing microgreens.
- CONTAINS RED RUSSIAN Kale Seeds, Premier Kale & Vates Blue Curled Scotch Curly Kale Seeds. Mild, flavorful & nutrient rich.
- KALE SPROUTS are rich in sulforaphane, a compound found in cruciferous vegetables.
Prices pulled from the Amazon Product Advertising API on:
Product prices and availability are accurate as of the date/time indicated and are subject to change. Any price and availability information displayed on [relevant Amazon Site(s), as applicable] at the time of purchase will apply to the purchase of this product.
Growing Trays
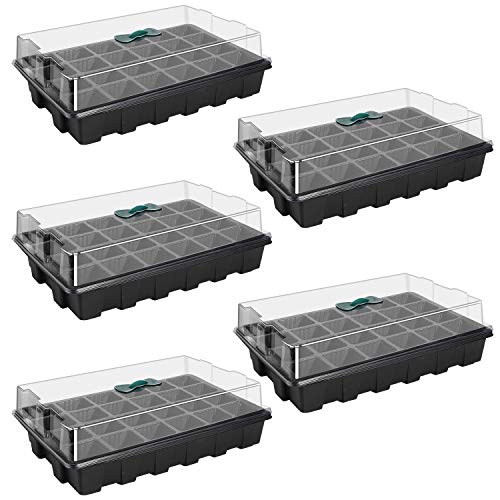
- Plant Germination Starter Kit: The seedling starter trays kit is made of PVC plastic material, and the quality is thicker, strong and not easy to deform.
- Greenhouse Grow Trays: In addition to planting vegetables, flowers, herbs and other plants in the soil, the base tray can also placing peat pellet.
- Seed Propagator Tray: 24-cell seed starting clone trays are convenient for centralized management, easy to operate and save your time and energy.
Prices pulled from the Amazon Product Advertising API on:
Product prices and availability are accurate as of the date/time indicated and are subject to change. Any price and availability information displayed on [relevant Amazon Site(s), as applicable] at the time of purchase will apply to the purchase of this product.
Epsoma Mix

- Premium Potting Mix
- Country Of Origin: United States
- Brand Name: Esp
Prices pulled from the Amazon Product Advertising API on:
Product prices and availability are accurate as of the date/time indicated and are subject to change. Any price and availability information displayed on [relevant Amazon Site(s), as applicable] at the time of purchase will apply to the purchase of this product.
Coconut Coir
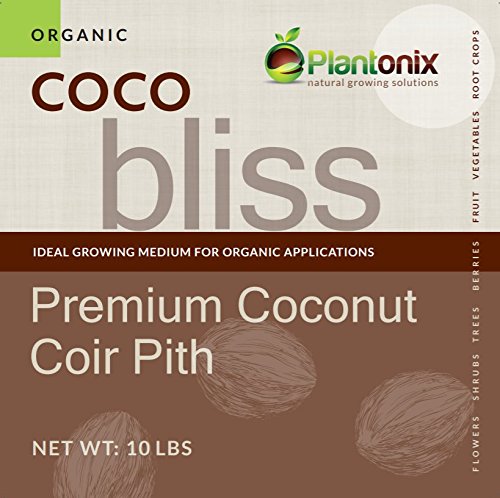
- 100% Natural & organic, OMRI Listed. Each brick weighs 10 lbs
- High-grade coconut coir with low EC and pH levels
- 100% natural, renewable replacement for peat moss, rockwool & perl
Prices pulled from the Amazon Product Advertising API on:
Product prices and availability are accurate as of the date/time indicated and are subject to change. Any price and availability information displayed on [relevant Amazon Site(s), as applicable] at the time of purchase will apply to the purchase of this product.
Grow Light
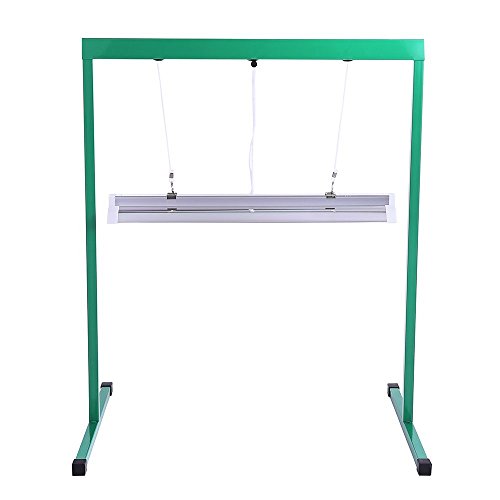
- Perfect for indoor plants: light system for starting seeds, propagating cuttings and growing indoor flowers and houseplants
- Premium quality: T5 high output fluorescent fixture with wide reflector and one T5 bulb provides maximum coverage
- Measures approximately 25 by 18-1/2 by 30 Inch, super easy assem
Prices pulled from the Amazon Product Advertising API on:
Product prices and availability are accurate as of the date/time indicated and are subject to change. Any price and availability information displayed on [relevant Amazon Site(s), as applicable] at the time of purchase will apply to the purchase of this product.
Spray Bottle

- Our 32 ounce (about 950 ml) heavy duty spray bottles are made from HDPE plastic, recycle code # 2, which is chemically resistant, safe for chemical solutions.
- Our professional sprayer features a long lasting polypropylene spray head, tight and secure cap closure, internal cap gasket, 302 stainless steel spring and a precision valve and piston for a no clog and no leak experience.
- From a fine mist to a solid stream, the sprayer can be easily adjusted to suit your needs.
Prices pulled from the Amazon Product Advertising API on:
Product prices and availability are accurate as of the date/time indicated and are subject to change. Any price and availability information displayed on [relevant Amazon Site(s), as applicable] at the time of purchase will apply to the purchase of this product.
Kale Microgreen Recipe
How to Grow Kale MicroGreens – Conclusion
Growing kale microgreens is a fun and easy process. If the above seems overwhelming still, you can check out a microgreen starter kit and add your own kale seeds. You get to experience something new and end up with a fun treat. Kale can be used in salads and many other foods as well. Moreover, if you are a health fanatic then try a kale smoothie, it will completely freshen you up and will also detox the body.