No taste quite matches the taste of fresh tomatoes. It’s hard to even find the right words to describe such a succulent taste. But if you don’t have a garden, you can’t grow them. And once winter hits, you don’t get fresh tomatoes. Right? What if I told you that you could grow tomatoes indoors any time you want in your own home?
Because you can. With a little hard work, soil, tomatoes seeds, and dedication, you can grow tomatoes indoors.
So, let’s learn all about growing tomatoes indoors.
Step #1 Picking Out Your Tomatoes Seeds
Your very first step is picking out your tomato seeds. You need to know which types of tomatoes you want and even how they grow.
There are two kinds of tomato seeds:
Determinate
One type of tomato seed best for growing tomatoes indoors is determinate seeds. Determinate seeds grow in a bush instead of a vine. After a group of tomatoes grow and you harvest, the bush is gone. There won’t be any more tomatoes growing. You’ll have to buy and plant separate seeds. If you are looking for a plant that does not become a permanent fixture in your house, then buying this type of seed is the better choice.
Heirloom Tomato Seeds for Indoor Pot
- FRESH SEEDS PACKAGED FOR CURRENT SEASON with germination rates of 90% or more so you know nearly every seed will give you a healthy plant full of delicious fruit.
- USDA ORGANIC & GMO-FREE Seeds ensure that your garden and the food that it produces are all safe, healthy and all natural!
- HEIRLOOM & OPEN POLLINATED variety produces delicious old-time flavor and also “breeds true”, meaning you can grow your own seed season after season!
- BEAUTIFUL SEED PACKET with photos and planting instructions on the back provide you everything you need for successful growing, while also making a great gift idea!
- GUARANTEED TO GROW – Sweet Yards Seed Co only sells fresh seeds with high germination rates. We guarantee your seeds will germinate or your money back, no questions asked within 60 days.
Prices pulled from the Amazon Product Advertising API on:
Product prices and availability are accurate as of the date/time indicated and are subject to change. Any price and availability information displayed on [relevant Amazon Site(s), as applicable] at the time of purchase will apply to the purchase of this product.
Czechs Bush Tomato Seeds
- Packet: ~50 seeds (0.15 gram)
- Certified organic by Oregon Tilth: OT-017423. Non-GMO, Heirloom Variety.
- Fruits approximately 90 days from seed and 70 days from transplanting. Annual.
- Grows During Summer In Most Climates
- Located in Ojai, California, United States. Plant Good Seed. Know the Source.
Prices pulled from the Amazon Product Advertising API on:
Product prices and availability are accurate as of the date/time indicated and are subject to change. Any price and availability information displayed on [relevant Amazon Site(s), as applicable] at the time of purchase will apply to the purchase of this product.
Indeterminate
The second type of tomato seeds are indeterminate seeds. They’re the type of tomatoes that grow in a vine. Even after you harvest the tomatoes, tomatoes will keep growing throughout the year. You do need to prune them once in a while. You’ll also need a small trellis or stake for the vine to wrap around and grow around. Generally, if you want tomatoes all year, the indeterminate tomato plant is what you would choose.
Dwarf Tomato Seeds
- Perfect for table top hydroponic gardens. Grows 12 to 18 inches high at maturity. Also excellent for hanging baskets and containers. Yeilds approximately 1 to 1.5 round fruit.
- Seeds freshly harvested 2020
- Seed germination approx. 4-5 days when ambient air temperature is 80 degrees fahrenheit
Prices pulled from the Amazon Product Advertising API on:
Product prices and availability are accurate as of the date/time indicated and are subject to change. Any price and availability information displayed on [relevant Amazon Site(s), as applicable] at the time of purchase will apply to the purchase of this product.
Red Slicing Tomato Seeds (Hybrid)
- Burpee exclusive. The first Tomato to ripen by independence day! indeterminate plants produce fruits that average 4 oz. All season long. Indeterminate
- Each packet contains 50 seeds
- Sow indoors 6-8 weeks before average last frost date using a Burpee seed starting kit. Transplant to the garden 4 weeks after the average last frost date. Harvest in 49 days
- Plant Height is 55. plant spread is 55. yields 4 fruit
- Annual for all growing zones from 1-11. Sunlight exposure = full-sun
- Find over 1000 Burpee vegetable, herb, and flower seeds on Amazon
- Get your seeds off to a great start with a Burpee Seed Starting Kit
- Burpee, the gardener’s best friend since 1876. Beautiful plants and everything else you need to grow the garden of your dreams from America’s most trusted seed company. No GMOs, ev
Prices pulled from the Amazon Product Advertising API on:
Product prices and availability are accurate as of the date/time indicated and are subject to change. Any price and availability information displayed on [relevant Amazon Site(s), as applicable] at the time of purchase will apply to the purchase of this product.
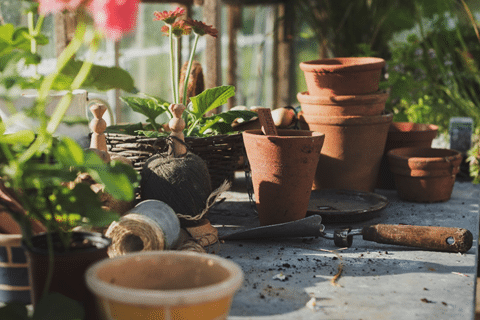
Step #2 Setting Up Your Home
You must find the perfect spot for growing tomatoes indoors. This area has to mimic outdoor conditions.
For tomato seeds to germinate, they need to be in a humid area. This means they should be in an area that’s 75 degrees Fahrenheit or higher.
They also need eight hours of sunlight. Your area needs a window or enough sun shining in that the plant gets the sunlight requirements.
Your other option is to buy an LED grow light or two. They provide light, and they give off a temperature range of 75 degrees Fahrenheit to 79 degrees Fahrenheit. Use our guide on the Best Grow Lights for Indoor Plants.
Without the proper amount of light or temperature, your plant can have stunted growth.
LEDs can increase the quality of your tomatoes since they have such wide spectra ranges.
Step #3 Planting the Tomato Seeds
Your tomato plant seeds should start in starter trays during the germination process.
Before you start, you’re going to need a potting mix instead of the normal gardening soil.
Click here to find the top potting mixes for your indoor tomato garden.
Get the potting mix moist with fresh water. You don’t want it too wet, but you need it pretty damp. Now you can fill the starter trays with the potting mix.
With the starter trays ready, it’s time to plant the seeds. When you go to plant the seeds, they need to be at least six centimeters apart, if not more.
And they need to be around five millimeters deep in the soil mix. Cover back up the holes with the potting mix.
Now, cover up the starter trays with aluminum foil and plastic wrap. This traps the moisture, so the soil stays moist. When you need to water the seeds, all you have to do is lift the covering.
It takes five to 10 days for tomato seeds to germinate.
Step #4 Transplanting the Seedlings
Once the seeds have changed into seedlings, you have to move those seedlings into a planting pot. You’ll know they’re ready when they have a leaf or two leaves.
These seedlings are going to grow into decent-sized tomato plants. So, you need a planting pot that’s at least three and a half gallons.
When you remove the seedlings from the starter trays, you have to be very careful. You don’t want to break the roots.
Start by flipping the tray upside down over the pot. One hand should be gently around the seedling. Your other hand needs to tap the bottom of the tray to loosen up the roots.
Now, comb your fingers through the roots to loosen them some more. You want the roots untangled (if they are) and spread a bit apart. Once they are, you can pull them out of the tray.
If the roots are too close or tangled, try soaking them in water for a couple of hours.
Place your seedling in the pot. Add more soil around the seedlings as needed. The roots should be towards the bottom of the pot, spread out, and covered.
Water the seedlings to help the roots spread out some more, this time in the soil.
Step #5 Care for the Seedling
You’re not done since you transplanted the seedling. You have to care for your tomatoes as they grow.
Keep an eye on how moist the potting soil is. You still have to water them. You don’t want the soil to dry out all the way. It will affect your finished tomatoes.
If your plant receives light from a window, turn it throughout the day. This makes sure all sides of it are getting adequate sunlight.
Even though your tomato seedling needs light, it also needs a break from light. So, if you’re using a grow light, you need to turn the lights out at night.
To pollinate your seedling, lightly tap the stem of the plant with your finger.
When it comes to growing indeterminate tomato seeds indoors, there are two important aspects to keep in mind.
- You have to fertilize the seedling since it’s going to produce tomatoes all year around for you. Your plants aren’t outside, so they’re not getting all the nutrients they need. Two weeks after transplanting, use fertilizer for the first time. After that, you’ll need to fertilize them every two weeks.
- The second aspect is that indeterminate tomatoes grow in a vine, but they can’t hold themselves up. Stakes are the best way for the vine to grow. You place your stake about a month after you transplant the seedling. To get the vine started, attach the stem to the stake. Tie the stake with twine every six inches to hold it up.
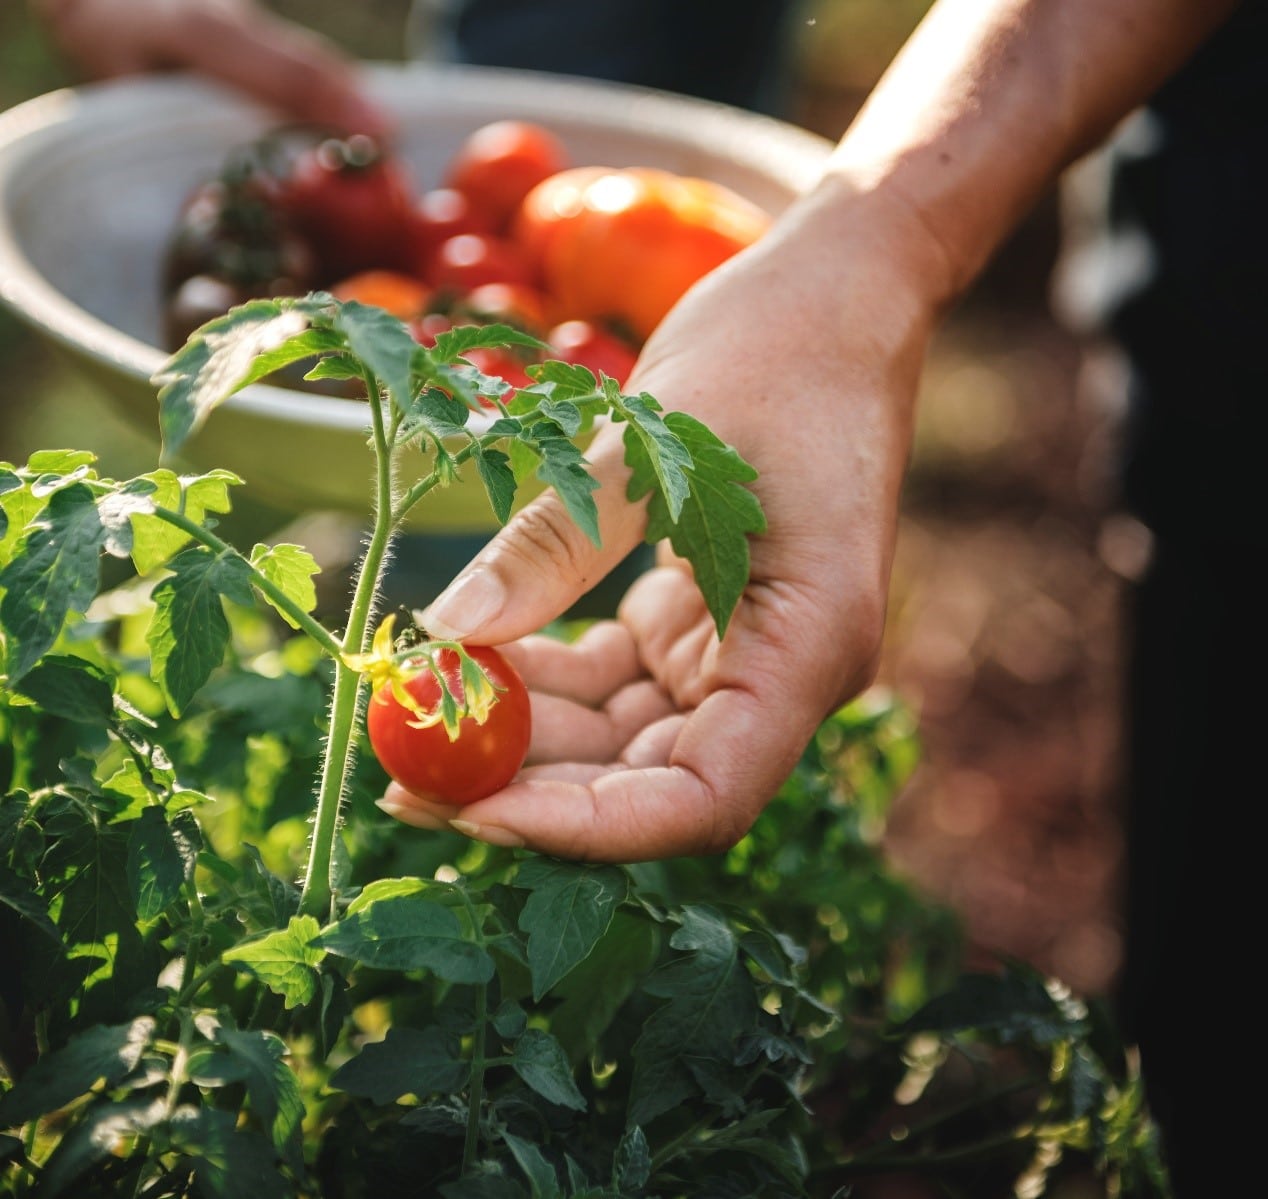
Step #6 Harvest Your Tomatoes
Are your tomatoes ready for you to harvest? You get the fruits of your labor. Literally!
It can take anywhere from 60 to 80 days after germination for your tomatoes to be ready.
You want to pick the tomatoes while they’re still a bit green. It’s better if they fully ripen off the vine.
Keep up with your plant if you want it to keep creating homegrown tomatoes for your dinner table.
The Bottom Line
You can have tomatoes all year round. And it’s not as hard as you think. Follow these six steps for growing tomatoes indoors, and you’ll thank us later.