
If you’re a beginner, you should know that Arugula Microgreens are preferred by top-rated chefs to spice up their dishes with their rare nutty flavor. This microgreen will bring about a zest to any number of your dishes that will make your guests jump to asking for your secret. It is staggering that how many uses of microgreens we have found nowadays and hence growing them safely has become very important. In a simple 9-10 days’ process you can grow your own delicious Arugula Microgreens in your own home! However, if you prefer these can be grown on a large scale too, for starters here’s a guide for you to try your first batch.
Growing Arugula Microgreens in Your Home!
Arugula microgreens are very easy to grow, they harvest in nine to ten days and their seeds are relatively cheap. You can get these seeds in bulk for around 24 dollars per pound or you can purchase small seed packets for home growing. Moreover, these seeds are easily available in seed shops and even online stores. Keep come pointers in your mind to get the best results.
Steps to Growing Arugula Microgreens
First, make sure you start planting on time. Second, do not soak the seeds as that will mess up the process. Third, you need to harvest on the right time, usually harvesting should be done on day 10.
Step one: Gathering Equipment for Growing Arugula Microgreens
(We have provided a complete list below)
We believe in our environment and our recycling hence it is our goal that you can find most of your growing materials lying around your home. With a little intuition, you will need certain items. A container that can comfortably hold your growing medium and the microgreens, preferably rectangular trays for ease of use. You will need a growing medium; usually, simple potting soil does the trick. For growing arugula microgreens, you can use natural but growing light is easier to control, for example, you can use 4’ T5 CFL. The last two items would be a spray bottle for watering and arugula seeds. Once you’ve gathered up these items or materials in your house that can mimic the required items it is time to move on to the next step.
Step two: The setup
Now that you have all your required materials it is time for you to set up your growing medium, the place where you are going to place and take care of your microgreens for the next ten days and simply get planting. Major things you need to account for before planting is to make sure that your growing medium is smooth and flat, for the depth of the medium we recommend 2” even though your microgreens will survive in 1” they won’t be able to grow to their full extent as at end stages the nutrition from the soil is used instead of the seed.
Next thing is to make sure that the medium is a bit moist and not too dry. You need to make sure that the seeds are evenly spread and are not just gathered in one certain area. Once you have planted the Arugula Microgreen seeds you need to cover them up making sure no light passes through them, you can use another one of your growing trays and put it upside down on it. Immediately move the trays to a low light area that has a moderate to cool temperature of 21.2 °C. This step is key for good germination to take place. Once you’re done here, we move on to the next stage.
Step three: The Growing
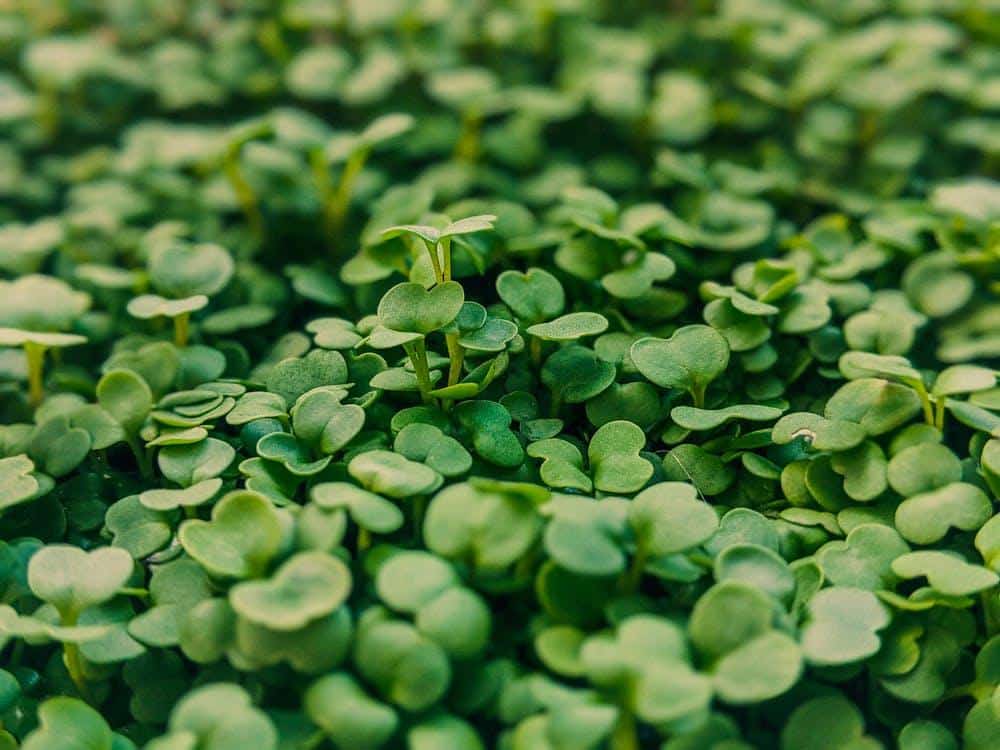
Now you will require consistency in caring for your Arugula Microgreens, this will make sure you get the most desirable outcomes on harvesting day. Every day you need to uncover your planted seeds and spray water over them to moisturize. However, do not overspray or you will flood the seeds, and mold will grow. The germination for these takes around THREE days for which you have to keep an eye out to ensure there isn’t mold. The growing roots will soon start to look like mold but to differentiate you will see a clear growing pattern in the roots and a cluster around the taproot, that is when you know you’re all good to go.
At around day 5 or 6, your microgreens will be ready to be moved into the light. Uncover them and place the tray in the desired light. If you put them outside, you will be required to water them more often so that they don’t wilt. A general rule for watering is, the deeper your growing medium the less watering you require. If you keep them indoors you do not need to modify your watering routine.
Step four: Harvesting Your Arugula Microgreens
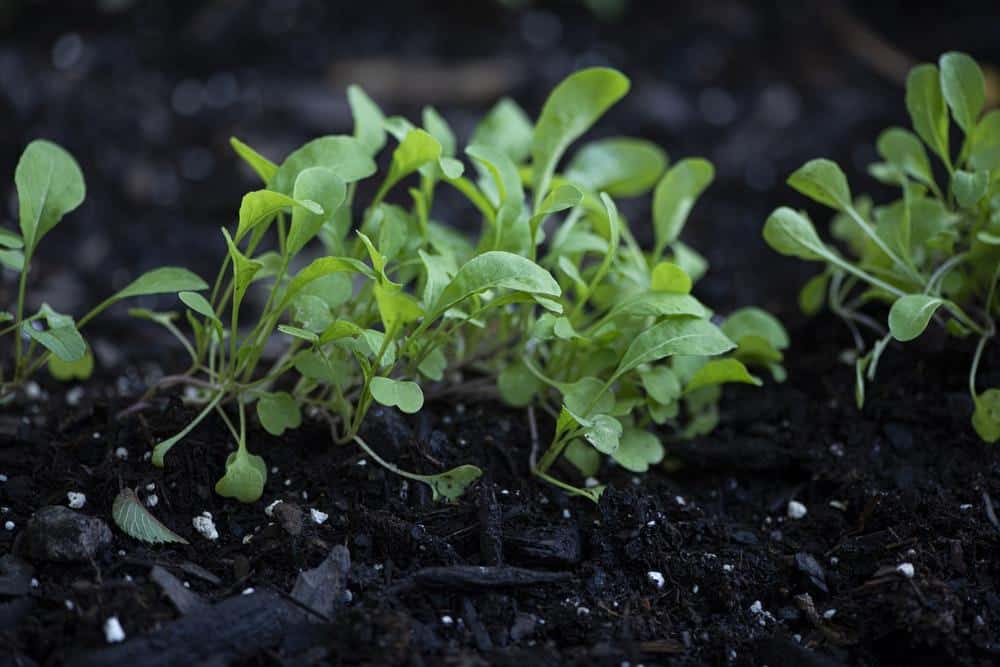
You’ve finally made it to the most exciting bit of this entire journey, the harvest. As your microgreens reach around 2” tall and their leaves are bright green and all opened up, you know you are ready to harvest. Now you can dig out your Arugula Microgreens. Know that will require the washing off of the soil which is not just a hassle but it also reduces the shelf life of your microgreens. We recommend that you cut the microgreens a quarter or half an inch above your growing medium and store them in an air-tight container so they remain fresh for the longest time which would be around 7 to 8 days, after which they start to wilt.
Equipment for Growing Arugula Microgreens
Arugula Microgreen Seeds
- VEGAN - PALEO - RAW - Growing arugula seed alongside other microgreen seeds and sprouts seeds is one of the simplest ways to introduce antioxidant-rich nutrients to your diet.
- BREAKFAST - LUNCH - DINNER - Arugula seeds are wonderful edible micro greens seeds used to garnish egg dishes and breakfast casseroles and hashes.
- INDOOR MICROGREEN SEED GROWING TRAYS - MOUNTAIN VALLEY SEED COMPANY KIT - Non-GMO arugula seed can be grown in just days all from the comforts of your kitchen!
Prices pulled from the Amazon Product Advertising API on:
Product prices and availability are accurate as of the date/time indicated and are subject to change. Any price and availability information displayed on [relevant Amazon Site(s), as applicable] at the time of purchase will apply to the purchase of this product.
Growing Trays
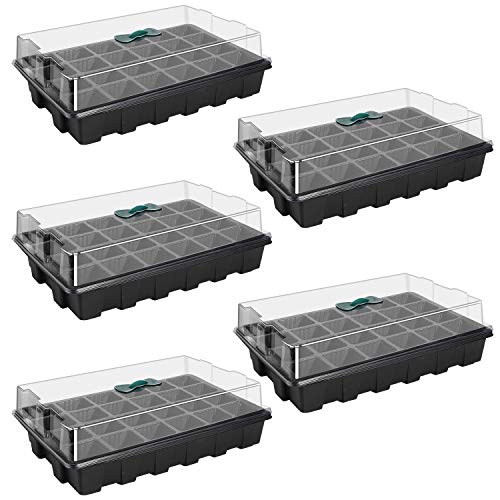
- Plant Germination Starter Kit: The seedling starter trays kit is made of PVC plastic material, and the quality is thicker, strong and not easy to deform.
- Greenhouse Grow Trays: In addition to planting vegetables, flowers, herbs and other plants in the soil, the base tray can also placing peat pellet.
- Seed Propagator Tray: 24-cell seed starting clone trays are convenient for centralized management, easy to operate and save your time and energy.
Prices pulled from the Amazon Product Advertising API on:
Product prices and availability are accurate as of the date/time indicated and are subject to change. Any price and availability information displayed on [relevant Amazon Site(s), as applicable] at the time of purchase will apply to the purchase of this product.
Epsoma Mix

- Premium Potting Mix
- Country Of Origin: United States
- Brand Name: Esp
Prices pulled from the Amazon Product Advertising API on:
Product prices and availability are accurate as of the date/time indicated and are subject to change. Any price and availability information displayed on [relevant Amazon Site(s), as applicable] at the time of purchase will apply to the purchase of this product.
Coconut Coir

- 100% Natural & organic, OMRI Listed. Each brick weighs 10 lbs
- High-grade coconut coir with low EC and pH levels
- 100% natural, renewable replacement for peat moss, rockwool & perl
Prices pulled from the Amazon Product Advertising API on:
Product prices and availability are accurate as of the date/time indicated and are subject to change. Any price and availability information displayed on [relevant Amazon Site(s), as applicable] at the time of purchase will apply to the purchase of this product.
Grow Light
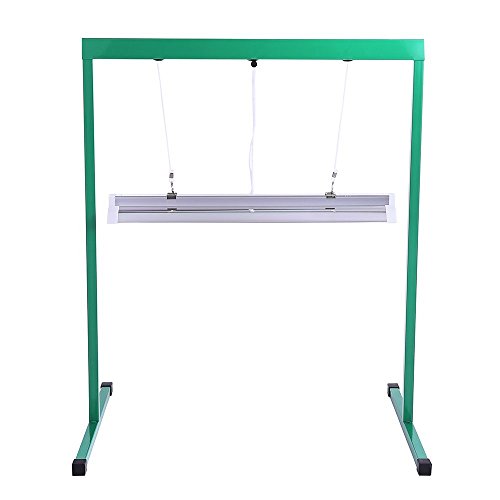
- Perfect for indoor plants: light system for starting seeds, propagating cuttings and growing indoor flowers and houseplants
- Premium quality: T5 high output fluorescent fixture with wide reflector and one T5 bulb provides maximum coverage
- Measures approximately 25 by 18-1/2 by 30 Inch, super easy assem
Prices pulled from the Amazon Product Advertising API on:
Product prices and availability are accurate as of the date/time indicated and are subject to change. Any price and availability information displayed on [relevant Amazon Site(s), as applicable] at the time of purchase will apply to the purchase of this product.
Spray Bottle

- Our 32 ounce (about 950 ml) heavy duty spray bottles are made from HDPE plastic, recycle code # 2, which is chemically resistant, safe for chemical solutions.
- From a fine mist to a solid stream, the sprayer can be easily adjusted to suit your needs.
- Our plastic spray bottles is for multi purpose uses, each bottle is BPA-free.
Prices pulled from the Amazon Product Advertising API on:
Product prices and availability are accurate as of the date/time indicated and are subject to change. Any price and availability information displayed on [relevant Amazon Site(s), as applicable] at the time of purchase will apply to the purchase of this product.
Arugula Microgreen Nutrition
Now that you see how easy it is to grow arugula microgreens, we should tell you there are microgreen growing kits you can get started with. Let’s talk about the benefits of adding arugula microgreens to your diet. Compared to iceberg lettuce arugula microgreens have 8 times the calcium. They also have 5 times the amount of vitamins A, C and K, and 4 times the amount of iron. For more detail on arugula nutrition.
Grow Arugula Microgreens – Conclusion
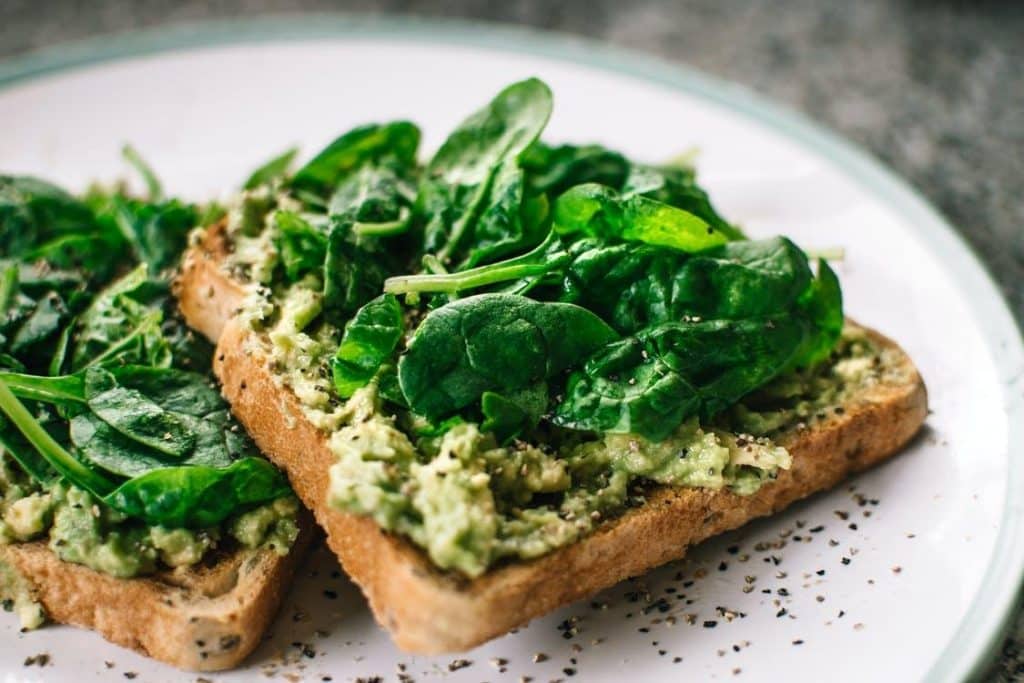
As your delicious Arugula Microgreens are harvested you need to look into the ways you can make the best of them. Microgreens have their incredible ability to be used in a huge number of things; smoothies, salads, toppings, and of course the arugula microgreen special of wowing your guests. Arugula microgreens add a wow factor to your foods. Aside from looks these little greens are extremely healthy as well.