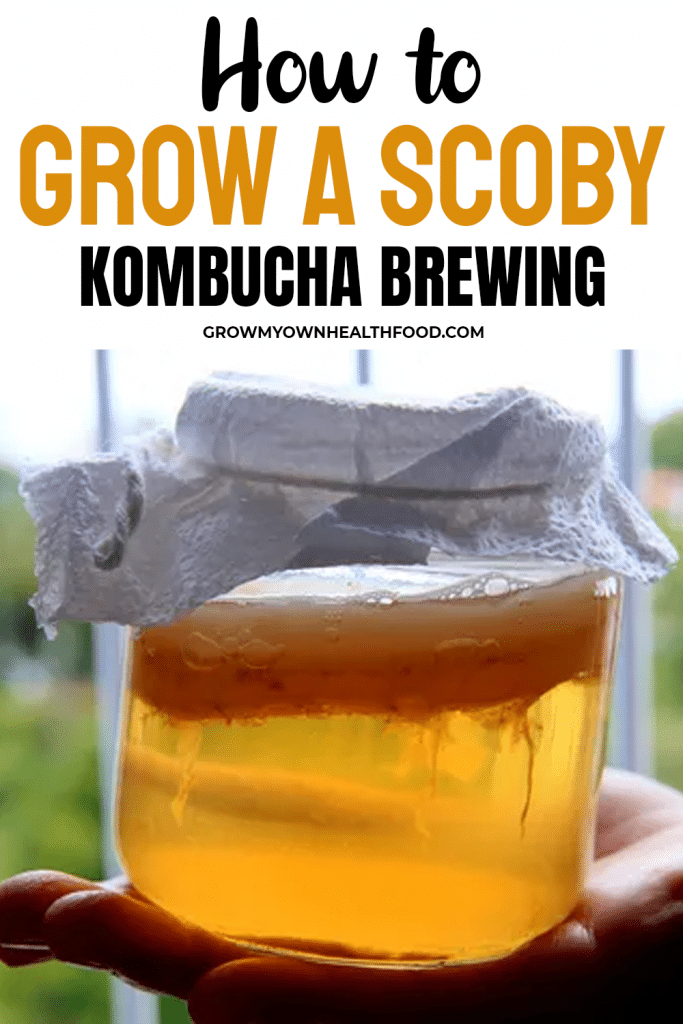
Though it might not look appetizing, learning how to grow scoby is the ultimate key to feeding your obsession for kombucha! Other than the reported health benefits of kombucha, once you start drinking kombucha tea, it’s hard not to love the fizzy sweet-and-sour drink that everyone’s going crazy over the internet for!
It’s simple, if you want to drink kombucha, you’ll need scoby. Though you can easily get scoby from a grocery store or order it online, you can save a few bucks by preparing your own scoby at home! Continue reading and you’ll learn all the secrets to growing kombucha mother!
What Is Scoby?

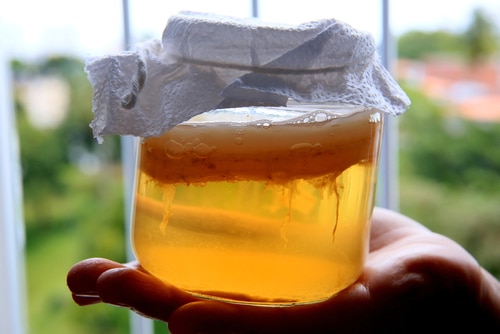
For those who are unfamiliar with the term, SCOBY is short for Symbiotic Colony Of Bacteria and Yeast. As the name correctly describes, it is a living colony of bacteria and yeast that is used for transforming sweet, regular tea into fizzy, sweet and sour kombucha!
It’s a flattened, rubbery disc that floats on top of your tea, allowing it to ferment and brew into kombucha. Other than providing healthy yeast and bacteria to the fermenting kombucha, it also seals off the tea from the harmful bacteria and other pathogens present in the air, making sure it’s only beneficial to your health.
How Long Does It Take To Grow Scoby?
It usually takes around a month to grow scoby from scratch. If you grow scoby at room temperature maintained consistently around 70°F, the process can take as little as three weeks to complete. At lower temperatures, scoby formation will take longer. If you’re living in a cold climate, it may even take up to 6 to 8 weeks for scoby to form.
How To Grow A Scoby For Kombucha

Growing scoby at home is an exciting experiment and doesn’t take many ingredients. The main ingredient is kombucha. You can either ask a friend for some homemade kombucha or get a bottle from the store. You’ll need at least 2 cups or 16 fl. oz. kombucha to grow scoby. If you’re using store-bought kombucha, make sure it’s pasteurized (raw) and unflavored.
Follow the steps below to grow scoby for Kombucha:
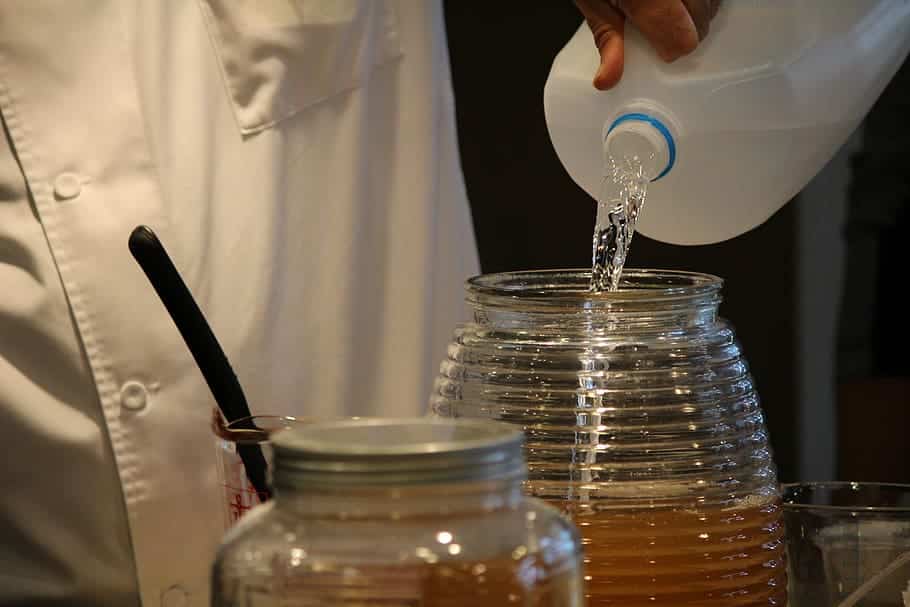
- Pour 2 cups of Kombucha into a glass jar.
- Cover the top with a cotton cloth and secure it in place with a rubber band.
- Place the jar in a well-ventilated dark spot for a month.
- Don’t move it during the month because even the slightest jerks can slow down scoby formation.
- Once kombucha has reduced to ½ of its original volume and the newborn scoby disc floating on top is at least ½ inch thick, your kombucha mother is ready.
- Both the reduced kombucha liquid and the scoby disc can be used together to brew a fresh batch of kombucha tea.
Is Homegrown Scoby Safe For Brewing Kombucha?
Homegrown scoby is safe for brewing kombucha as long as you’re careful about a couple of things. Firstly, make sure you purchase kombucha from a reputable brand. There are plenty of kombucha producers in the market and not each one of them can be trusted.
Some manufacturers may pasteurize their product or use yeast inhibitors to increase the shelf-life without mentioning it on the packaging. If you use one of these products to prepare scoby, your homegrown scoby might not form at all or may not be suitable for long-term use for brewing kombucha.
Make sure you purchase unpasteurized, unflavored Kombucha from a reliable brand to ferment safe scoby that’s viable for making your future kombucha batches. Other than choosing the right source for kombucha, you need to be extra careful during the entire preparation process to ensure safety of the product. Make sure the jar that you’ll prepare scoby in is clean and free of any food or soap residues. Cover the jar properly with cloth and keep it away from sunlight. Always wash your hands thoroughly before handling scoby.
Other than the above precautions to ensure preparation of safe scoby, keep an eye on the fermenting mixture in the jar and understand what’s normal and what’s not.
- Things Typical Of Normal Scoby Growth
- Bubbles
- Jelly like clumps around the solution
- A shiny film on top
- A tart or vinegary smell that becomes stronger towards the end of the process
- Things That Suggest Something’s Wrong
- Black or green moldy spots
- Cheesy or off-putting smell
If you suspect that something has gone wrong, toss it in the trash and start over. A scoby that’s starting to develop mold cannot be fixed so don’t think about keeping it or getting rid of the mold somehow. You’ll simply need to start fresh.
Can You Grow A Scoby From A Bottle Of Kombucha
Yes! You surely can. If you’re fond of kombucha, you don’t need to keep buying it from the store for a consistent supply of the fizzy tea. You just need to buy a bottle of kombucha once and start a never-ending cycle of fermentation and tea brewing until your kombucha tea isn’t as delicious any more.
Once kombucha loses its taste, you can buy a new bottle of kombucha from the store and start a fresh cycle. You’ve already learned, earlier in the same post, how to grow scoby with nothing but a bottle of kombucha from the store.
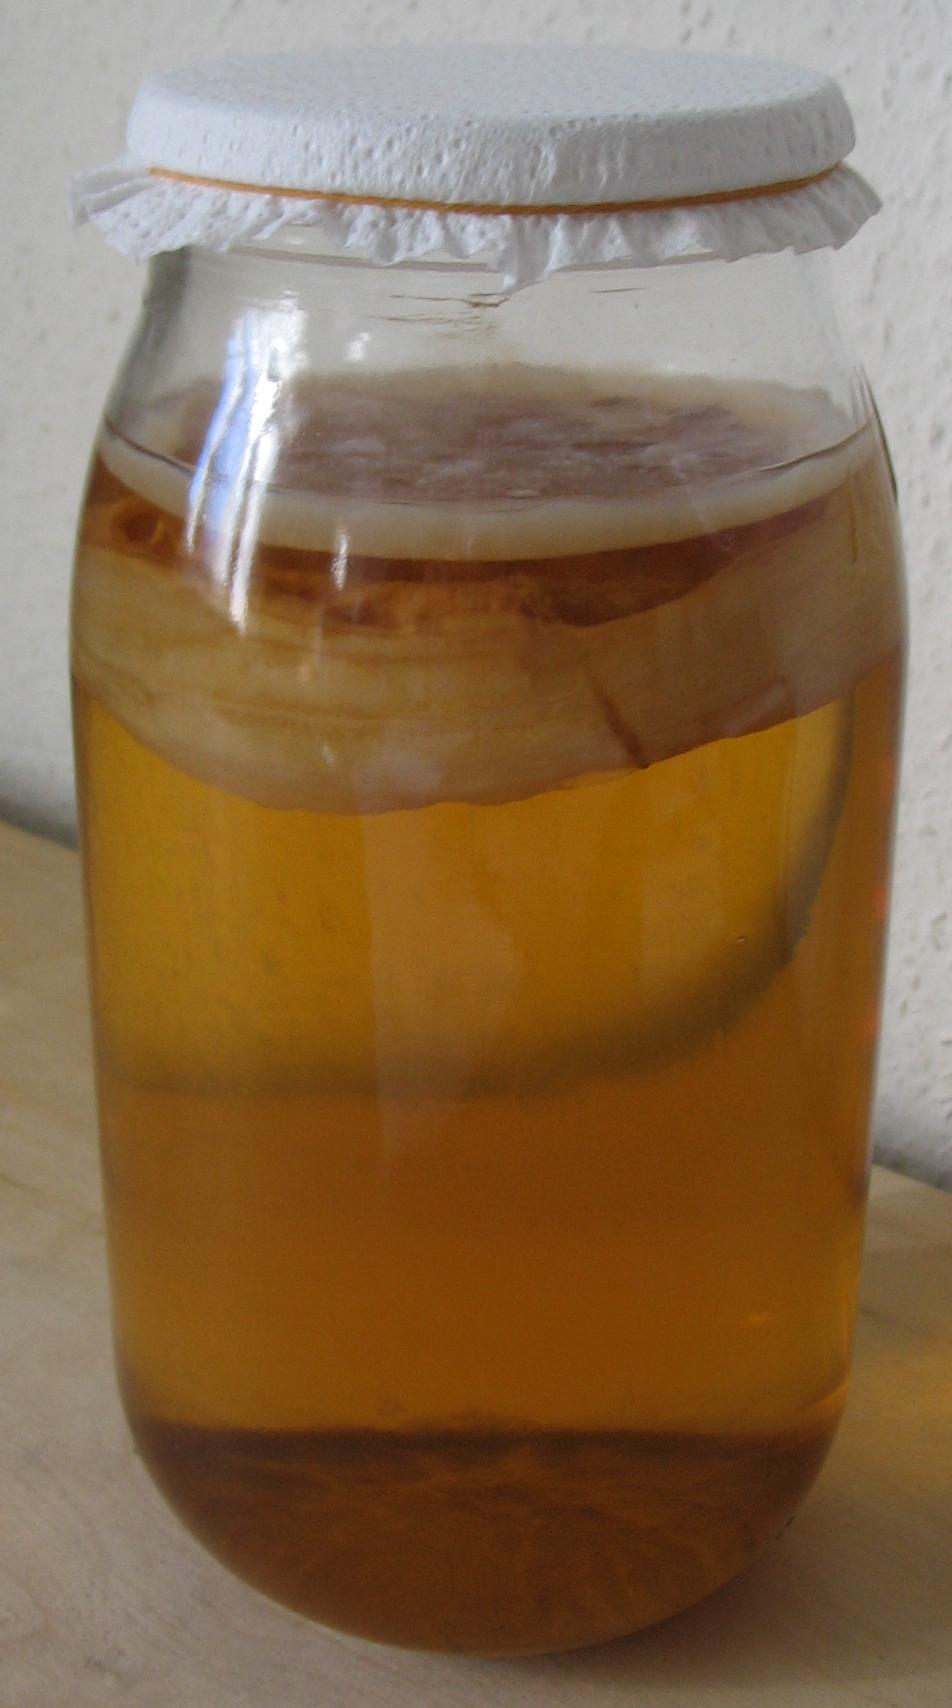
What If Scoby Sinks To the Bottom?
If while fermenting your scoby at home, the globby film of scoby sinks to the bottom, no need to panic. It’s completely normal! Scoby usually floats on the surface of the liquid, but if it sinks to the bottom, that’s quite normal too. Most likely, the film will float back on top further into the fermentation process or a second layer will start forming on top. Whether it floats on top or sinks to the bottom, as long as you don’t see any molds or smell something bad, your scoby making process is going smoothly. In a few days, it will be ready to brew some delicious tea!
How To Brew Kombucha Tea With Homegrown Scoby

Once you’ve prepared scoby, consider that as your starter tea liquid to brew a fresh batch of kombucha tea. If you followed our instructions earlier in the post, you’ll have 1 cup of starter tea prepared from 2 cups of kombucha. With this 1 cup of starter tea (that includes scoby film and some concentrated kombucha), you can brew half gallons of fresh kombucha tea!
Follow the instructions below to brew your own kombucha tea at home using homegrown scoby:
- Kombucha Ingredients
- 7 cups water
- ½ cup white sugar
- 4 bags of black tea or 1 ½ tbsp loose-leaf black tea
- 1 cup of homegrown starter tea
- Brewing Kombucha Instructions
- Bring the water to boil in a large saucepan.
- Stir in the sugar and allow it to dissolve completely.
- Remove the sweetened water from heat.
- Add loose-leaf tea or tea bags and allow it to steep in water until the mixture cools to room temperature. (you can also add home grown mint leaves if you like)
- Remove the tea bags or strain it to get rid of the tea leaves.
- Pour the 1 cup of kombucha you prepared and gently stir the mixture.
- Reserve 2 cups for preparing the next kombucha batch.
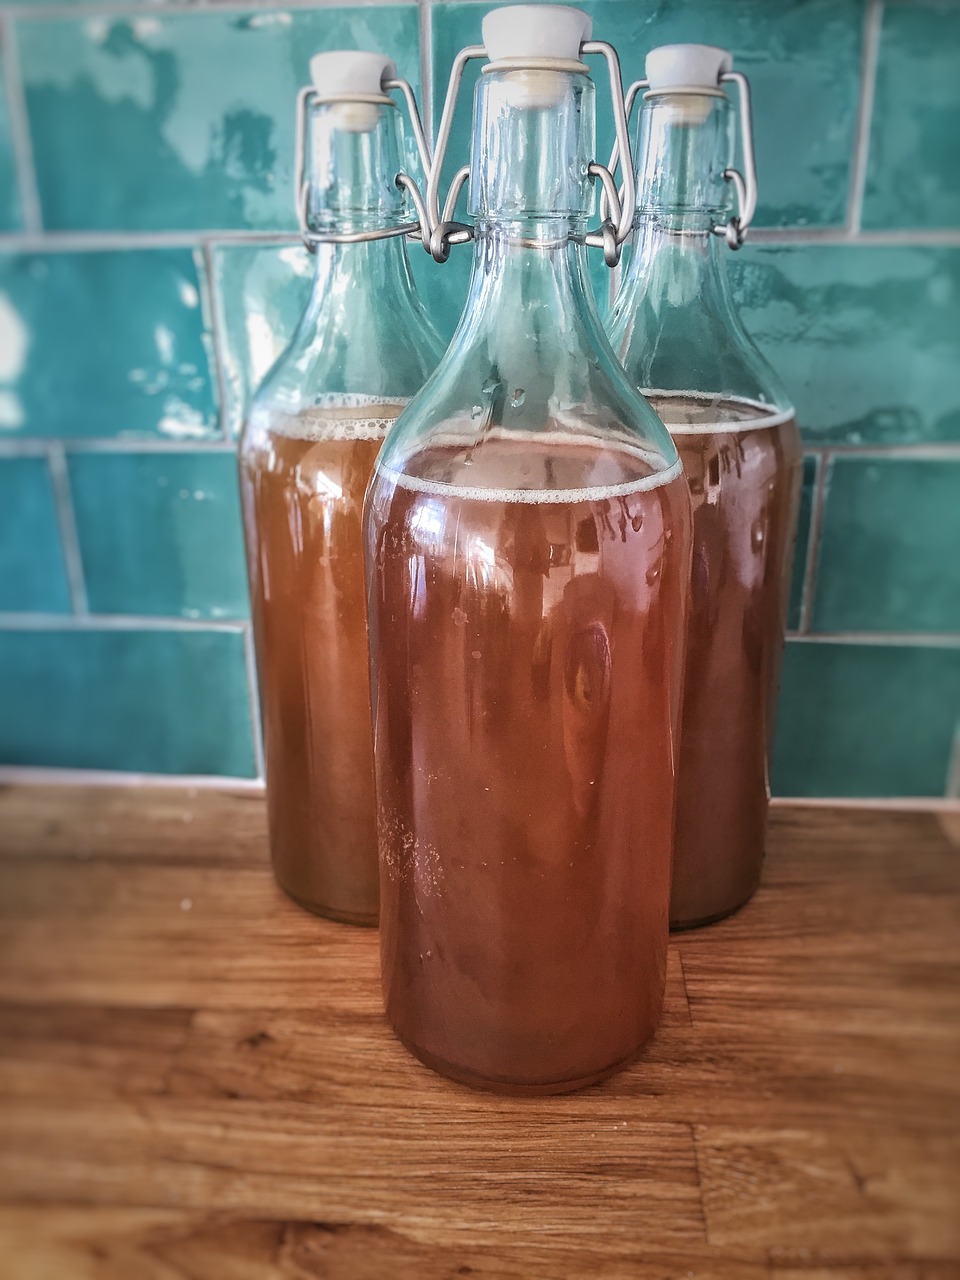
- Transfer the rest of the mixture into bottles with a funnel.
- Let it ferment in the bottles for 3 to 10 days.
- Your kombucha tea is ready to be consumed. Store the surplus tea in the refrigerator.
How to Grow A Scoby – Conclusion
So now that you know how to grow scoby and start kombucha brewing at home, what’s there to wait for! Scoby is the first step to an endless supply of kombucha tea. Once you get the hang of the process, you can even give out batches of homemade kombucha to friends and family to help them start their own cycle. Soon, the family will pick up the kombucha trend, which you can take credit for starting!


