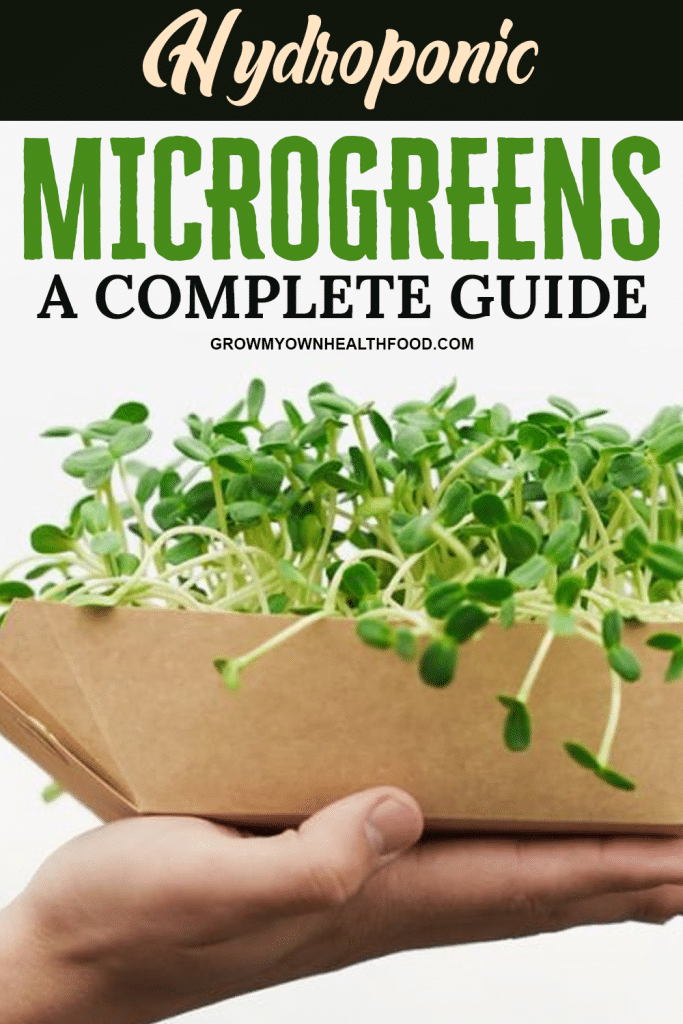
It’s hard not to see why 21st century gardeners are a little obsessed with hydroponic gardening. Taken as we are with science fiction fantasies of shiny, futuristic roof-top farms on skyscrapers — the reality of hydroponics is thankfully far simpler. Put plainly, hydroponics is gardening sans the soil, with the seeds sprinkled on a contained bed. If you get everything right and optimize your growing conditions, you can grow way more food in less space with less water and less time. Here’s how to enjoy a whole lot of microgreens without so much as getting your hands dirty. Read on to learn how to start your own hydroponic microgreens garden.
Why Use Hydroponics for Microgreens?
Get sprouting.
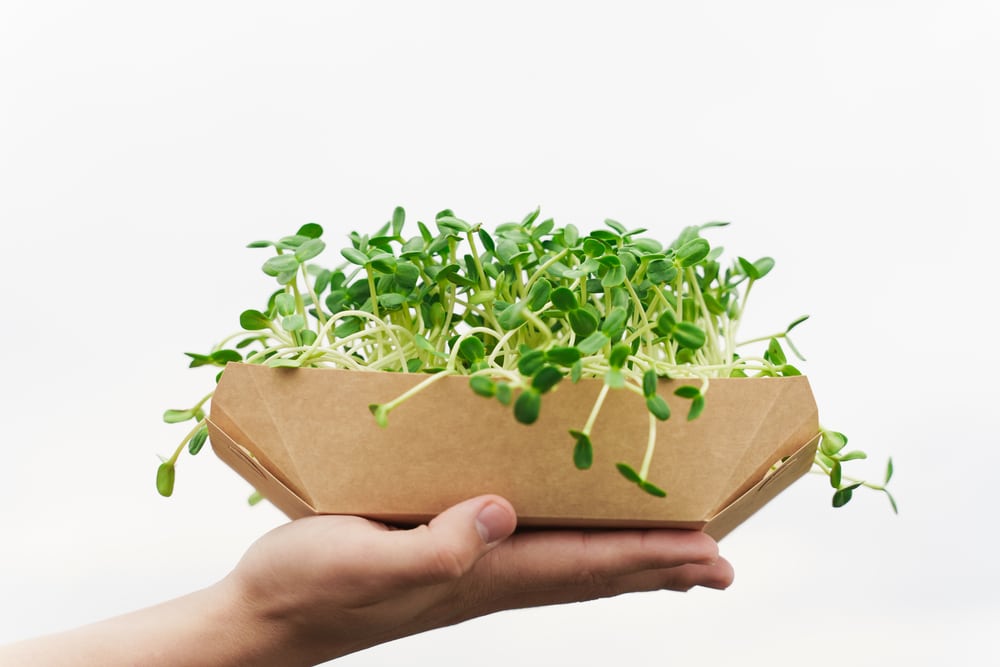
Plants do not need soil to grow, or even really to flourish — that’s what makes hydroponics so successful. Doing away with soil means you can grow in clear tubing or vases or even bowls without the use of media of any growing media. That’s way less dirt and mess right there, not to mention that you also needn’t worry about over- or under-watering.
Almost any plant can be grown this way; however, there are candidates that are particularly suited to the technique – and none quite as ideal as microgreens! These are essentially the baby-seedlings of any plant with edible leaves, and they’re immensely rewarding to grow. Nifty, quick harvesting and packed chock full of nutrients, microgreens are a straight-forward, cost-effective addition to every pantry.
And delicious to boot.
What Microgreens Should You Grow?
Bountiful and hardy, these mini vegetables offer a wide range of spectacular flavors.
Plenty of popular vegetables make great micro leaves, packing a headier flavor than the mature plant!
Try sunflowers, snow peas, fennel, coriander, chervil, broccoli and rocket. Some are perfect for adding a little extra oomph to a salad, with bright stems and bold leaves – try purple radish and the Swiss chard ‘Bright Lights’, which has red, yellow, orange and purple stems.
The Four Categories of Microgreens:
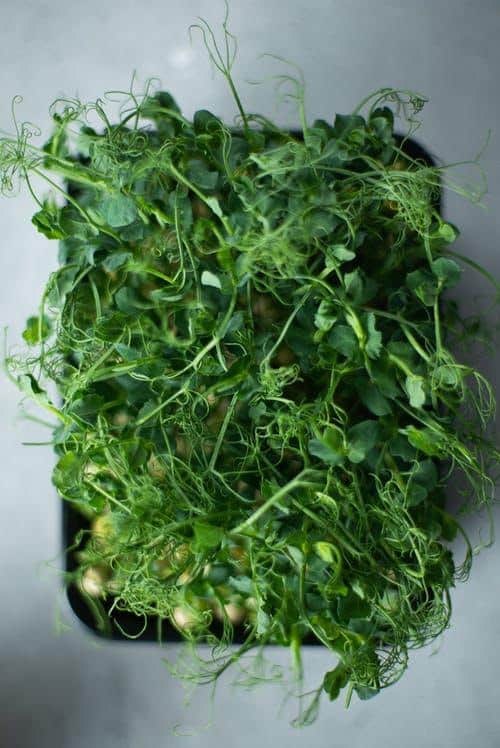
- Shoots and tendrils like peas, sunflower and corn
- Spicy greens like arugula, radish, cress and mustard
- Micro herbs like parsley, fennel and chrysanthemum
- Tender greens like red cabbage, broccoli and spinach
Steps to Growing Microgreens Hydroponically
A good hydroponics setup requires a few basic elements.
- Growing Trays
- Quantity 10 - Durable Plastic - NO Drain Holes
- Perfect for use as a drip tray, hydroponic growing and seed starting
- Approx: 21 by 11 (top measurement). 20 by 10 bottom of tray - See product description below for precise measurments
- Accomodates 20 x 10 Sure to Grow Hydroponic Grow Pads and Micro-Mats Perfectly
- Reusable - Great for Greenhouse, Seedlings, wheatgrass, microgreens and more.
Prices pulled from the Amazon Product Advertising API on:
Product prices and availability are accurate as of the date/time indicated and are subject to change. Any price and availability information displayed on [relevant Amazon Site(s), as applicable] at the time of purchase will apply to the purchase of this product.
Most microgreen gardeners opt for a standard 10” x 20” plastic tray setup. Be sure to buy some with holes or poke them yourself.
- Microgreen seeds
- 5 POPULAR MICROGREENS ready to harvest in 10-20 days. Each packet yields for a 10”x10” growing tray
- 100% NON GMO, Open pollinated, Untreated, Non-hybrid, Freshly harvested seeds. Excellent germination
- MOST UNIQUE SEED PACKET DESIGN on Amazon. THE PERFECT GIFT for the gardener in your family!
- PRODUCT OF USA. Seeds are sourced right here in the USA. The seed company is certified by the USDA
- 100% SATISFACTION GUARANTEE. Get help from our experts and check our instructions for best resul
Prices pulled from the Amazon Product Advertising API on:
Product prices and availability are accurate as of the date/time indicated and are subject to change. Any price and availability information displayed on [relevant Amazon Site(s), as applicable] at the time of purchase will apply to the purchase of this product.
Buy organic seeds intended specifically for growing microgreens. Avoid seeds treated with fungicides.
Let those lights shine! Growing lights provide the same range of light as the sun and you’ll see much faster growth.
- Growing medium
Since you’re not using soil, you’ll need a medium to help secure the plant’s roots in place. Many mediums also help keep roots moist between waterings. Popular choices include coconut coir and hemp.
- pH test kit or strips
- Calibrated specifically for soil pH testing
- Fast, accurate results
- Optimize soil pH to plants specific needs
- Enough test strips for 100 soil pH tests
- Includes detailed 16 page full color pH testing handbook with lime and sulfur application cha
Prices pulled from the Amazon Product Advertising API on:
Product prices and availability are accurate as of the date/time indicated and are subject to change. Any price and availability information displayed on [relevant Amazon Site(s), as applicable] at the time of purchase will apply to the purchase of this product.
You’ll need these to keep tabs on the pH of your water to ensure it remains at the optimal level needed to ensure your microgreens thrive.
- A spray bottle
This one is pretty self-explanatory!
- Nutrient solution
- General Hydroponics FloraGro 2-1-6 delivers nutrients for structural and foliar growth
- Combine FloraGro 2-1-6 with FloraMicro and FloraBloom to create a nutrient mix tailor-made for your plants and their phase of growth (seedling, cutting, structural, flowering, or fruiting)
- Ideal for hydroponic applications and as a nutrient supplement for potted plants
- To ensure the best results, always add FloraMicro to fresh water first, stir well, then add FloraGro and/or FloraBloom
- Contains an N-P-K of 2-
Prices pulled from the Amazon Product Advertising API on:
Product prices and availability are accurate as of the date/time indicated and are subject to change. Any price and availability information displayed on [relevant Amazon Site(s), as applicable] at the time of purchase will apply to the purchase of this product.
You’ll need a nutrient solution made up of all the macronutrients (think nitrogen and phosphorus) and micronutrients (like iron and calcium) that your microgreens need.

It’s All About Maintaining Balance
You’ll have yourself a bountiful harvest of microgreens in no time at all if you follow our step-by-step checklist!
- Balance the pH of your water:
You can’t forego this first, most important step — microgreens seeds are incredibly sensitive to the pH of water and you’ll want to aim for anywhere between a pH of 5.5 to 6.5.
- Prepare your trays:
Pour 2 cups of pH balanced water into the bottom of your tray, following which you’ll want to start laying your growing pads down. Ensure your pad is saturated, and then mist about 10 times.
- Distribute your seeds evenly:
Spread dry seeds directly onto your soaked growing pad. Ensure you’re sprinkling evenly: for smaller seeds, you’ll want to use about 2 whole tablespoons, whilst larger seeds like radish can even be distributed in quarter cup measurements.
- Mist and cover:
Once you’ve got a good amount of seeds on your pad, lightly mist your seeds. Then, mist another tray until it’s suitably wet: this’ll act as the humidity dome on your seed-tray.
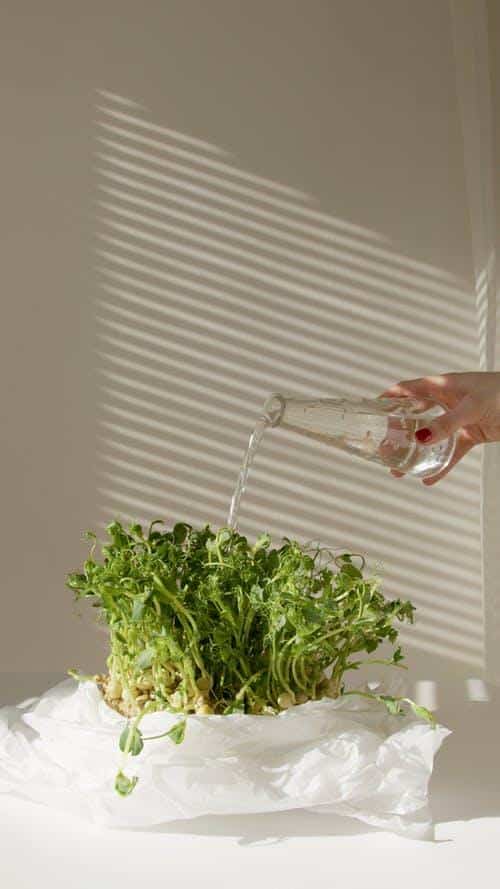
- Mist every 12 hours:
Mist your seed tray every 12 or so hours — this is all the water they need.
- Uncover your tray:
Your microgreens should be about ready to lay bare after 4 or 5 days. Wait for the the baby leaves (cotyledons) to emerge and then give them another 24 hours. Ensure they remain out of light for about the first week for a durable crop.
- Keep an eye out:
Make sure your microgreens remain duly damp until it’s time to harvest. Pull up a corner of the grow pad every day, it should be wet to the touch — if not, mist until the pad’s saturated again.
- Time to harvest:
Micro greens grown inside are usually ready to harvest in just two to four weeks (it can be longer in cold weather outside).
- Clip, clip, clip:
Move your trays to a cool, shady place prior to clipping! They’re likely to wilt and go limp in the heat.
Harvesting Hydroponic Micro-Greens
Keep things clipped and neat.
You’ve got to be extra careful when you’re harvesting microgreens: leave a good clean portion of stem below the leaves, but be wary of cutting to close to the plant’s tender, growing base. Clean, sharp scissors only unless you’re growing on a larger scale, and then you may want to opt for electrical harvesters.
Hydroponic Microgreens Kits
Building out of a box is way easier than spending an afternoon gluing tubing together.
There’s a downside to hydroponics.
Soil, for the most part, is pretty lenient — your crops may suffer on account of you getting a little heavy handed with the fertilizer, but the soil can act as a buffer and mitigate the worst of the damage. Not so with water. We recommend getting in touch with nearest hydroponics specialty shop where employees are likely to be able to help you along, or buying a book on the subject.
That’s where plug and play kits come in: they’ll tell you exactly what to add and do, and when!
Here are a couple of our picks:
HAMAMA Home Microgreens Growing Kit
- GUARANTEED TO GROW: All HAMAMA microgreens growing kits are guaranteed to grow. If your kit doesn’t grow as advertised, we’ll work with you to figure out what’s going wrong, send you a replacement at no cost, or give you a full refund.
- THE EASIEST WAY TO GROW YOUR OWN FRESH MICRO GREENS: This microgreens growing kit has everything you need - easy picture instructions, microgreens tray, and microgreens seeds. Each microgreens growing kit has 2 Seed Quilts for growing broccoli microgreens and salad microgreens. Place your microgreen kit anywhere you have space including as a ledge planter.
- CLEAN, NUTRITIOUS, HOMEGROWN: Grow delicious, nutritious, micro greens at home in just 7 days! You only have to add water ONCE to this microgreens growing kit to grow fresh micro greens - no repeat waterings necessary. No separate microgreens seeds or micro greens growing medium needed! Microgreens growing kit DOESNT USE ANY fertilizers or pesticides. HAMAMA Microgreen kits make great cooking gifts to anyone who wants the best ingredients.
- SEED QUILTS: Make growing easier than ever before. Just add water to the microgreen growing tray ONCE, plant a Seed Quilt and come back in 7 days to harvest. No repeat watering, no special lighting needed, no humidity dome needed. It just works! Seed Quilts combine the microgrens seeds, micro greens growing medium, and humidity dome all in one easy to plant package.
- HAMAMA: We are passionate about empowering anyone to grow their own fresh, healthy food. We want to give everyone the joy and excitement of growing their own food all year no matter where they live or gardening skill. Micro greens are the best way to start indoor gardening. They grow fast, taste great, and are super healthy. Microgreen growing will be a fun activity for you, your friends and the whole fami
Prices pulled from the Amazon Product Advertising API on:
Product prices and availability are accurate as of the date/time indicated and are subject to change. Any price and availability information displayed on [relevant Amazon Site(s), as applicable] at the time of purchase will apply to the purchase of this product.
This kit’s great for beginners looking for a smaller setup before they branch out.
Hydroponic Microgreens Sectional Kit
- Complete Microgreens Starter Kit - Everything Needed to Get Started
- Perfect for Growing Smaller Quantities of Micros with up to 8 Simultaneous Crops
- Includes: 2 Drip Trays, 48 Tray Inserts, 48 Hydroponic Grow Pads, pH Test Strip Kit, Spray Bottle, Detailed Instructions
- 8 Types of Seed - 1 Oz ea: Basic Salad Mix, Spicy Salad Mix, Radish Blend, Red Streaks Mizuna, Genovese Basil, Sunflower (8 oz), Pak Choi, Broccoli
- Easy & Fun To Grow - Step By Step Countertop Gardening - Hydropoinic - No Mess - Heal
Prices pulled from the Amazon Product Advertising API on:
Product prices and availability are accurate as of the date/time indicated and are subject to change. Any price and availability information displayed on [relevant Amazon Site(s), as applicable] at the time of purchase will apply to the purchase of this product.
No muss, no fuss with this compact step-by-step hydroponic microgreens growing kit!