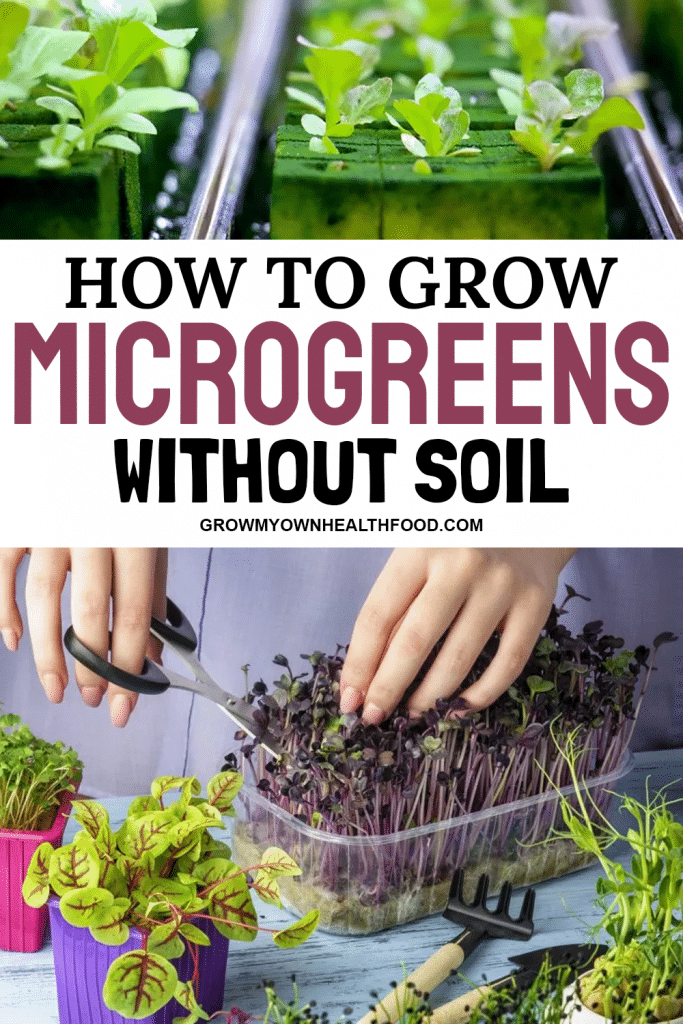
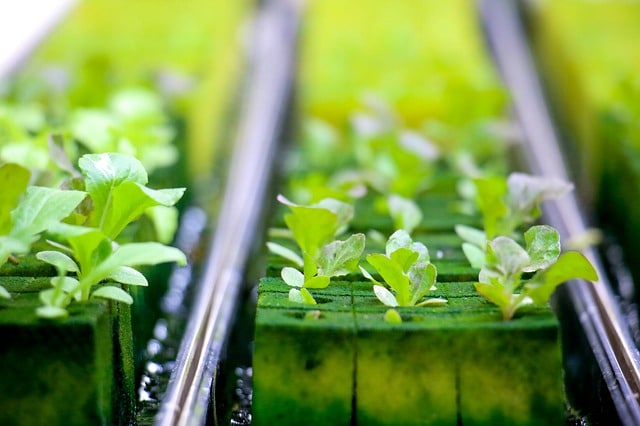
The concept of microgreens has gained a lot of attention these days. These tiny plants are bigger than sprouts but are smaller than baby plants. But these tiny greens are nutritional powerhouses and are also very easy to grow. With microgreens, you can make use of your kitchen countertop as a small garden as well. One of the most popular ways to grow microgreens without using soil is referred to as hydroponic. In this method, you use different growing mediums other than soil to grow a variety of microgreens.
Growing Microgreens Without Using Soil
People really wonder why one would prefer to skip out on soil and grow microgreens hydroponically. Well for starters, growing microgreens hydroponically has many benefits. By skipping soil, you can grow different types of microgreens all year round without having to worry, and to put it simply by growing microgreens hydroponically you can skip all the mess and use the space in a more effective manner.
Equipment Needed for Growing Microgreens Hydroponically
Well, no matter what you are growing be it a type of microgreen or some other plant, seeds are something of a necessity. You can easily get top-quality seeds for microgreens from different seed stores or you can also order them from online stores.
Moreover, as the soil is out of the picture, you are going to need a different type of medium for growing the microgreens. Some good options are either coconut coir or hemp-growing mats.
Seeds
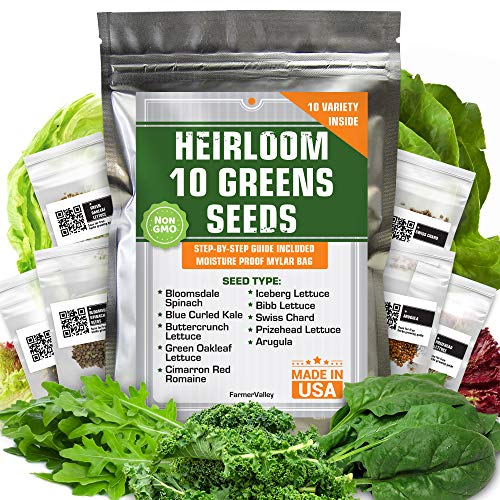
- 100% non GMO heirloom seeds, 100% USA origins, 100% non-hybrid seeds, 100% natural growing, and open pollinated seeds.
- You can store seeds in a bag for up to 8 years.
- IDEAL SEEDS for indoor garden, outdoor garden, hydroponic garden.
Prices pulled from the Amazon Product Advertising API on:
Product prices and availability are accurate as of the date/time indicated and are subject to change. Any price and availability information displayed on [relevant Amazon Site(s), as applicable] at the time of purchase will apply to the purchase of this product.
Coconut Coir
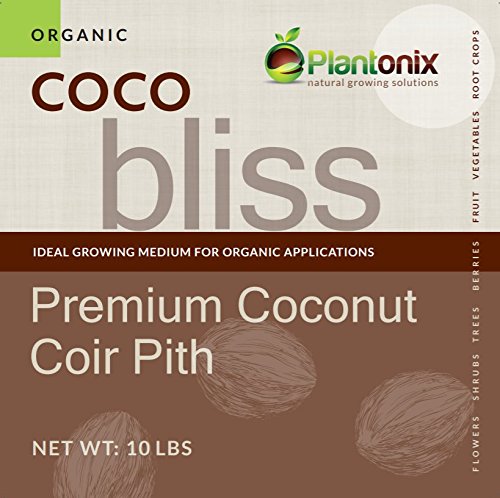
- 100% Natural & organic, OMRI Listed. Each brick weighs 10 lbs
- High-grade coconut coir with low EC and pH levels
- 100% natural, renewable replacement for peat moss, rockwool & perl
Prices pulled from the Amazon Product Advertising API on:
Product prices and availability are accurate as of the date/time indicated and are subject to change. Any price and availability information displayed on [relevant Amazon Site(s), as applicable] at the time of purchase will apply to the purchase of this product.
Growing Mats
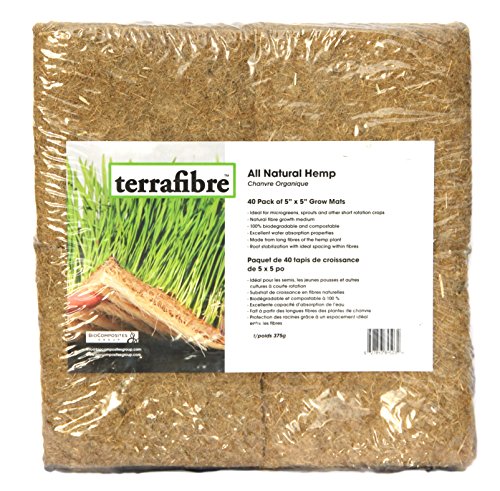
- Grow microgreens cleaner, faster, sustainably, with hemp fibre growing medium
- Pack of 40 - Fits a 5 x 5 growing tray or 8 mats fit a 10” x 20” growing tray
- Highly absorptive - Hemp fibres can hold 1050% of its own weight in water, providing your seeds with the water they require.
Prices pulled from the Amazon Product Advertising API on:
Product prices and availability are accurate as of the date/time indicated and are subject to change. Any price and availability information displayed on [relevant Amazon Site(s), as applicable] at the time of purchase will apply to the purchase of this product.
After getting the seeds and the growing medium you need to set your eyes on some growing trays. The size of the trays will vary depending on the number of microgreens you wish to grow. The general size of the tray is 20X10 inches and it should be about 1.5 to 2 inches deep. You do not necessarily need to go out of your way to buy a new tray, you can always recycle some tray at home which has similar dimensions.
As the microgreens will be grown hydroponically you need to make sure that the tray does not have any holes in it. Another crucial item on the list of necessities is a pH kit, when growing microgreens hydroponically it is of utmost importance to have the water at a certain pH. The pH testing kit will help you keep the water at a steady pH of 6. Some microgreens can be grown in the presence of natural light while others will require a grow light.
Growing Trays
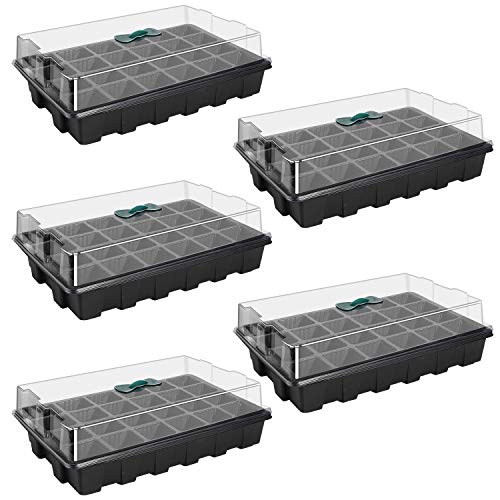
- Plant Germination Starter Kit: The seedling starter trays kit is made of PVC plastic material, and the quality is thicker, strong and not easy to deform.
- Greenhouse Grow Trays: In addition to planting vegetables, flowers, herbs and other plants in the soil, the base tray can also placing peat pellet.
- Seed Propagator Tray: 24-cell seed starting clone trays are convenient for centralized management, easy to operate and save your time and energy.
Prices pulled from the Amazon Product Advertising API on:
Product prices and availability are accurate as of the date/time indicated and are subject to change. Any price and availability information displayed on [relevant Amazon Site(s), as applicable] at the time of purchase will apply to the purchase of this product.
PH Hydroponic Test Kit
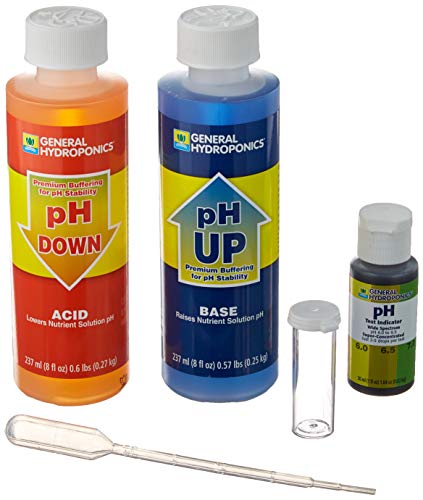
- General Hydroponics pH Control Kit contains 8 oz pH UP, 8 oz pH DOWN, 1 oz indicator and vial
- General Hydroponics pH Control Kit makes pH testing easy
- Its everything a grower needs to keep pH levels in the desired range, typically 5.5 to 6.5, in one handy
Prices pulled from the Amazon Product Advertising API on:
Product prices and availability are accurate as of the date/time indicated and are subject to change. Any price and availability information displayed on [relevant Amazon Site(s), as applicable] at the time of purchase will apply to the purchase of this product.
Grow Light
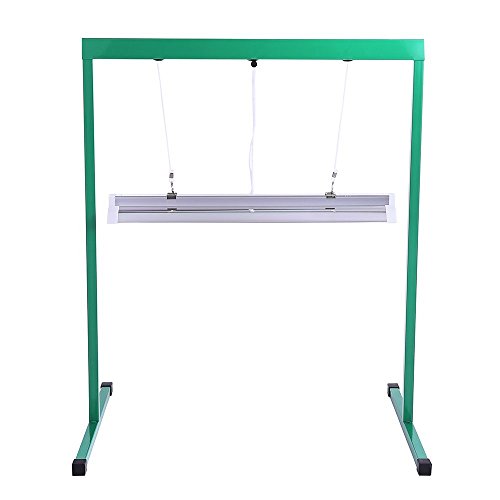
- Perfect for indoor plants: light system for starting seeds, propagating cuttings and growing indoor flowers and houseplants
- Premium quality: T5 high output fluorescent fixture with wide reflector and one T5 bulb provides maximum coverage
- Measures approximately 25 by 18-1/2 by 30 Inch, super easy assem
Prices pulled from the Amazon Product Advertising API on:
Product prices and availability are accurate as of the date/time indicated and are subject to change. Any price and availability information displayed on [relevant Amazon Site(s), as applicable] at the time of purchase will apply to the purchase of this product.
Preparing the Growth Medium and Water for Hydroponic Microgreens
There are many growing mediums out there, each has its own pros and cons. The coconut coir is cheaper but on the other hand, growing mats are much easier to use and are not as messy as coconut coir. Depending upon the medium you use, the steps for preparing them will be different. In the case of coconut coir, you need to first get a big bucket, add the coconut coir in it and add water, and mix it all until the time you get a soil-like consistency.
The growing medium will be ready after about 30 minutes or so, and then you just need to drain the excess water. On the other hand, if you are using growing mats then the process is rather easy. You just need to take them out of the packaging and mist them about 10-20 times so that the mats are moist. The pH of the water is the most important thing when it comes to growing microgreens. You need to check the pH and adjust the water so that it comes closer to pH 6.
Planting and Growing Hydroponic Microgreens
Spread the coconut coir evenly in the tray, and if you are using growing mats then just add one mat to the tray. Make sure to spread the seeds evenly in the tray, pay extra attention to this step and ensure that there are not too many seeds in one spot and no one spot is left without a seed. Use a spray bottle to mist the seeds and use another tray to cover the tray. Leave the tray in a dark area and the darkness along with the moisture will trigger the germination process in about 3-4 days.
Germination and Harvesting of Microgreens
When germination has started after 3-4 days the microgreens will need light, and this is where the grow light is needed or even natural light can do the trick for some microgreens. In the coming 9-10 days make sure not to water the microgreens directly, add a cup of water to the tray, and after 20 or so minutes remove the excess water. This step is rather crucial as well, that is why make sure to repeat this step whenever needed before harvesting starts.
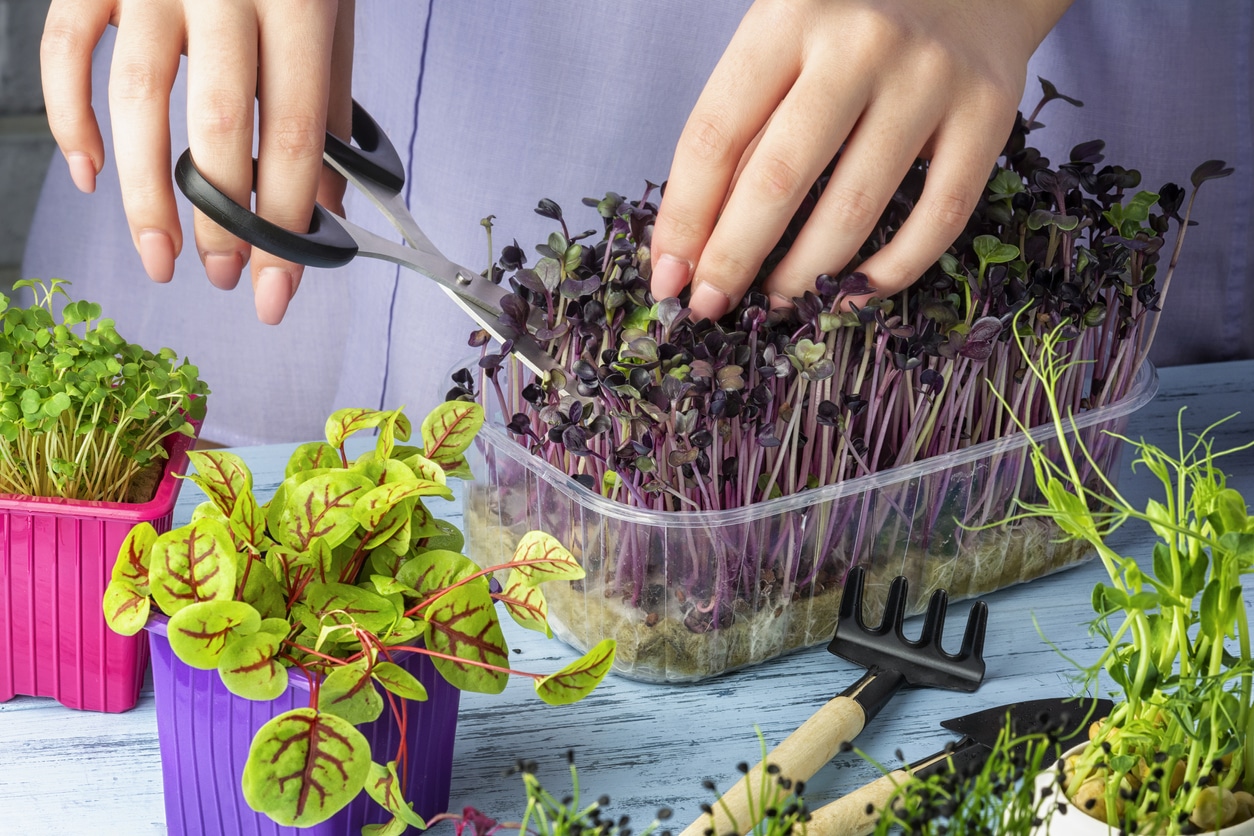
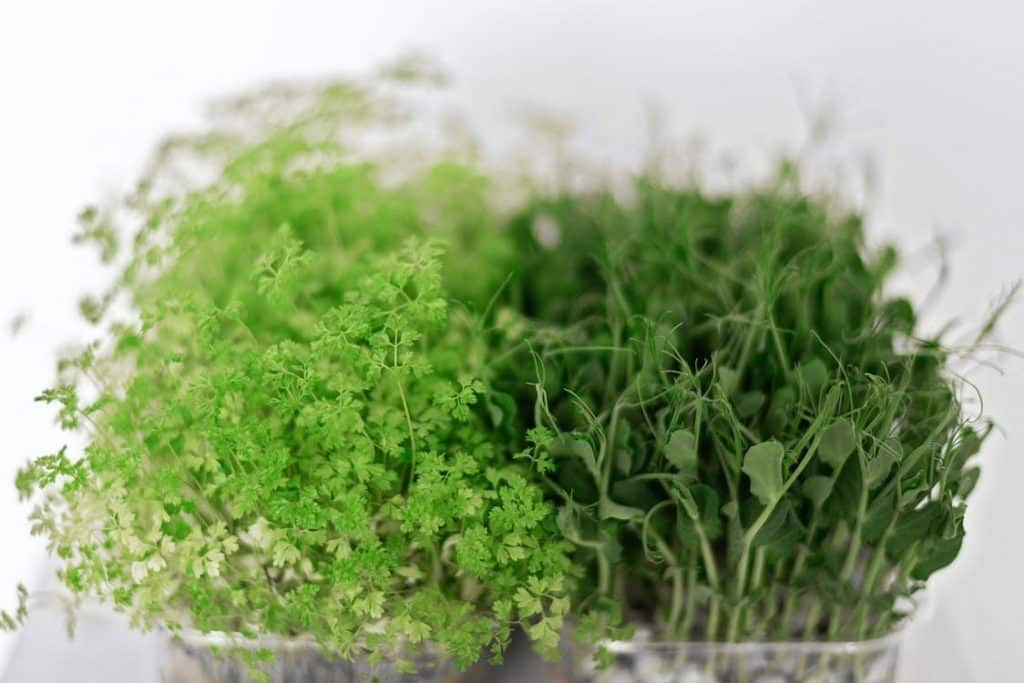
Finally, in about 10-14 days the micros will be ready for harvesting. The first set of true leaves will be your cue for harvesting, and all you have to do is take a pair of scissors and gently cut the microgreens. Be sure to leave the roots out from the cutting process. It is best to use the microgreens on the same day as harvesting, but you can always store them as well. When it comes to storing the micros, use an air-sealed box or plastic bag and keep them in the fridge, so that they remain fresh for a longer period of time.
Microgreens Recipe
Grow Microgreens Without Soil – Conclusion
If you follow the above-mentioned guidelines properly then even if you are a beginner in the world of plants, you can easily grow microgreens. The whole process of growing microgreens is super fun and, in the end, you have a healthy and nutritious snack. Microgreens can add a new flavor to your food and they make your meals look much more pleasant and appealing. Just so you could get an idea of how easy it can be to learn DIY microgreen hydroponics we waited to mention that there are some really great kits you can buy. Here is a great microgreen hydroponic kit we reviewed.