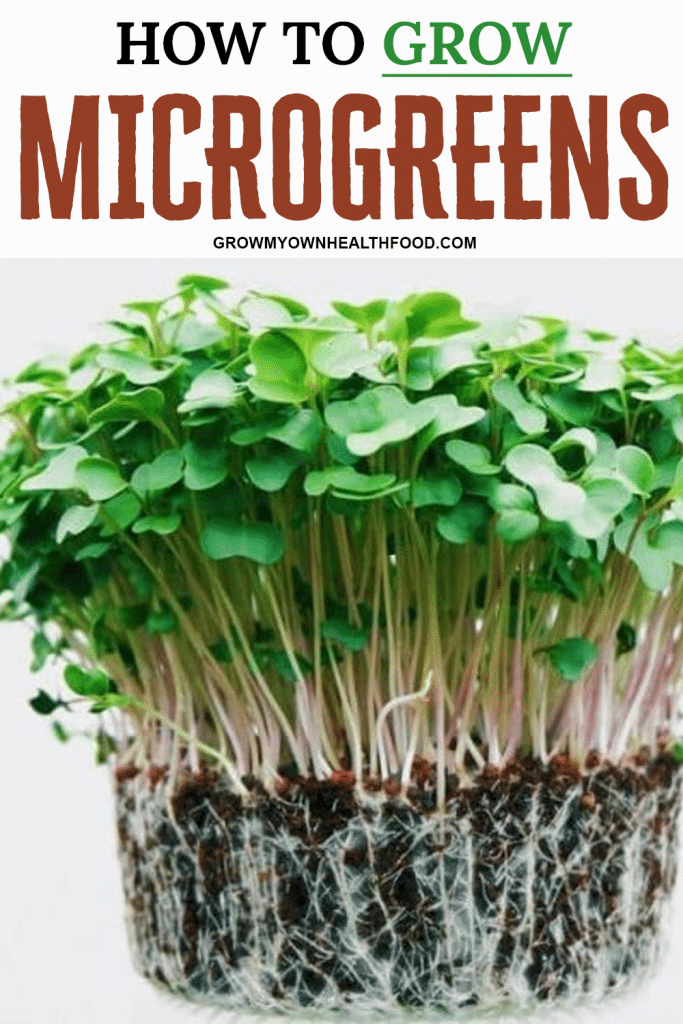
If you’ve got room for a few seed trays and a windowsill, you can grow and enjoy your own microgreens year-round.
Microgreen is the catch-all term for leaves harvested whilst they’re still small. Salad crops like rocket and pak choi, and herbs like basil and coriander can all be grown as microgreens. Fava bean, broad bean, pea and even popcorn can be enjoyed teeny-tiny! And the leaves of some root crops like radish and carrot are tender and bursting with flavor when small — your options are endless.
Grown the same way you’d go about growing old-fashioned, ever-reliable mustard and cress, microgreens are just big word for any edible plant that’s harvested and eaten whilst it’s still a seedling. These can be sown in trays of potting compost or even damp cotton wool, popped on a warm, sunny windowsill and harvested as soon as they produce their first few leaves. You can also grow microgreens through hydroponics.
Not only are microgreens and shoots one of the fastest, easiest things you could possibly grow, they are also wonderfully flavourful – perfect for perking up drab salads. Small but mighty: these tiny leaves are chock full of nutrients; there’s evidence to show that they have higher levels of antioxidants and other bioactive compounds than mature vegetables.
Stick around for the rest of this article and you’ll find that you can grow a surprisingly large amount of them.
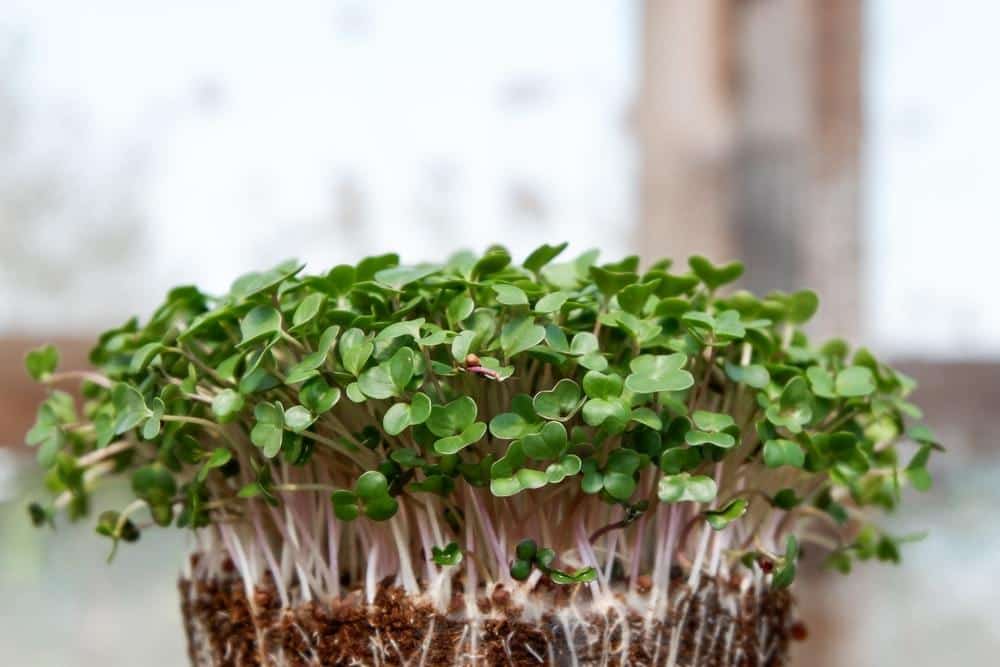
What Are Microgreens?
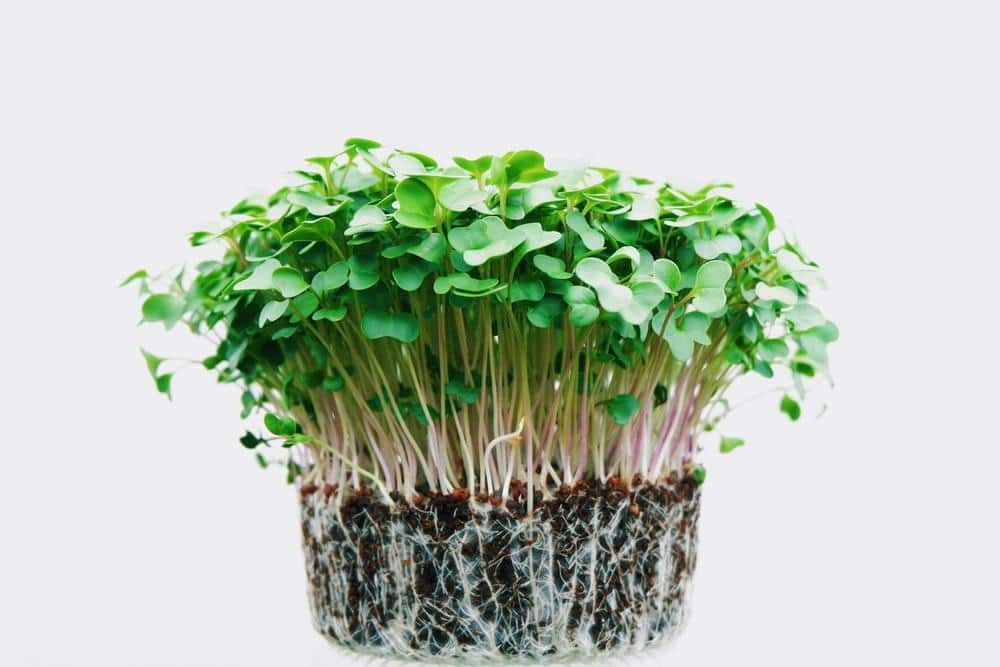
These marvelous baby leaves are a joy to grow — and eat!
To avoid putting too fine a point on it, microgreens are just the baby seedlings of any plant with edible leaves, which can be harvested once they’ve sprouted – think fancy cress. You can enjoy a harvest in as little as a week, turning the long-forgotten contents of last year’s seed packets into the sort of thing you’d see adorning the glamourous plates at expensive restaurants.
However, they’re not to be confused with sprouts which are merely germinated seeds, the first new growth following planting. Sprouts don’t need nutrition, or even light to grow and are usually harvested by the root, whilst microgreens must be harvested at the stem.
The Little League: Why Microgreens?
These quickly-germinating, nutrient packed greens make the perfect addition to any plate.
Why microgreens? For the simple fact that they’re the one crop whose time is whenever you’ve got it, deliver near-instantaneous gratification and are decidedly impossible to kill.
Microgreens — fully developed seed leaves or cotyledons and a leaf or several, smaller than baby greens but larger than sprouts — can be grown indoors in a small space, making them the perfect year-round do-it-yourself project for those who find themselves spending most of the winter season by their window missing their vegetables gardens. By spending a couple of weeks hovering round a tray of tender, leafy greens, root vegetables or herbs, you can curb the winter-time garden pangs with concentrated bursts of nutrition and flavour.
Besides the sheer excitement of seed starting, there’s tons of other reasons microgreens are a no brainer. Price, in example.
Growing Microgreens is Cheaper Than Buying
Microgreens are what farmers refer to as a high-value crop. Take a peek at the plastic boxes full of them in the grocery store the next time you’re there — microgreens can run $2 to $3 an ounce ($32 to $48 a pound) — that’s steep.
Microgreens are also jack packed with nutrients. Researchers with the University of Maryland College of Agriculture and Natural Resources and the United States Department of Agriculture evaluated vitamin and carotenoid concentrations in a range of varieties in a 2012 paper. The findings, in brief: microgreens contained up to 40 times the nutrients of the mature plants.
And oh, the flavor, of course. Yes, they add some sorely needed pizazz to salads and sandwiches, but cilantro microgreens on top of fried beans, anyone? They come highly recommended by the likes of Gordon Ramsey, who always has some basil on hand, for jazzing up the summery flavor of red sauce frozen at the peak of the tomato harvest.
Types Of Microgreens: Which Seeds Work Best?
Here are some of our tried-and-tested favourites – plus, how to get your hands on them.
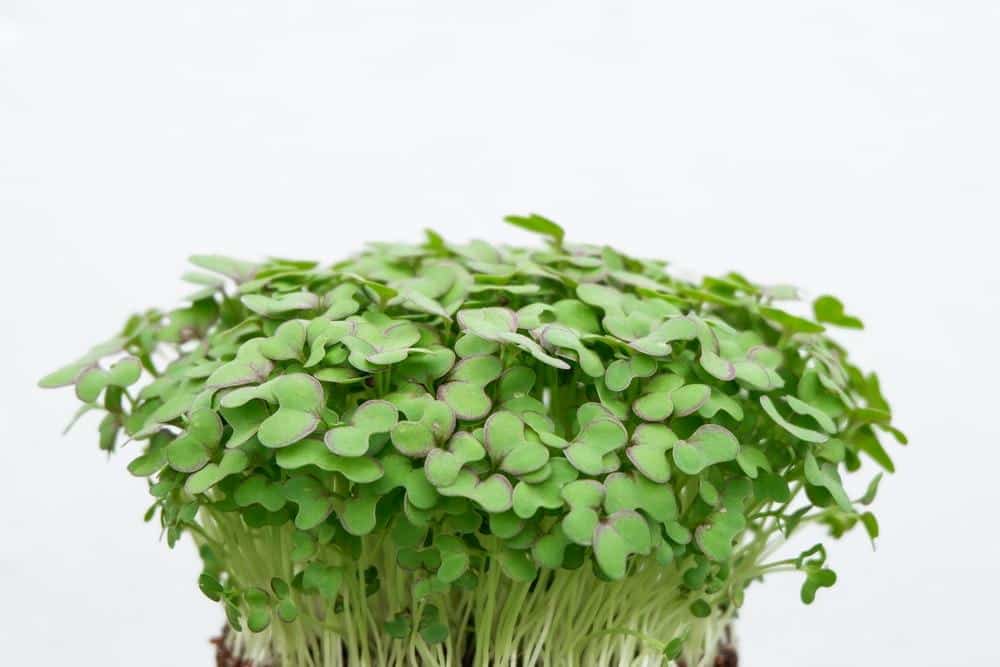
Chances are plenty of your favorite veggies will make excellent micro leaves.
Salad greens, leafy vegetables, herbs and even edible flowers can be grown as microgreens, though of course, there are some plants better suited than others. We recommend beginners start by experimenting with one type of seed, like broccoli, cauliflower, cabbage, mustard, chia, sunflower or else buckwheat — among the hardiest sorts of microgreens — in one container.
Six Of The Best Microgreens to Grow
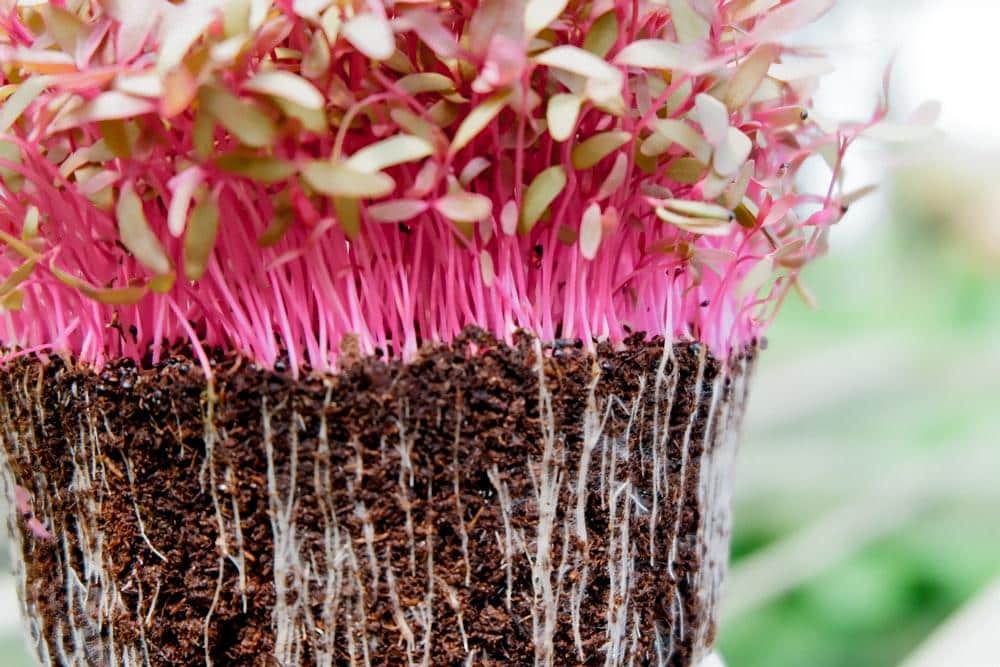
It’s worth trying your luck when it comes with microgreens — nearly everything in your vegetable crisper will do.
Plus, it’s fun to experiment with everything from piquant micro radish, to thai basil, to colourful dandelions or bold red cabbage, and even more exotic microgreens like stevia, chickpeas or amaranth.
Here are six of our favorites, which all taste great and are easy to grow:
- Pea shoots: these are a dead ringer for fresh peas. They’re easy crowd-pleasers in salads and stir fries, and their beautiful tendrils make them a fine addition to whatever you’ve got on your plate.
- Fava bean shoots: perhaps less popular than pea shoots, but delicious nevertheless. These have an earthy, beany taste, grow quick, and taste great in salads, risottos and stir fries.
- Sunflower shoots: have a savory, nutty taste and a nice crunchy texture that pairs particularly well with creamy avocado, but they’re great in pretty much every salad you could think of.
- Rose radish: fast and easy to grow, rose radish shoots will add a stunning red pop of red to your salads as well as a sharp, peppery flavour.
- Mustards like mizuna, mibuna and mustard red giant: these are all surprisingly spicy, perfect for those piquant salads. Some of them have lovely leaves, too – like mustard red frills.
- Coriander: a little slower to germinate, but the intensity of the coriander flavour more than makes up for it. Probably the best garnish ever.
Where To Source Your Microgreen Seeds:
Sowing thickly means you’ll need a lot more seeds than you think. Buying these in conventional seed packs from your local home supply store would be prohibitively expensive. Luckily there are other sources of much lower cost seeds, including:
- Dried seeds and pulses sold for cooking. These include dried peas (look for marrowfat peas), fava beans, coriander, fenugreek, dill and fennel. As long as they’re fresh, most dried cooking seeds will sprout and grow easy-peasy. You may want to test a few first, just to make sure — there is, on occasion, the odd packet that won’t germinate.
- Seeds sold in bulk for sprouting are another economical source.
- Leftover seeds from unused seed packs that are approaching expire dates. This is an excellent way to use up any old packs of seeds you have collecting dust in your cupboard. Basil, dill, carrots, rocket and cabbage all make excellent microgreens, as a quick aside.
Step By Step Instructions for Growing Microgreens
There is no one size fits all growing method.
The first thing you’ll want to do is go over all your gear one last time. A few standard nursery flats with drainage holes, called 1020 flats, with trays that fit beneath, will make everything way easier, as will a fan and some growing lights. As will a spray bottle and germination dome.
- Put down about an inch or two of soil inside your tray. Flatten and level it with your hand or a small piece of cardboard, taking care not to press too tight.
- Scatter seeds evenly on top of the soil. Press gently into the soil using your hand or the cardboard.
- Ensure your seeds are covered by a thick-enough layer of soil — remember, covered, not blanketed. Spray with a mister till damp.
- Settle in to wait. Mist twice daily.
- Once you notice sprouting, remove the germination dome and continue to mist once or twice a day.
- Microgreens need about four hours daily of direct sunlight to thrive. In winter months, some may need even more. Leggy, pale greens are a clear indication of not enough sunlight.
- Harvest.
Bon appetit.
Growing Microgreens Indoor Kits
Why do it all yourself?
Trying to get a microgreens garden started doesn’t have to be an exercise in patience or even really an exercise at all. That’s what microgreen kits are for.
Here’s a few of our favorites:
Back To The Roots Microgreens Grow Kit
- USDA CERTIFIED ORGANIC AND NON-GMO: This organic microgreens kit 6-grow variety pack is not treated with pesticides and is safe for consumption
- NATURES BEST KEPT SECRET: Baby seedlings of out grow and serve microgreen kit are packed with flavour and up to 40 times the vitamins and minerals of their mature plants
- MULTIPLE VARITIES OF SEEDS: The home grown indoor garden starter kit includes 6 multi-variety seed packets which includes broccoli, kale, purple kohlrabi, and red cabbage
- ZERO-RISK GARDENING: Our organic microgreen starter gardening kit comes with access to the Green-Thumb Text Support which details instructions on plant growth and how to support its growth
- SATISFACTION : Made in the USA and 100% to grow; If you are not satisfied, simply message us and we will send you a Back To The Roots replacement or provide a refund
Prices pulled from the Amazon Product Advertising API on:
Product prices and availability are accurate as of the date/time indicated and are subject to change. Any price and availability information displayed on [relevant Amazon Site(s), as applicable] at the time of purchase will apply to the purchase of this product.
Zero-risk gardening at its very best! Faulty green thumbs are no hindrance at all with this easy-breezy DIY microgreens kit.
Amazon Serve Microgreens Centerpiece
- 🥬 DELICIOUSNESS - Includes our unique compressed Fiber Soil, Non GMO Zesty Radish Microgreen Seeds and a 150 ml sprayer. Youll be growing in our attractive 15 x 6 (BPA FREE) Multi-Use Acrylic Planting Tray which can also be used for succulents, dish and herb gardens, wheatgrass, table centerpiece, house plant drip tray, fairy gardens, and so much more.
- 🥬 STRIKING AND NUTRITIOUS- Microgreens look beautiful on a dish as a gourmet garnish, and while theyre growing in the slick looking acrylic planter tray. Skip the ugly, bulky trays and grow in style! Looking to pump up your greens? Microgreens are up to 40 times more nutritious than their mature counterparts!
- 🥬 SO EASY - Pre-measure Fiber Soil and Seed makes growing Microgreens a snap! Just hydrate the compressed soil, spread it in the tray along with the seed and keep it moist. In less than 10 days youve got greens!
- 🥬 ANYWHERE, ANYTIME - Grow nutritious mini veggies year round near a window or on a countertop with just some room lighting. Or even better, ON your window and out of the way with a Window Garden Double Veg Ledge Suction Cup Shelf (SOLD SEPARATELY).
- 🥬 REFILLS - Most people get hooked on these tiny little powerhouse sprouts. When you do, we got you covered, with pre-measured and easy-to-grow refills. Therere a convenient and cost effective option for a healthy lifesty
Prices pulled from the Amazon Product Advertising API on:
Product prices and availability are accurate as of the date/time indicated and are subject to change. Any price and availability information displayed on [relevant Amazon Site(s), as applicable] at the time of purchase will apply to the purchase of this product.
Want to enjoy microgreens without having to do any of the work? Sit back and watch as this kit does it all for you.
MicroFarm | Professional Microgreen Gardening Kit
- HARVEST MICROGREENS LIKE A PROFESSIONAL FARMER. The unique full spectrum light recipe is designed to bring out the best flavors and colors in your greens. This lightening module is used by professional farms who grow microgreens on a large scale.
- FOOD OF THE FUTURE. Microgreens are seedlings with flavors such as red beet, broccoli and cucumber. They taste just like their full grown plant, yet, contain up to 40x more vital nutrients, and are super easy to grow. Most Microgreens can be harvested within 7-10 day in the growing process.
- FREE APP. Download our IOS/Android app with free access to growing schedules, nutritional information and lots of inspirational recipes with microgreens. Have a question? Chat with us and share pictures of your harvest via the chat function in the app.
- DURABLE DESIGN. MicroFarm is an indoor countertop garden made out of professional durable materials. When LEDs are cooled properly, as within this aluminum profile, they will last for up to 8 years before they start to drop in performance. Because of MicroFarm’s durable and open design, you can easily replace the LED board yourself. MicroFarm is a product for life.
- OPEN SYSTEM. Use the microgreen seeds and growing medium that you prefer. From sunflower to mustard seeds, kitchen paper to soil, MicroFarm is a fully open syst
Prices pulled from the Amazon Product Advertising API on:
Product prices and availability are accurate as of the date/time indicated and are subject to change. Any price and availability information displayed on [relevant Amazon Site(s), as applicable] at the time of purchase will apply to the purchase of this product.
Take your microgreens garden to the next level with this recipe!