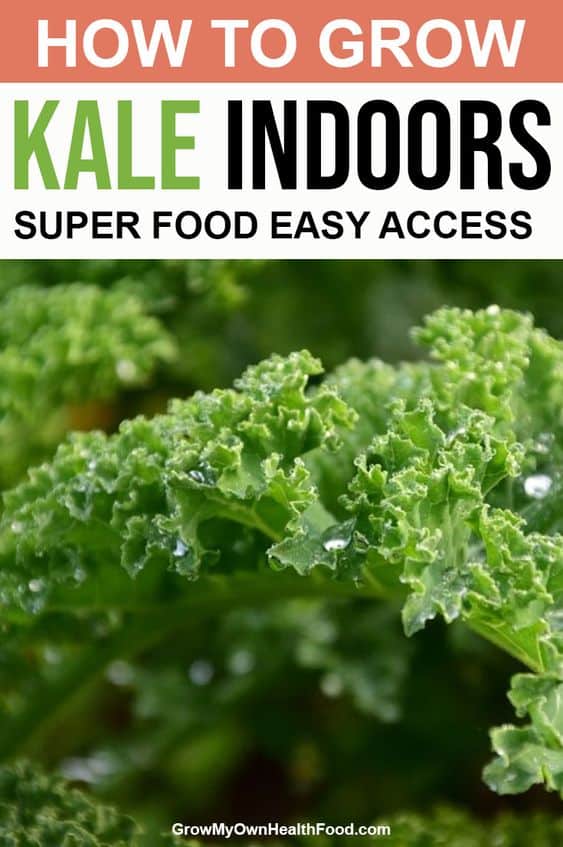
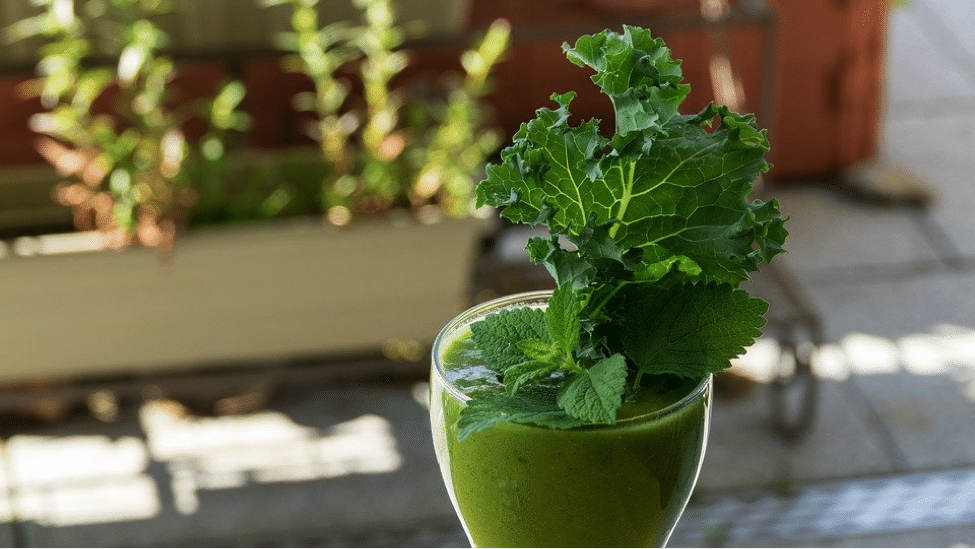
Whether it’s blistering hot outside or snowy, you can enjoy fresh kale all year round, as long as you grow it indoors. Fresh kale leaves, loaded with nutrients, can be tossed in salads, juiced for a nutritious punch or stir-fried with rice – they’re yummy and healthy no matter how you eat them.
Growing kale indoors is pretty simple, which is why this vegetable is a number 1 choice of most gardeners who don’t have much outdoor space. Whether it’s the shortage of gardening space or the charm of harvesting fresh kale all year round that has pushed you into growing kale indoors, this post will tell you everything you need to know before getting started.
Choose a suitable kale variety
Technically speaking, any kind of kale can grow well indoors. However, the best options are the compact varieties that will adapt well to smaller spaces and aren’t too demanding of light. Here are some of the best varieties for indoor growing:
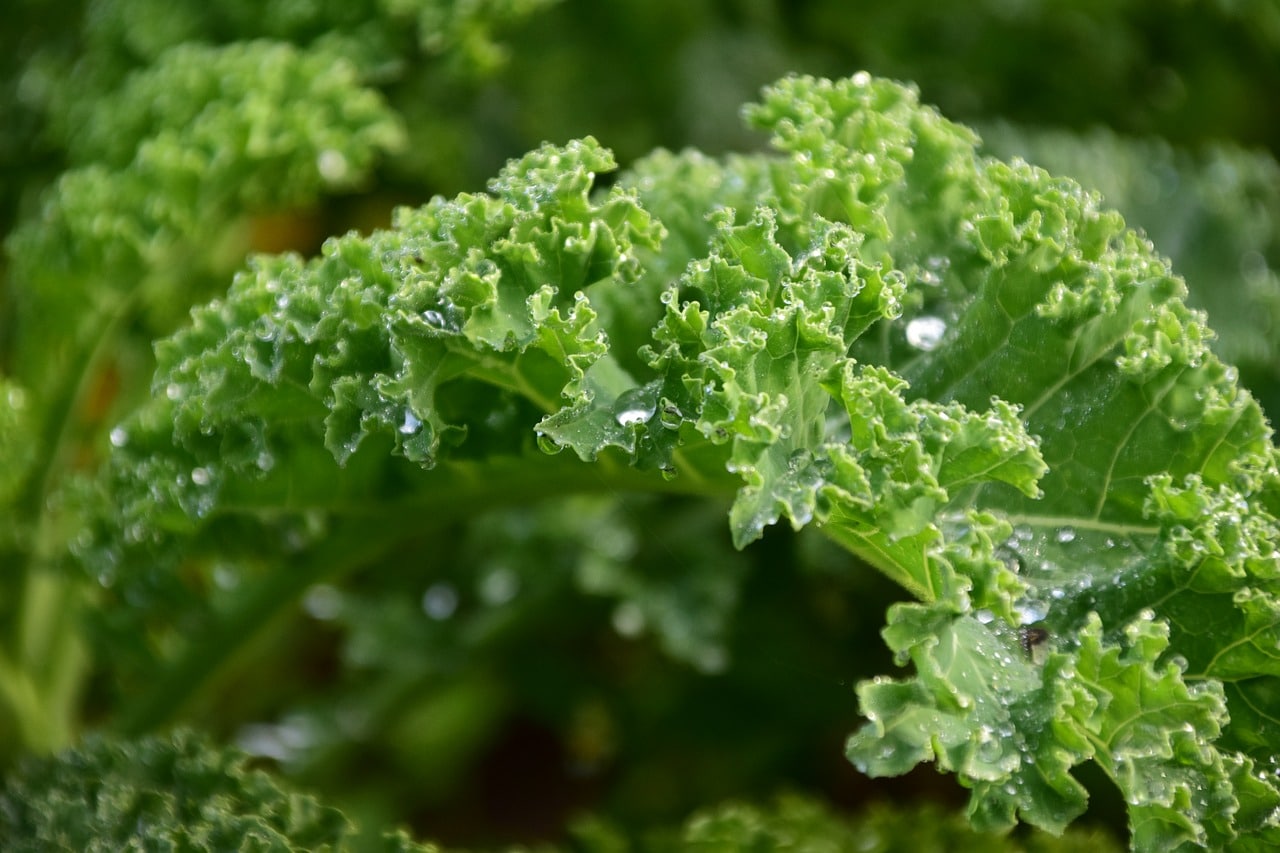
Dwarf Curly Blue Kale
- IF IT DOESNT SAY ▲▲ SOLD BY BGS Supplies - Its NOT Guaranteed to Grow, and may be shipped from Overseas! Click the X # new link below to buy from BGS Supplies USA Seeds!
- Curly Kale Seeds - Grown and shipped in the USA! Non-GMO! - Each pack contains 100+ Curled Kale Seeds
- Vates Blue Scotch Curled Kale - Easy to grow!
- Milder flavor than regular kale - packed full of vitamins and minerals
- ▼▼▼ Click the X # new link below to buy from BGS Supplies USA Seeds! - Guaranteed to Grow
Prices pulled from the Amazon Product Advertising API on:
Product prices and availability are accurate as of the date/time indicated and are subject to change. Any price and availability information displayed on [relevant Amazon Site(s), as applicable] at the time of purchase will apply to the purchase of this product.
These are compact varieties that can only grow to one foot in height and one foot in width. The curly leaves are packed with nutrients and are excellent for making kale chips and adding to green smoothies.
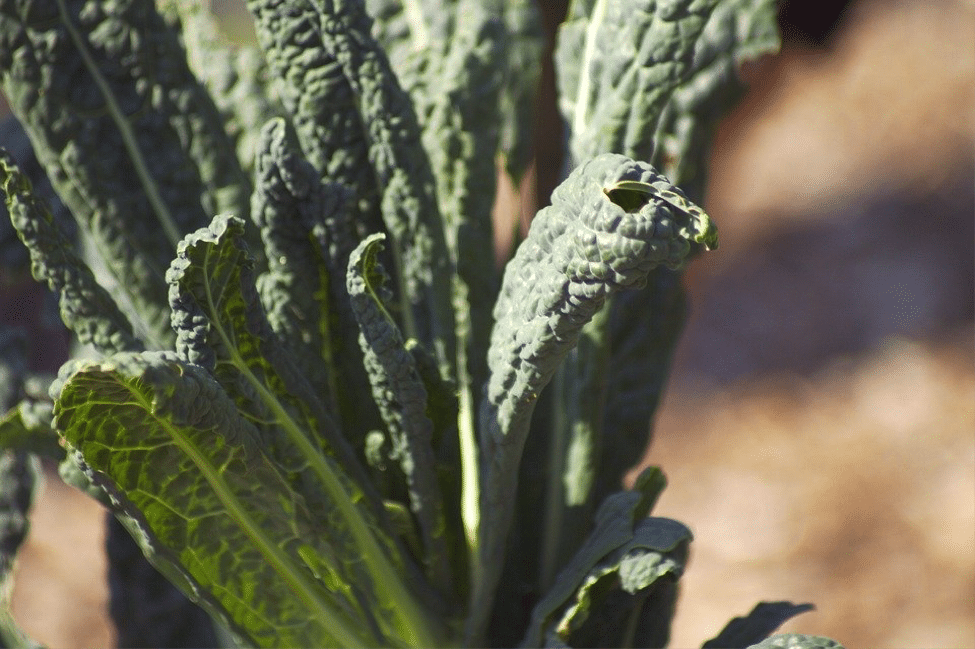
Tuscan Kale
- Also known as Dinosaur, Tuscan Kale or Tuscany black.
- Brassica Oleracea
- Days Until Harvest: 50
- Heirloom vegetable
- Heavily blistered and have a dark green col
Prices pulled from the Amazon Product Advertising API on:
Product prices and availability are accurate as of the date/time indicated and are subject to change. Any price and availability information displayed on [relevant Amazon Site(s), as applicable] at the time of purchase will apply to the purchase of this product.
Also known as Lacinato, or Dinosaur Kale, these are also popular varieties among indoor gardeners. The dark green, dimpled leaves that appear on the plants are just as ornamental as they are healthy. Given the softer flavor and smoother texture, the leaves from this variety are best when eaten fresh in salads.
Dwarf Siberian Kale
- Produces frilly green leaves. Sow Seeds 1/2 deep and 16-18 apart in rows 2-3 apart.
- Fantastic addition to your home garden! Popular choice of kale seed, top seller. Seeds are great for Planting in Garden or for storing in a seed safe for emergency.
- Kale appreciate very rich, moist soil that drains well. USDA Zones: 3,4,5,6,7,8,9,10,11,12
- For more of Islas Garden Seed products, enter Islas Garden Seeds into your search bar on Amazon!
- Please submit a 5 star review to help the continued success of our Garden Seed Company! Please post pictures of your plants and review us! These are high quality seeds, be sure to fully research proper germination instructions for optimal germination rat
Prices pulled from the Amazon Product Advertising API on:
Product prices and availability are accurate as of the date/time indicated and are subject to change. Any price and availability information displayed on [relevant Amazon Site(s), as applicable] at the time of purchase will apply to the purchase of this product.
The dwarf variety doesn’t mind growing in small containers and is very hardy to cold temperatures. The leaves can be eaten fresh as salads, baked as kale chips or sauted to compliment an entree.
How to plant the kale seeds
Supplies you’ll need
Growing kale indoors is simple. You won’t be needing many supplies to get started.
- Kale seeds
- Small dish
- Water
- Container with drainage holes
- Saucer
- Miracle-Gro Indoor Potting Mix
- Fiskars Trowel
- KIBAGA Indoor watering can
Growing Kale Indoors – Steps to follow

- Place the seeds in a dish filled with water, and leave them soaked for about 8 hours.
- Choose a pot with drainage holes and fill it with potting soil.
- Place a saucer under the pot so it won’t damage the spot you place it at.
- Water the soil to moisten it, but not too much!
- Sow the seeds about 6 inches apart and cover them with a thin layer of potting mix. They should be about ¼ to ½ inch deep in the soil.
- Place the container at a well-lit spot.
Read our post Growing Vegetables Indoors Is Easier Than You Think to learn how to grow a potted indoor vegetable garden.
Choose a location
When growing kale indoors, plants need at least 6 hours of sunlight every day. Place the pot near a window that gets plenty of morning sun. However, it shouldn’t be getting to much sun during the afternoon or the leaves will scorch. South-facing windows are often the ideal spots for growing kale.
If you don’t have a sunny spot in your home, you may want to consider installing an artificial light source to nourish your kale garden. Read our post Plant Lights – How to Choose the Best Grow Lights for Indoor Plants to learn all about growing plants under grow lights.
Kale Care and Maintenance
Although kale plants aren’t high maintenance, there are some things you can do to ensure a speedy and flavorful harvest:
- Keep the soil consistently moist, especially while the kale plants are still young. Once they are a couple of inches tall, let the top 2 inches of the soil dry out before watering it.
- Once the plant is established, add a thin layer of worm castings every 2 weeks to enrich the soil with nutrients and promote healthy growth.
- If you’re placing them near a windowsill, move them further from the window during the hottest hours.
- Mulch the soil to keep it cool especially if it’s near a sunny window.
Indoor Kale Harvest
When growing them from seeds, it may take up to 2 months for kale plants to reach maturity. Harvest the outer leaves once they are the size of your hand, a little at a time. Leave at least four leaves on the plant every time you pick them, so they continue producing more without going under stress.
Tip for Best Kale Flavor:
Place the plants out on the balcony or porch a couple of nights before you plan on harvesting them. A little exposure to cold triggers the creation of sugars in the leaves, giving them a sweeter flavor.
Grow Kale Indoors – Conclusion
Now that you know how to plant and care for an indoor kale plant, it’s time to get started. Collect all your supplies and get planting! Growing kale indoors gives you a chance to eat fresh greens picked right off the plant, even if you don’t have a huge backyard to cultivate. From sandwiches, salads, and smoothies to baked kale chips, you’ll find tons of yummy recipes to try once the harvest time approaches.