If you have a small home garden and are looking to glam it up, pear trees are a great option. They can easily grow in small spaces, are low maintenance and most importantly they have beautiful blossoms. Moreover, they are very pest and disease resistant and they are as hardy as apple trees. Mentioned below are a few important things that you must keep in mind in order to grow a pear tree from seed.
1. Things You Need to Know to Grow a Pear Tree From Seed
Before you can start growing pear trees from seeds, here are a few things that you need to know. The pear trees that are grown from seeds do not produce fruits for a good 7 to 10 years of their life. In fact, some of them may end up not producing any fruit throughout their lifetime. Moreover, there are few risks that come with growing trees from seeds, one of the major ones being an increased susceptibility to diseases. Although this shouldn’t be a problem for a small garden, however as more and more people start growing pear trees that might change.
There are many different varieties of pear seeds but planting the seed of a known variety doesn’t mean that the resulting tree will produce the same variety of pears.
How Long does it take to Grow a Pear Tree?
Remember that pear seeds can take three to ten years to develop into mature pear trees that can start producing fruit.
Growing pear trees from seeds isn’t something that everyone can do, it requires a lot of patience as it involves a series of steps, each of which can take up to a few months to complete.
2. How to Get the Best Pear Seeds
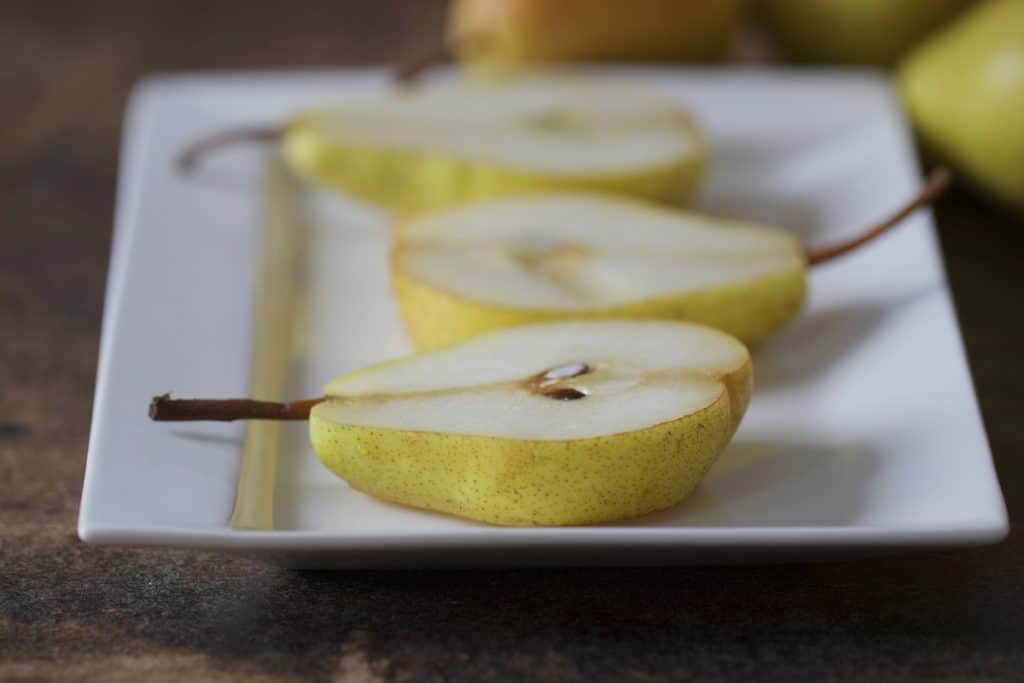
Pear seeds develop inside pears which you can use to grow new trees. You can either harvest the seeds from inside a freshly bought pear from the grocery store or get some pear seeds from a nearby nursery.
Once you have your seeds you need to cold stratify and germinate them indoors before you can plant them in your garden. This way you will increase their likelihood of growing into tall and healthy pear trees.
If you want to increase the chances of your trees producing fruit, you can plant two pear trees close together. This will help with cross-pollination and increase the likelihood of your trees producing fruit.
3. How to Sow the Seeds of a Pear Tree
- 200+ Seeds Per Packet - BIG PACK
- Common Names: Chinese Pear, Chinese Sand Pear, Sand Pear, Japanese Pear, Asian Pear, Oriental Pear - Pyrus pyrifolia
- Pyrus pyrifolia is a pear tree species native to China, Japan, and Korea
- The trees edible fruit is known by many names, including: Asian pear, Chinese pear, Korean pear, Japanese pear,Taiwan pear, and sand pear
Prices pulled from the Amazon Product Advertising API on:
Product prices and availability are accurate as of the date/time indicated and are subject to change. Any price and availability information displayed on [relevant Amazon Site(s), as applicable] at the time of purchase will apply to the purchase of this product.
Start by collecting your pear seeds preferably from ripe pears that you have on hand. Collect as many seeds as you can because not all of them are going to germinate and the higher number of seeds you plant, the higher the likelihood of producing more trees.
Soak Pear Tree Seeds
You should soak your seeds in tap water overnight and remove the ones that float because they will not germinate. Now take some damp potting soil in a sandwich bag and push 4 seeds into the bag around 2-3 inches deep and seal the bag. Now place the bag in your refrigerator for around three months and keep checking the potting mix. Make sure it doesn’t dry out by occasionally adding a bit of water to keep it damp.
- Grows Plants Twice as Big (vs. unfed plants)
- Feeds up to 6 months
- More blooms for more color (vs. unfed plants)
- For indoor and outdoor container plants
Prices pulled from the Amazon Product Advertising API on:
Product prices and availability are accurate as of the date/time indicated and are subject to change. Any price and availability information displayed on [relevant Amazon Site(s), as applicable] at the time of purchase will apply to the purchase of this product.
After three months remove the seeds from the bags and soak them in a bowl of warm water once again. Leave the seeds in for two days so that the shells soften up a bit and remove all the seeds that float to the top.
- CERAMIC WITH GOLD AND GREY DETAILING - Created with sturdy ceramic and painted beautifully with gold and grey, these planters are not only breathtaking to look at but amazingly functional as well.
- DIFFERENT SIZES AND SHAPE - We have a larger, round shaped planter, perfect for taller plants and then a smaller, asymmetrical piece for your smaller legumes.
- DIMENSION - Grey--W: 6.7 Inch, H: 6.1 Inch, Gold--W: 5.4 Inch, H: 5.2 Inch, Plants are not included. Detailing on each piece may vary slightly due to hand painting.
Prices pulled from the Amazon Product Advertising API on:
Product prices and availability are accurate as of the date/time indicated and are subject to change. Any price and availability information displayed on [relevant Amazon Site(s), as applicable] at the time of purchase will apply to the purchase of this product.
Now It’s time to plant them into your pots. Place your seeds half an inch deep into pots filled with potting mix. Make sure to space them evenly and place them near the sides of the pots. Remember to put the pots in a spot that gets enough sunlight or use a grow light instead. Keep watering the seeds just enough to keep the soil damp. Make sure not to over-water the seeds as that can result in stunted growth of the plants.
- Featuring a proprietary intensified Spectrum designed for plants growing and flowering large yields.
- Efficient cooling systems make your plant grow lights durable to use. Service lifespan up to 50000hrs.
- Daisy-chain connection is available. Two or more light can be connected together with the standard included power cord.
Prices pulled from the Amazon Product Advertising API on:
Product prices and availability are accurate as of the date/time indicated and are subject to change. Any price and availability information displayed on [relevant Amazon Site(s), as applicable] at the time of purchase will apply to the purchase of this product.
Keep monitoring your seeds over the next few weeks and make sure they sprout small cotyledons. Once your seedlings have 4 true leaves that are bigger than the cotyledons, it’s time to move them to your garden.
Make sure to be very gentle when moving your plants from pot to garden. The hole in the ground needs to be larger than the root ball of your plant. The soil needs to be well-drained. Water immediately after you have planted the young tree and keep caring for it over the next few years.
4. Caring for Pear Trees
After the tree develops a trunk, it is going to need some support. Placing a wooden stack beside the truck is going to give it some support and keep it erect as it grows a bigger and stronger trunk.
When watering your tree make sure to not go overboard. During the first year you need to water the tree just once a week. Whereas, during dry seasons, you may need to increase the amount of water. Whenever you see the soil getting dried up, it’s time to water your tree so you can keep the soil damp.
In the start, the tree is going to need ammonium nitrate fertilizer once a year. However, once you start seeing the tree grow faster you can start using less fertilizer.
Make sure you keep pruning your tree as necessary. Whenever you see some dried-out branches prune them. This ensures the nutrients can be rerouted to the healthy parts of the tree.
5. Harvesting Pear Trees
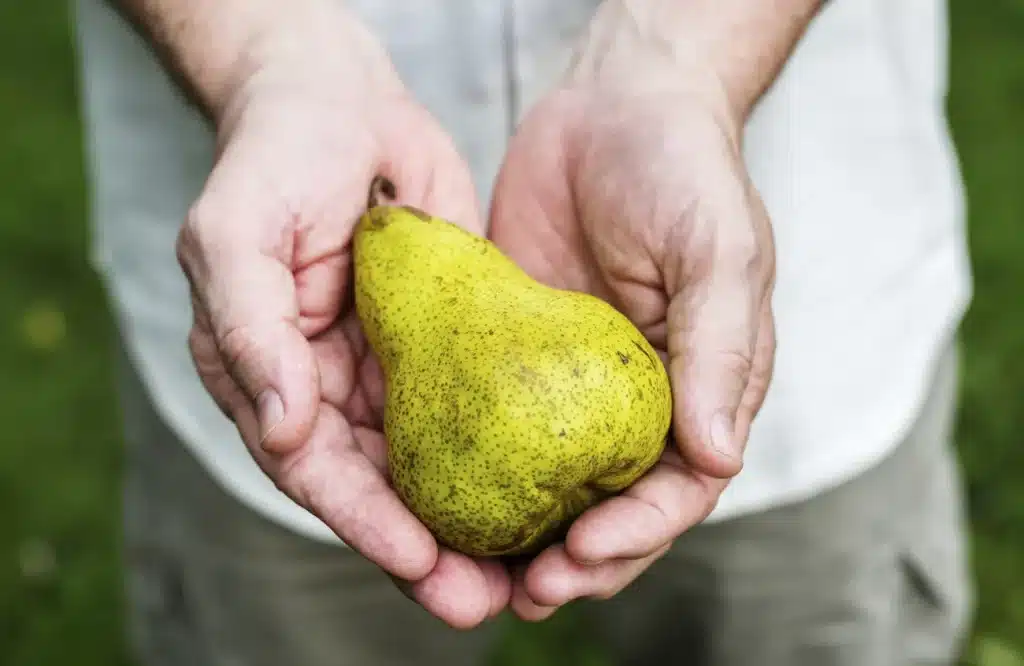
When you attempt to Grow a Pear Tree From Seed, for the first 5 to 8 years your tree won’t be able to produce any fruit. However, after that, your tree should be mature enough to start yielding some delicious pear fruits. After that, you will start getting fruit from your pear tree every year. Make sure to wait until the fruit becomes completely ripe before picking it. You also need to keep in mind that in some cases even after doing everything right and after putting in years of work your tree might not be able to produce any fruit. If that is the case there isn’t a lot you can do. But that is a risk you have to take if you want your own pear trees. Just make sure you do everything right and hope that your hard work pays off.
