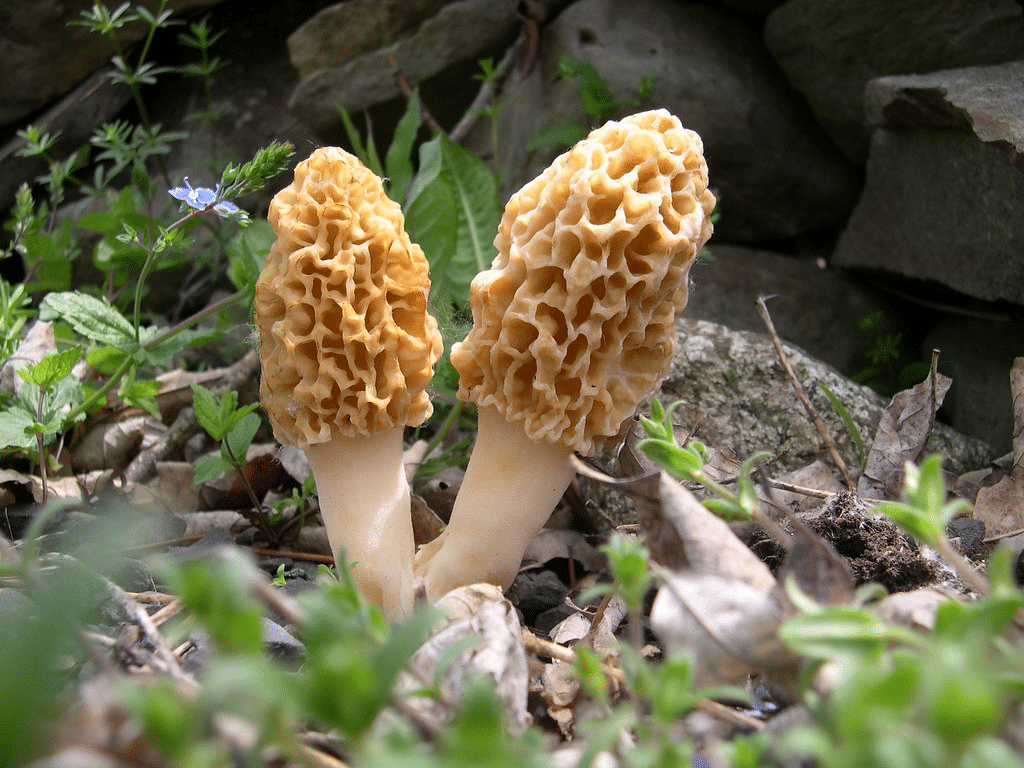
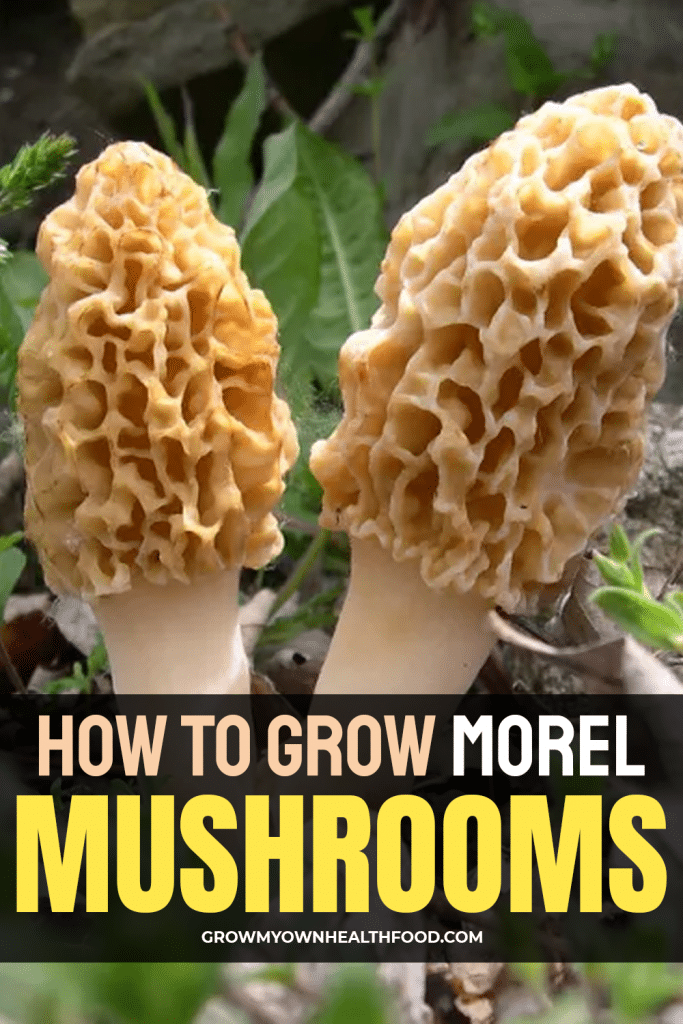
Morel mushrooms (Morchella spp.) are a chef’s favorite around the globe and though they add a delicious new flavor to meals, fresh morels are not easy to find at the supermarket. Even if you do get hold of them, they’re expensive! Mushroom hunters set off to the woods every spring in search of these elusive treats. Finding wild morels has developed into a sport and a culture over the years. However, if you don’t have access to forestland in the vicinity, or are just looking for a new experience, it’s possible to grow morel mushrooms at home! Continue reading and you’ll learn all about it.
Growing Morel Mushrooms
Morel mushrooms are a part of the Fungi kingdom instead of the Plantae kingdom. As you would expect, they’re planted and grown differently than vegetables and flowers that you’re accustomed to growing in your garden.
You can easily find commercial kits online for growing morel mushrooms. These kits come with spores and detailed instructions on how to plant and care for them.
- Plant in your own yard!
- Contains living morel fungus in a 22 oz. block of morel mushroom spawn mycelium (body)
- Made in CALIFORNIA USA. Use spawn immediately or store for up to six months.
Prices pulled from the Amazon Product Advertising API on:
Product prices and availability are accurate as of the date/time indicated and are subject to change. Any price and availability information displayed on [relevant Amazon Site(s), as applicable] at the time of purchase will apply to the purchase of this product.
However, if you don’t want to purchase the kit, you can still grow morel mushrooms if you can get hold of some wild morels to start with. Make sure they’re fresh and not mushy or rotting. The morel mushrooms will have spores and that’s what we need to plant.
How To Plant Morel Mushrooms
Step 1: Preparing Spores
Start by boiling one gallon of distilled water. To the boiling water, add 1 tablespoon of molasses and ¼ teaspoon of salt. Molasses speeds up mushroom growth while salt prevents any bacteria from growing in the culture.
Once the boiled water has cooled down to room temperature, add some morel mushrooms into it (shredded, preferably) and cover the mixture. Let the mixture sit for 2 days at room temperature before straining it through a cheesecloth to save the liquid. Don’t let it sit for any longer than this to avoid any risks of bacterial contamination. The strained liquid has morel mushroom spores in it. Or you can buy spores, but fresh ones seem to work better.

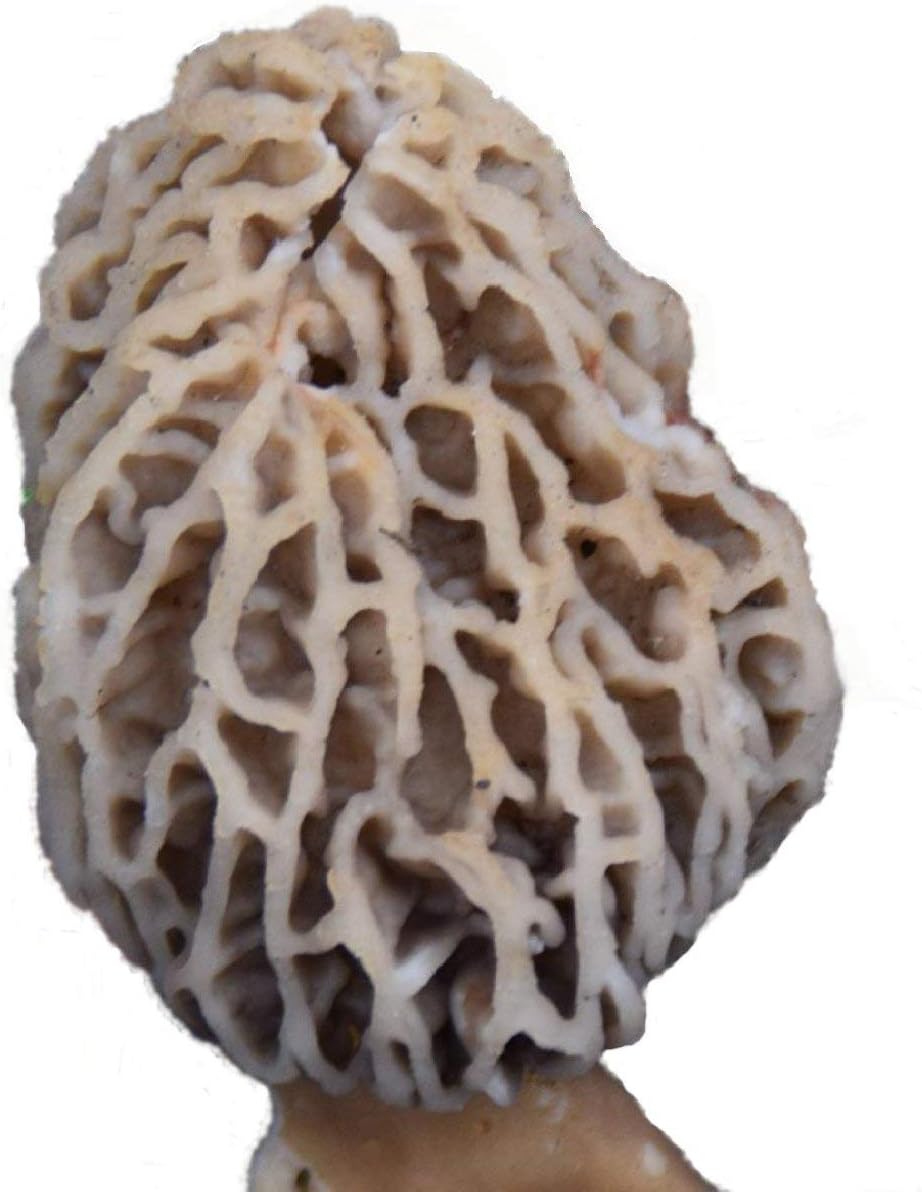
- Fresh True Morel Spores in sawdust carrier. Apx 40 grams Grow Morel Mushrooms in your yard or garden.
- Sawdust spawn is per-inoculated with fresh morel mushroom spores. Just pour kit in 5 gallons of filtered/rain water and set for 24 hours, then pour water into the best spot you can think of.
- Now you can start your own patch and know exactly where they will be.No more hunting, just picki
Prices pulled from the Amazon Product Advertising API on:
Product prices and availability are accurate as of the date/time indicated and are subject to change. Any price and availability information displayed on [relevant Amazon Site(s), as applicable] at the time of purchase will apply to the purchase of this product.
Step 2: Preparing The Planting Area
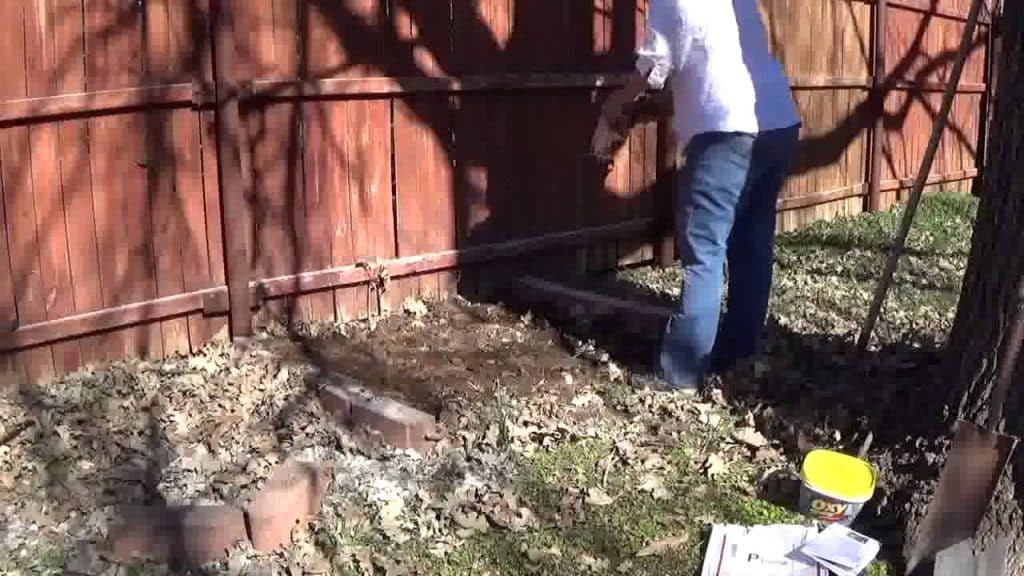
While the mushroom mixture sits for 2 days, you can start preparing the planting site. Choose a shady spot. If you have a dying tree next to the shady site, that’s even better for morel mushroom development. Burn some wood chips to make ash. Mix equal quantities of peat moss, ash, and wood chips to soil dig up ¼ inches of soil in an area-wide enough to grow your mushroom crop. Most growers plant in a 4-feet by 4-feet area. In the space you dig up, fill in the soil mixture you just created.
Step 3: Plant Morel Spores
Plant the spores by pouring out the strained liquid that you prepared in step 1 evenly out in the planting area. Cover the space with ¼ inches of compost and wait for the mushrooms to start growing. The next stage is a long process and doesn’t be disappointed if you don’t find any mushrooms during the first couple of years. You might spot a few mushrooms, but it takes several years to establish an entire colony good enough to start harvesting.
How To Care For Morel Mushrooms
Morel mushrooms are a low-growing species of woodland. To grow them successfully, you must try to replicate their natural habitat as closely as possible. Here are a few things you should be careful about:
Mushroom Light
Morel mushrooms are fungi species and not plants. Since they do not need to carry out photosynthesis or make chlorophyll, they don’t need much sunlight. Some filtered light is needed to keep the soil warm for the mushrooms, but no direct sunlight.
Water
Keep the area consistently moist by following a regular irrigation schedule. Evenly moist soil is very important for its growth.
Weather
Morel mushrooms like cool and moist weather. Daytime temperatures between 60°F and 70°F with some humidity and rainfall are best for growing morels.
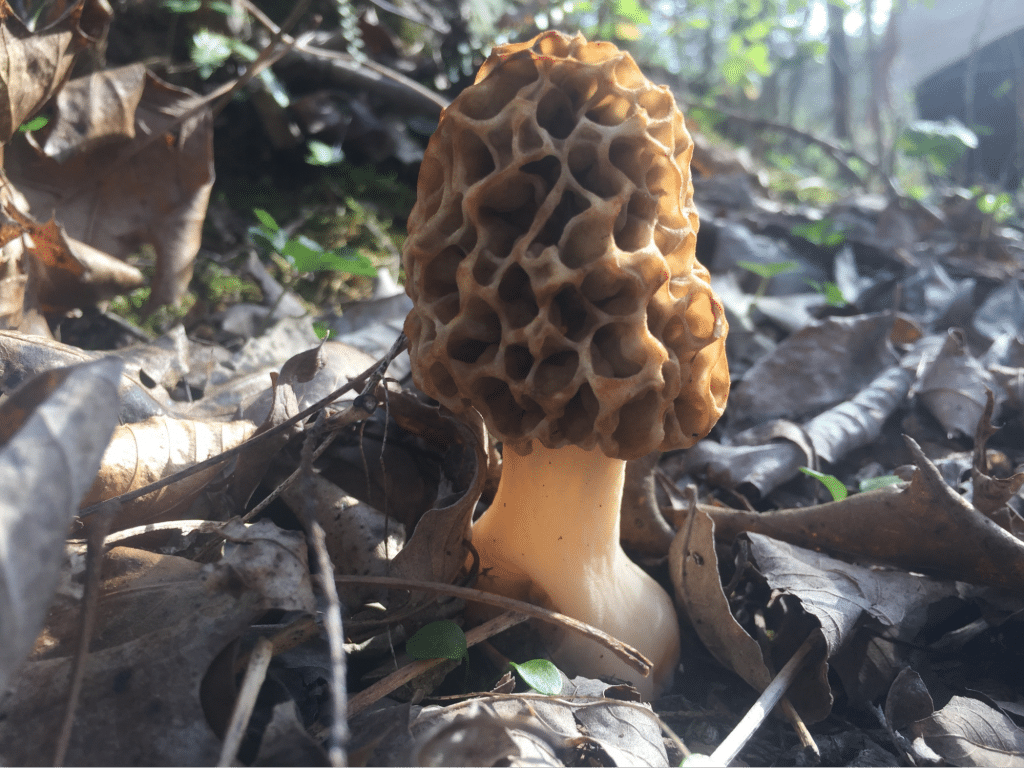
Harvesting Morel Mushrooms
Once you see a tiny structure poking out of the ground, it can take as little as 6 days for the structure to grow into a 3-inch tall mushroom ready to be harvested. Use a sharp knife to snip off the top. Brush off any dirt, store it in a food-grade container in the refrigerator and use it within 2 to 3 days. Don’t wash them until they’re ready to be used because moisture can cause it to deteriorate faster.
How To Grow Morel Mushroom Indoors

Indoor morel cultivation was paved by Ronal D. Ower in 1982. Before this, no one had any real success in growing morel mushrooms indoors. Here are the steps:
- Prepare the substrate by mixing 50% compost, 30% potting soil, 20% sand and some pickling lime until you have a soil pH of 7.2. You can also add a cup of ash to the soil mix.
- Transfer 2 inches of substrate to a sterile pan with drainage holes at the bottom.
- Pour some morel mushroom liquid, same as the one we described for outdoor cultivation, over the substrate.
- Place the tray in a dark, humid room with a temperature around 65°F.
- In 4 to 6 weeks, once you see white mycelium covering the surface, place it in the fridge at temperature 39°F for a further 2 weeks.
- Remove it from the fridge and place it in a room at 72°F and 90% humidity for fruiting with 12 hours of light and 12 hours of dark.
- Within a week, you’ll notice morel mushrooms will start growing and will soon be ready to be harvested.
How to Grow Morel Mushrooms – Conclusion
So that’s how to grow morel mushrooms at home and turn your regular meals into gourmet dishes to enjoy exciting new flavors of the woodlands! Growing morels demands skill and careful attention. If you don’t have success the first time, don’t lose hope and start over. You’ll soon be growing and harvesting enough morels to give some away to friends!


