How to Grow Radish Microgreens?
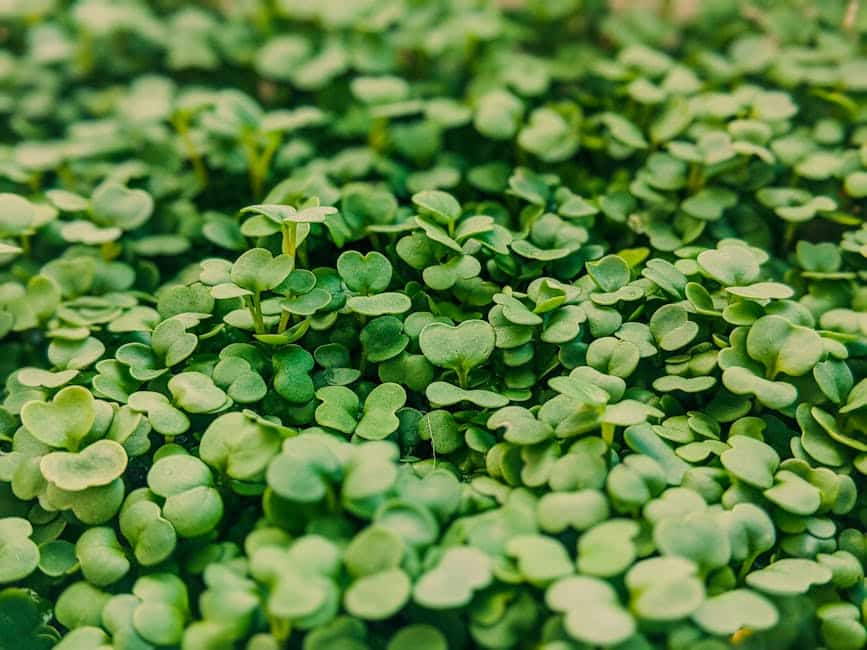
Radish microgreens are a nutritious and delicious addition to any meal. These tiny greens are packed with vitamins, minerals, and antioxidants, making them a great choice for health-conscious individuals. Not only are they easy to grow, but they also require minimal space and time. In this article, we will explore the best practices for growing radish microgreens, step by step. So let’s get started!
Gathering the Materials
Before you begin growing radish microgreens, you will need to gather a few essential materials. Make sure you have:
- High-quality radish microgreen seeds
- A shallow tray with drainage holes
- Two trays without holes
- A light and fine-grained growing medium (such as seed starting mix or coconut coir)
- A grow light
- A spray bottle
- Scissors
Preparing the Growing Tray
Once you have all the necessary materials, it’s time to prepare the growing tray. Follow these steps:
- Moisten the soil or coconut coir and fill it just below the brim of the growing tray, making the surface smooth.
- Spread the radish microgreen seeds evenly on the soil, about 10 seeds per square inch.
- Mist the seeds with water and cover the tray with another tray, placing a small weight on top.
- Leave the seeds in darkness for 2-3 days until germination is complete.
Providing Light and Water
Once the seeds have germinated, it’s time to provide them with light and water:
- On day 3, remove the cover tray and start using the grow light for at least 12 hours a day.
- Water the microgreens from the bottom of the soil by placing the tray in a few inches of water and letting it soak. Remove the tray when finished.
- Every few days, check the weight of the tray to determine if the microgreens need to be watered again.
Monitoring and Harvesting
As the radish microgreens continue to grow, it’s important to monitor their progress and harvest them at the right time:
- Within a few more days, when the microgreens are 2-3 inches tall, harvest them by snipping them just above the top of the soil using scissors.
Storing and Enjoying
Once you have harvested your radish microgreens, it’s time to store and enjoy them:
- For storage, rinse the microgreens in cold water and store them in an airtight container in the fridge, adding a paper towel to absorb excess moisture if needed.
And there you have it! By following these steps, you can successfully grow radish microgreens from seed to harvest. Enjoy the fresh and nutritious addition to your meals!
Related Websites:
FAQs:
Q: What are the benefits of consuming radish microgreens?
Radish microgreens are packed with vitamins and minerals, and they also possess antioxidant properties. They may have potential anti-inflammatory effects and can add a spicy kick to various dishes.
Q: What materials and equipment do I need to grow radish microgreens?
To grow radish microgreens, you will need seeds, growing trays, potting soil, and water. These essentials will help you create the ideal environment for successful growth.
Q: How do I harvest radish microgreens?
Harvesting radish microgreens is simple. Wait until the first true leaves appear, then use clean scissors to cut the microgreens just above the soil level. This ensures you have fresh and flavorful microgreens ready to use.
Q: How do I store radish microgreens?
After harvesting, store your radish microgreens in an airtight container in the refrigerator to maintain freshness. This will help preserve their flavor and nutrients for longer.
Q: Can I use radish microgreens in different dishes?
Absolutely! Radish microgreens can be used in various dishes to add a flavorful and nutritious twist. They work well as a garnish, or you can incorporate them into salads, sandwiches, stir-fries, and more.


