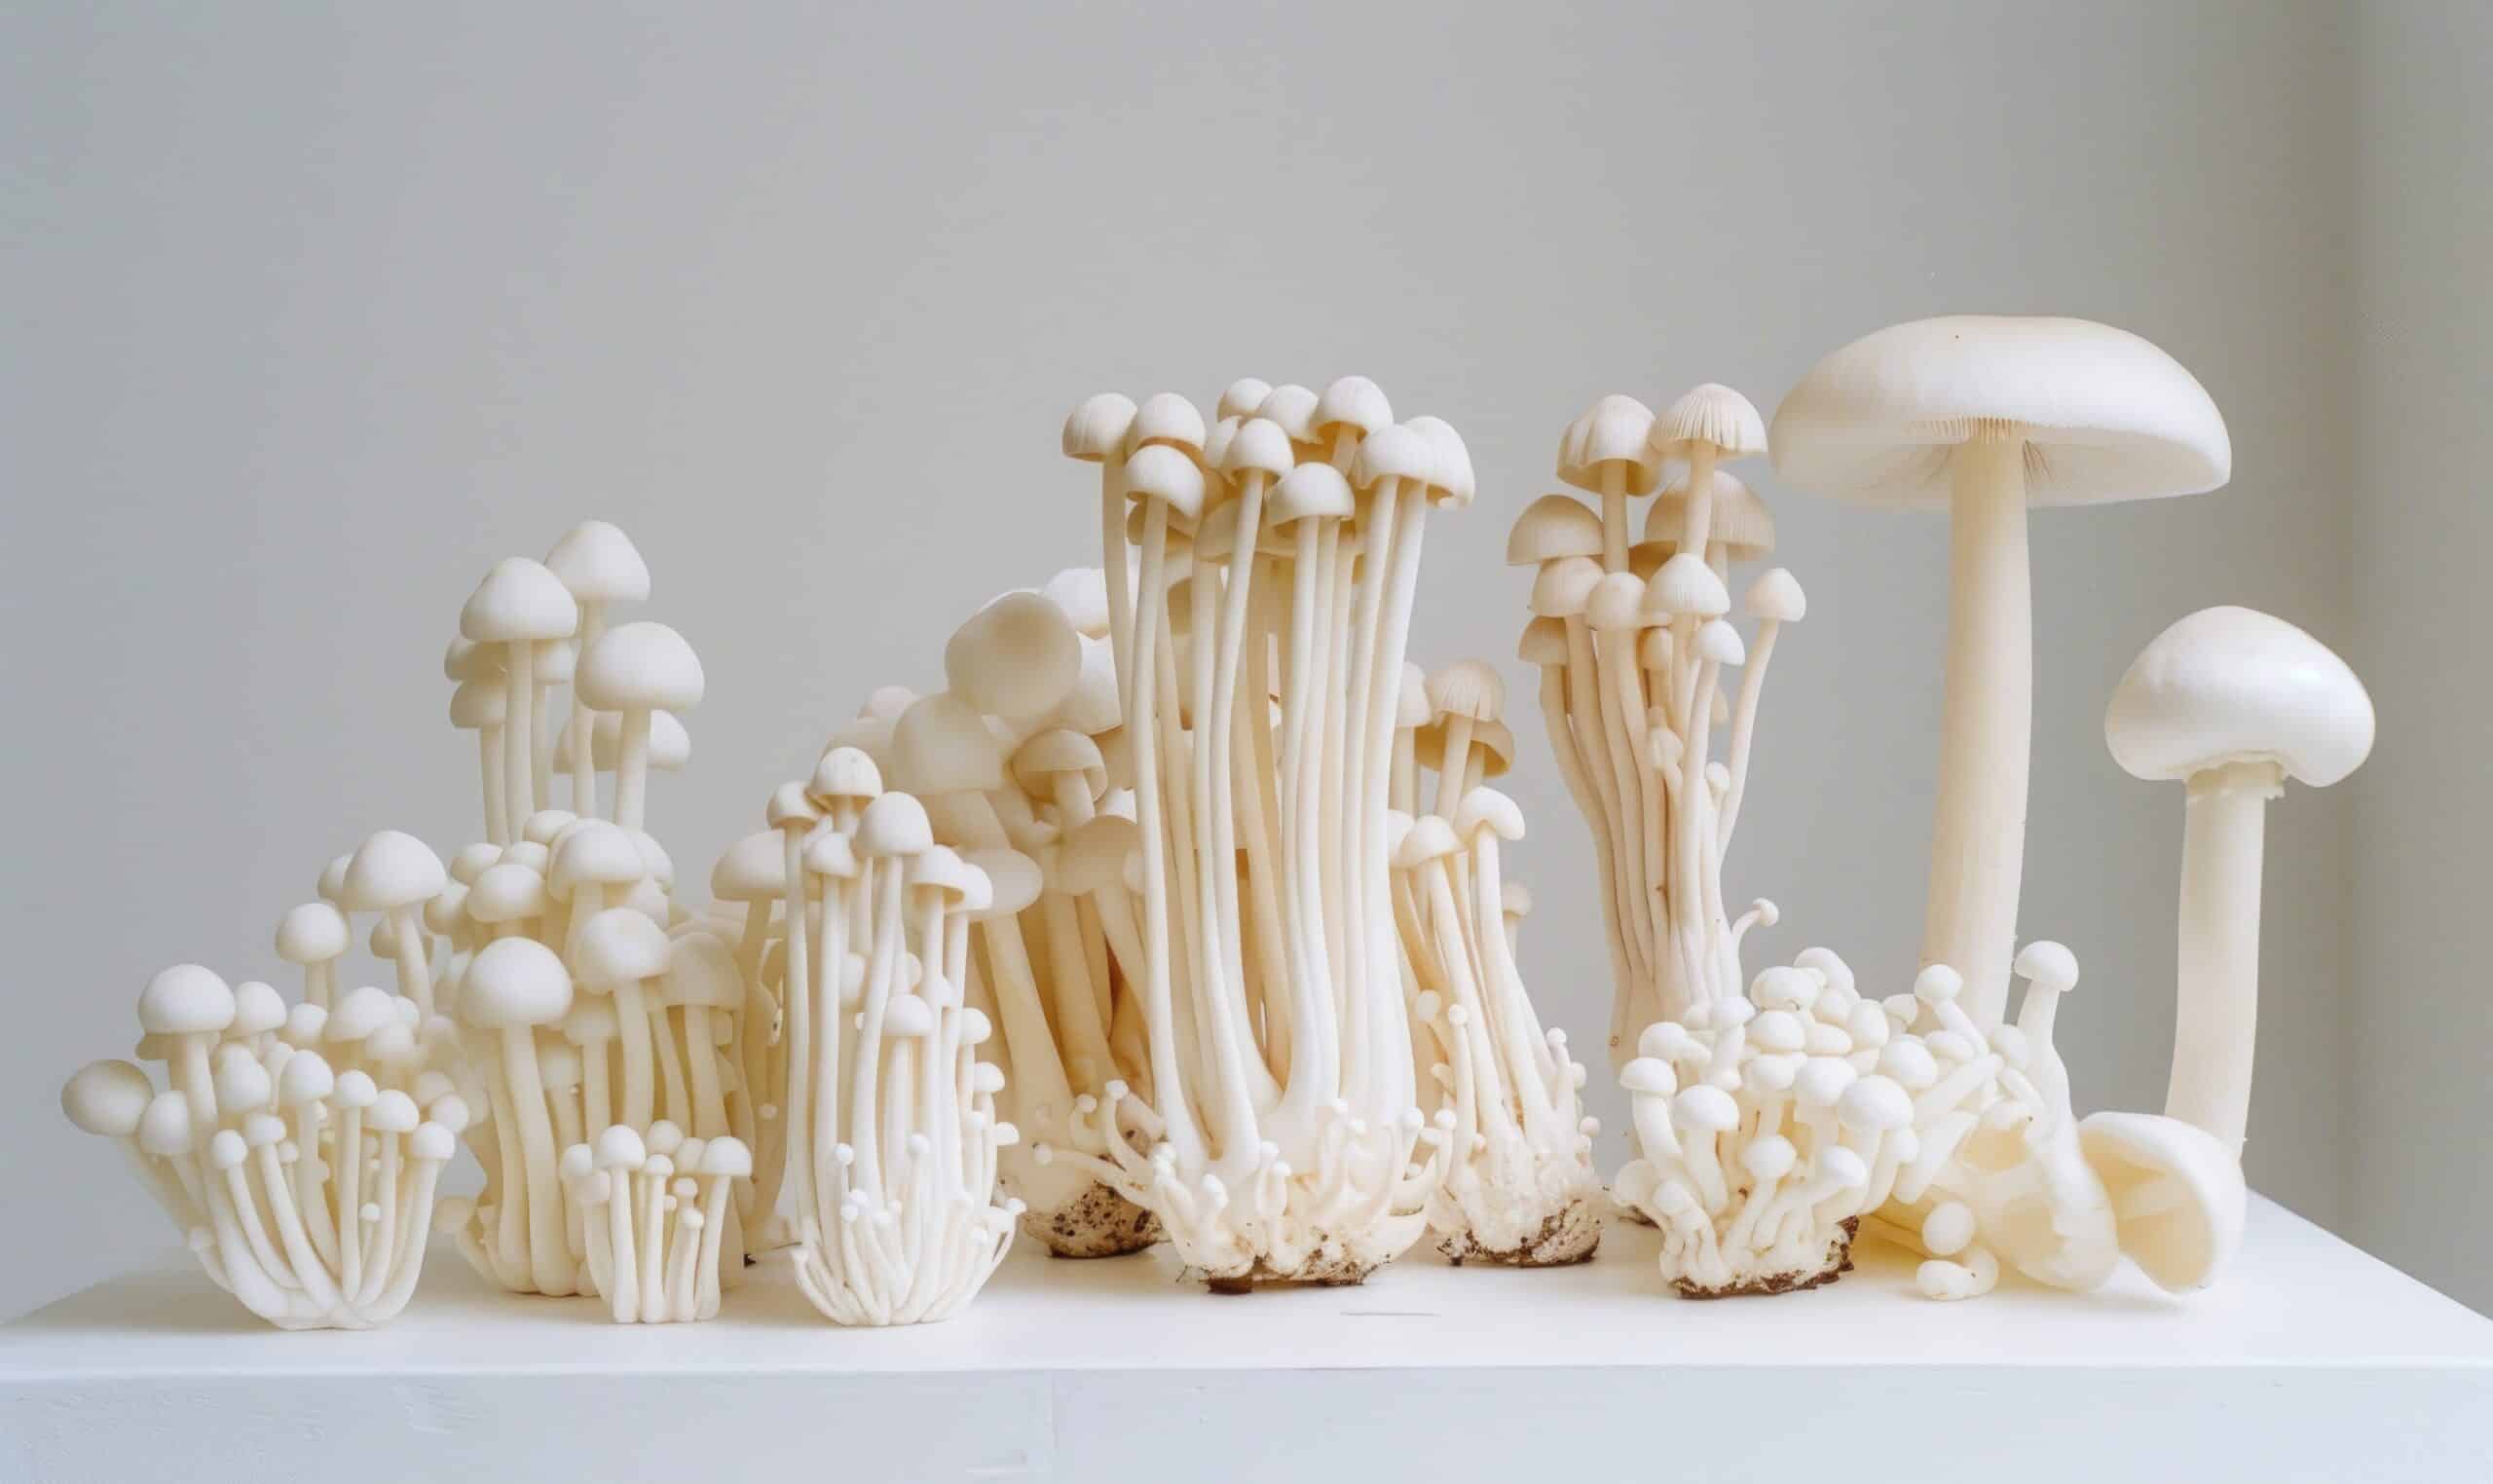
How to Propagate Mushrooms from Existing Ones
Key Takeaways
- You can propagate oyster mushrooms from stems by shredding a substrate, pouring boiling water onto it, draining the mixture, and placing oyster mushroom stem material in a container with substrate.
- You can propagate button mushrooms from stems by sanitizing mason jars, placing coffee grounds in the jars, adding button mushroom stems and caps, replacing the lids with tissue paper, and waiting for mycelium spawn lines to appear.
- You can also propagate mushrooms from mushroom ends by soaking straw, cutting the ends into small pieces, layering them in a container with moist material, keeping it damp and in the dark, and allowing the mycelium to fruit.
If you’ve ever wondered how to propagate mushrooms from existing ones, you’re in luck! In this article, we will explore different methods and techniques for growing mushrooms using existing store-bought mushrooms. Whether you’re interested in growing oyster mushrooms or button mushrooms, we have you covered. Let’s dive in!
Growing Oyster Mushrooms from Stems
One method for propagating mushrooms is by growing oyster mushrooms from stems. Here’s how:
- Start by shredding a substrate, such as natural cardboard, into small pieces.
- Pour boiling water onto the substrate and let it cool down.
- Drain the mixture and grab a clean, sanitized food container with air holes.
- Squeeze some of the substrate into the container and partition off oyster mushroom stem material into it.
- Cover with another layer of substrate mix, pack it down gently, and close the container.
- Place the container in a dedicated growing area and wait for fresh mycelium to appear.
By following these steps, you’ll be on your way to growing your own oyster mushrooms from existing ones.
Growing Button Mushrooms from Stems
If you prefer button mushrooms, you can also propagate them from existing ones. Here’s how:
- Sanitize mason jars and place prepared coffee grounds in the bottom.
- Cut button mushroom stems and place them in the jars, adding mushroom caps if available.
- Replace the solid lids with tissue paper for breathing.
- Place the jars in a dedicated growing area and wait for mycelium spawn lines to appear.
With these steps, you’ll be able to grow your own button mushrooms using existing stems.
Additional Methods for Mushroom Propagation
While the above methods focus on oyster mushrooms and button mushrooms, there are other techniques for propagating mushrooms from existing ones. Here are a couple of additional methods:
Propagating Mushrooms from Mushroom Ends
One common method is to use the ends of mushroom stems, which contain mycelium, to grow new mushrooms. Here are the steps:
- Soak straw or other moist cellulose material for a couple of days.
- Separate the ends of the mushrooms from the tops.
- Cut the ends into small pieces, around ¼ inch in size.
- Layer the moist material in a container, such as a cardboard box or plastic bin.
- Add the mushroom end pieces in between the layers of moist material.
- Keep the medium and mycelium damp and in the dark at temperatures of 65 to 75 degrees F.
- Cover the container with plastic with holes poked in it or a lid with holes for air flow.
- Mist the medium if it becomes dry.
- After two to four weeks, the mycelium should be ready to fruit.
- Tent plastic over the medium to preserve moisture and allow the mushrooms to form.
- Harvest your own mushrooms in about 19 days.
By following these steps, you can successfully propagate mushrooms from existing ones using the mushroom ends.
Using Mushroom Tissue or Spores
Another method for mushroom propagation involves taking cultures from spores or tissue (clone) of a living mushroom. Here’s a simplified overview of the process:
- Grow mycelium on enriched agar media in a petri dish.
- Transfer the mycelium to grain or sawdust/bran to create grain spawn.
- Inoculate more jars or bulk substrates, such as straw, wood, or compost, with the grain spawn.
- Use liquid culture as a method to inoculate grain jars.
By following these steps, you can propagate mushrooms using tissue or spores, which offers a wider range of mushroom varieties to choose from.
Conclusion
Propagating mushrooms from existing ones can be a rewarding and enjoyable experience. Whether you choose to grow oyster mushrooms, button mushrooms, or explore other methods, the key is to provide the right conditions for the mycelium to thrive. Remember to keep the medium moist, maintain the proper temperature and humidity, and ensure adequate air flow. With a little patience and care, you’ll soon be harvesting your own delicious mushrooms at home!
Related Websites:
FAQs:
Q: What is mushroom propagation and how can it benefit me?
Mushroom propagation refers to the process of multiplying mushrooms from existing ones. It allows you to cultivate a large quantity of mushrooms without having to rely on wild harvesting. By propagating mushrooms, you can ensure a steady supply of fresh and high-quality mushrooms for your culinary needs.
Q: What are the different methods of mushroom propagation?
There are three main methods of mushroom propagation: spore propagation, mycelium propagation, and cloning or tissue culture. Each method has its own advantages and suitability for different mushroom species.
Q: How do I propagate mushrooms using spores?
Spore propagation involves collecting spores from mature mushrooms and inoculating a suitable growth medium with them. The spores germinate under ideal conditions and can be transferred to a substrate for mushroom cultivation.
Q: What is mycelium propagation and how does it work?
Mycelium propagation is the process of collecting mycelium from existing mushrooms and transferring it to a growth medium. The mycelium-infused medium is then placed in a substrate for further growth and cultivation.
Q: What is cloning or tissue culture in mushroom propagation?
Cloning or tissue culture involves selecting a viable mushroom specimen and collecting a tissue sample from it. The tissue sample is then cultured in a growth medium to develop mycelium, which can be transferred to a substrate for cultivation.
