Do I need to soak microgreens before planting?
Key Takeaways
- Soaking microgreens before planting can improve germination rates
- Soaking certain types of microgreens, such as beet, chard, and sunflower, can be particularly beneficial
- Soaking microgreens can increase nutrient uptake and promote faster growth rates
Soaking microgreens before planting is a topic of interest for many gardeners and microgreen enthusiasts. The process of soaking involves submerging the seeds in water for a certain period of time before sowing them in the growing medium. This practice has been recommended by experts for several reasons, including improved germination rates, increased nutrient uptake, and faster growth rates.
The Benefits of Soaking Microgreens
One of the main benefits of soaking microgreens before planting is improved germination rates. Soaking can help soften the seed shells and hydrate the embryos, ensuring they have enough water for easier germination. This can lead to more successful germination and better seed contact with the growing medium.
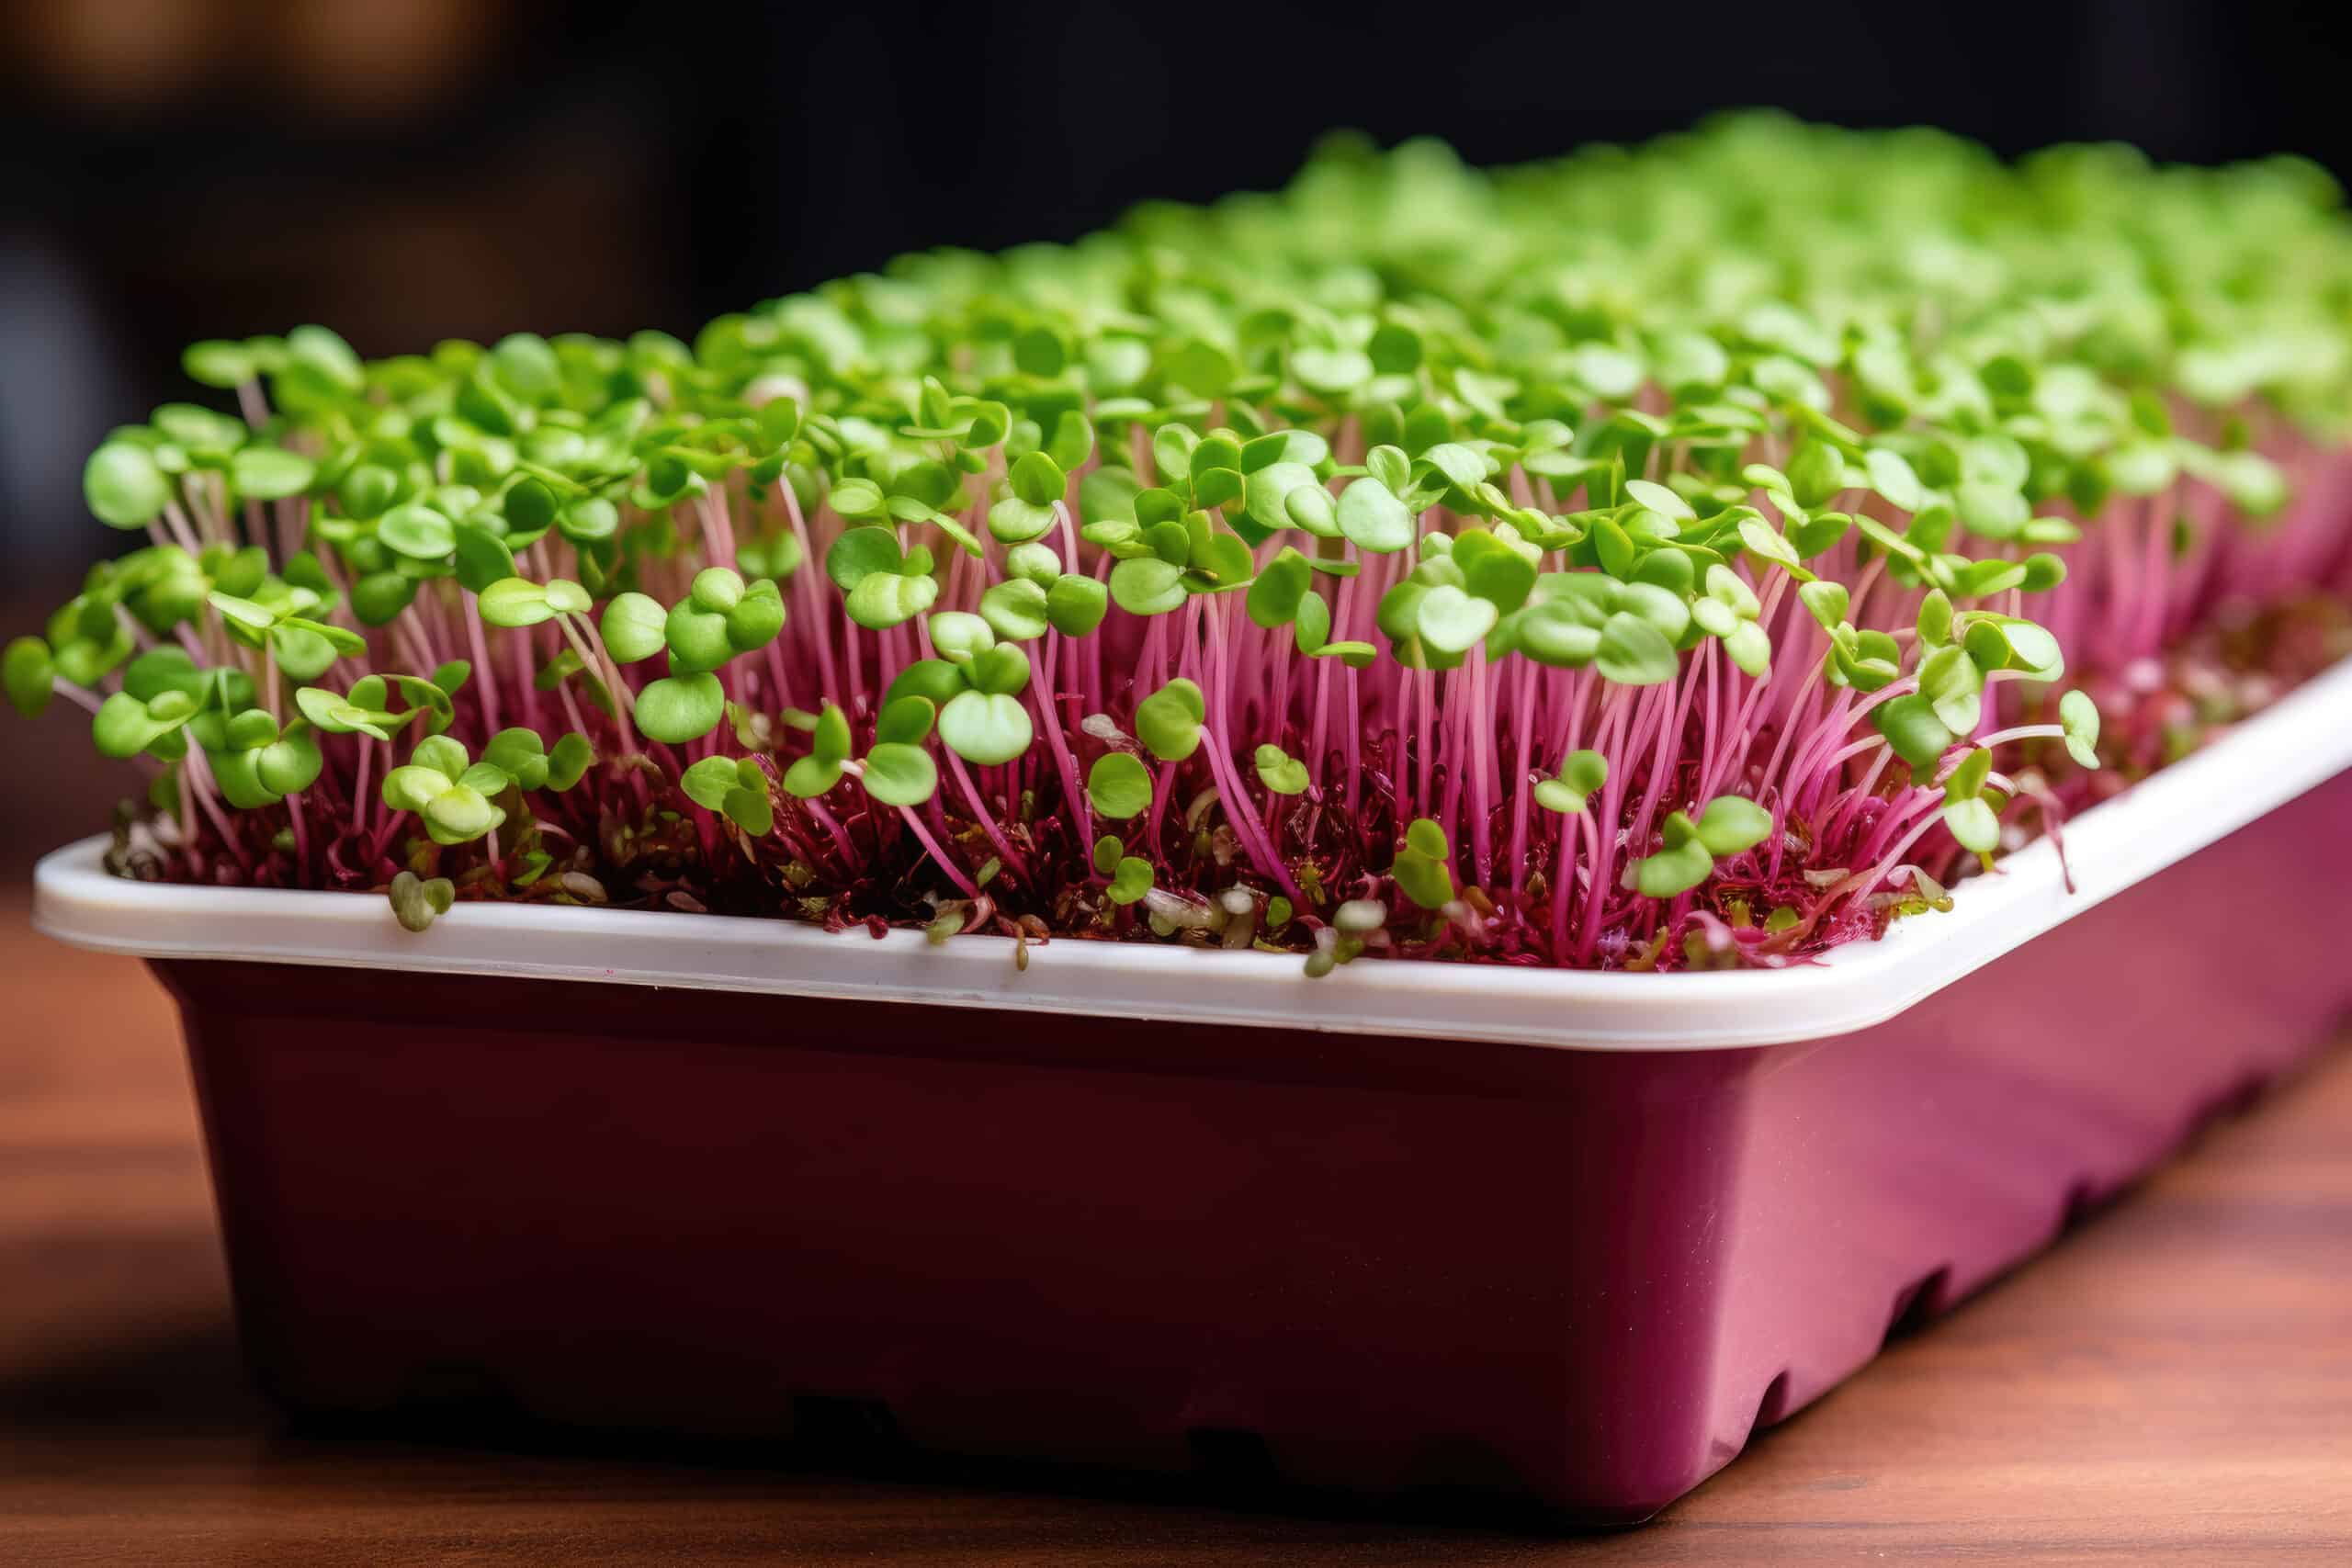
Soaking certain types of microgreens, such as beet, chard, and sunflower, can be particularly beneficial. These seeds have harder shells, and soaking them can help break down the outer layer, making it easier for the embryo to sprout. Additionally, soaking provides the embryos with the necessary hydration, allowing them to absorb water more efficiently.
Another advantage of soaking microgreens is increased nutrient uptake. When the seeds are soaked, they start to activate enzymes that break down complex molecules into simpler forms that the seedlings can readily absorb. This can enhance the nutrient availability and uptake during the early stages of growth, promoting healthier and more robust microgreens.
Additionally, soaking can contribute to faster growth rates. By providing the seeds with optimal moisture levels, soaking can accelerate the germination process. This can result in quicker sprouting and overall faster growth of the microgreens.
The Soaking Process
To properly prepare microgreens for planting, it is important to follow the recommended soaking process. Here are the steps:
- Select the right seeds for your needs. Different microgreens have different requirements, so choose seeds that align with your preferences and desired flavors.
- Prepare the growing medium by mixing compost or potting mix with vermiculite. This mixture provides a suitable environment for the seeds to germinate and grow.
- Sow the microgreen seeds into the prepared soil in rows, ensuring proper spacing between each seed. Cover the seeds lightly with a thin layer of soil.
- Mist the soil with water to moisten it. It is important to keep the environment moist, but avoid overwatering, as excessive moisture can lead to mold or rot.
- Soak the seeds in water for the recommended time. The soaking duration varies depending on the type of microgreens, so refer to the specific instructions provided by the seed supplier.
- After soaking, drain the water and transfer the seeds to the prepared soil. Gently press them into the soil to ensure good seed-to-soil contact.
- Water the microgreens gently at the base of each plant to avoid disturbing the seeds. Maintain the moisture levels by watering as needed.
- Monitor the growth of the microgreens and adjust watering and lighting conditions accordingly.
- Harvest the microgreens by pulling the leaves gently downwards towards the roots. Rinse away any dirt and debris, and store them in an airtight container in the refrigerator for up to 14 days.
Expert Recommendations
Experts in the field of microgreens gardening generally recommend soaking microgreens before planting. The benefits of this practice, such as improved germination rates and crop yields, make it a valuable step in the cultivation process.
Conclusion
Soaking microgreens before planting can offer several advantages, including improved germination rates, increased nutrient uptake, and faster growth rates. While it is not mandatory, soaking certain types of microgreens like beet, chard, and sunflower is particularly beneficial due to their harder seed shells. By following the proper soaking process and providing the seeds with optimal moisture levels, gardeners can enhance the success and overall quality of their microgreen crops.
Related Websites:
FAQs:
Q: What are microgreens?
Microgreens are young vegetable greens that are harvested just after the cotyledon leaves have developed. They are packed with nutrients and come in a wide range of flavors, adding freshness and vibrancy to dishes. Microgreens are easy to grow and require minimal space and maintenance.
Q: Why should I soak microgreen seeds before planting?
Soaking microgreen seeds before planting has multiple benefits. It helps in the germination process by softening the seed coat, allowing for quicker and more successful sprouting. Soaking also helps to reduce the time it takes for the seeds to sprout, giving you faster results.
Q: Do I need to soak all microgreen seeds before planting?
While soaking is not necessary for all microgreen seeds, it can be beneficial for certain types. Seeds with hard shells or longer germination times, such as sunflower or chia seeds, can benefit from pre-soaking. However, many microgreen seeds can be directly sown without soaking.
Q: How do I properly soak microgreen seeds?
To properly soak microgreen seeds, follow these steps:
1. Place the seeds in a clean container.
2. Add enough water to cover the seeds completely.
3. Let the seeds soak for the recommended duration, which varies depending on the seed type.
4. After soaking, drain the water and rinse the seeds before planting.
It’s important to follow the recommended soaking times for each seed variety to ensure optimal results.
Q: Are there alternative methods for preparing microgreen seeds?
Yes, there are alternative methods for preparing microgreen seeds. Scarification and stratification are two common techniques. Scarification involves scratching or nicking the seed coat to promote germination. Stratification involves subjecting the seeds to cold temperatures to simulate natural winter conditions. These methods may be more suitable for specific seeds that have hard coatings or dormancy requirements.


